Jeanine spent the afternoon with Maya and her niece Rachel for a belated Mother’s Day celebration. They toured the Arnold Arboretum, a 281-acre preserve designed by Frederick Law Olmsted in the heart of Boston, one of the world’s most comprehensive and best-documented collections of temperate woody plants, with a particular focus on the floras of eastern North America and eastern Asia.
We enjoyed a visit from my cousin Gina, her husband, Vincent, and their son, Vinny this evening. They are in town for the graduation of her grandson, JD, from Boston College. Jeanine prepared a 5-course dinner to celebrate the occasion. Avid travelers, we heard wonderful stories about their recent exploits as well as learning something new about my father. Apparently, his family considered him a confirmed bachelor. It was not until he met my mother in his mid-thirties did he meet his match. The rest, they say, is history.
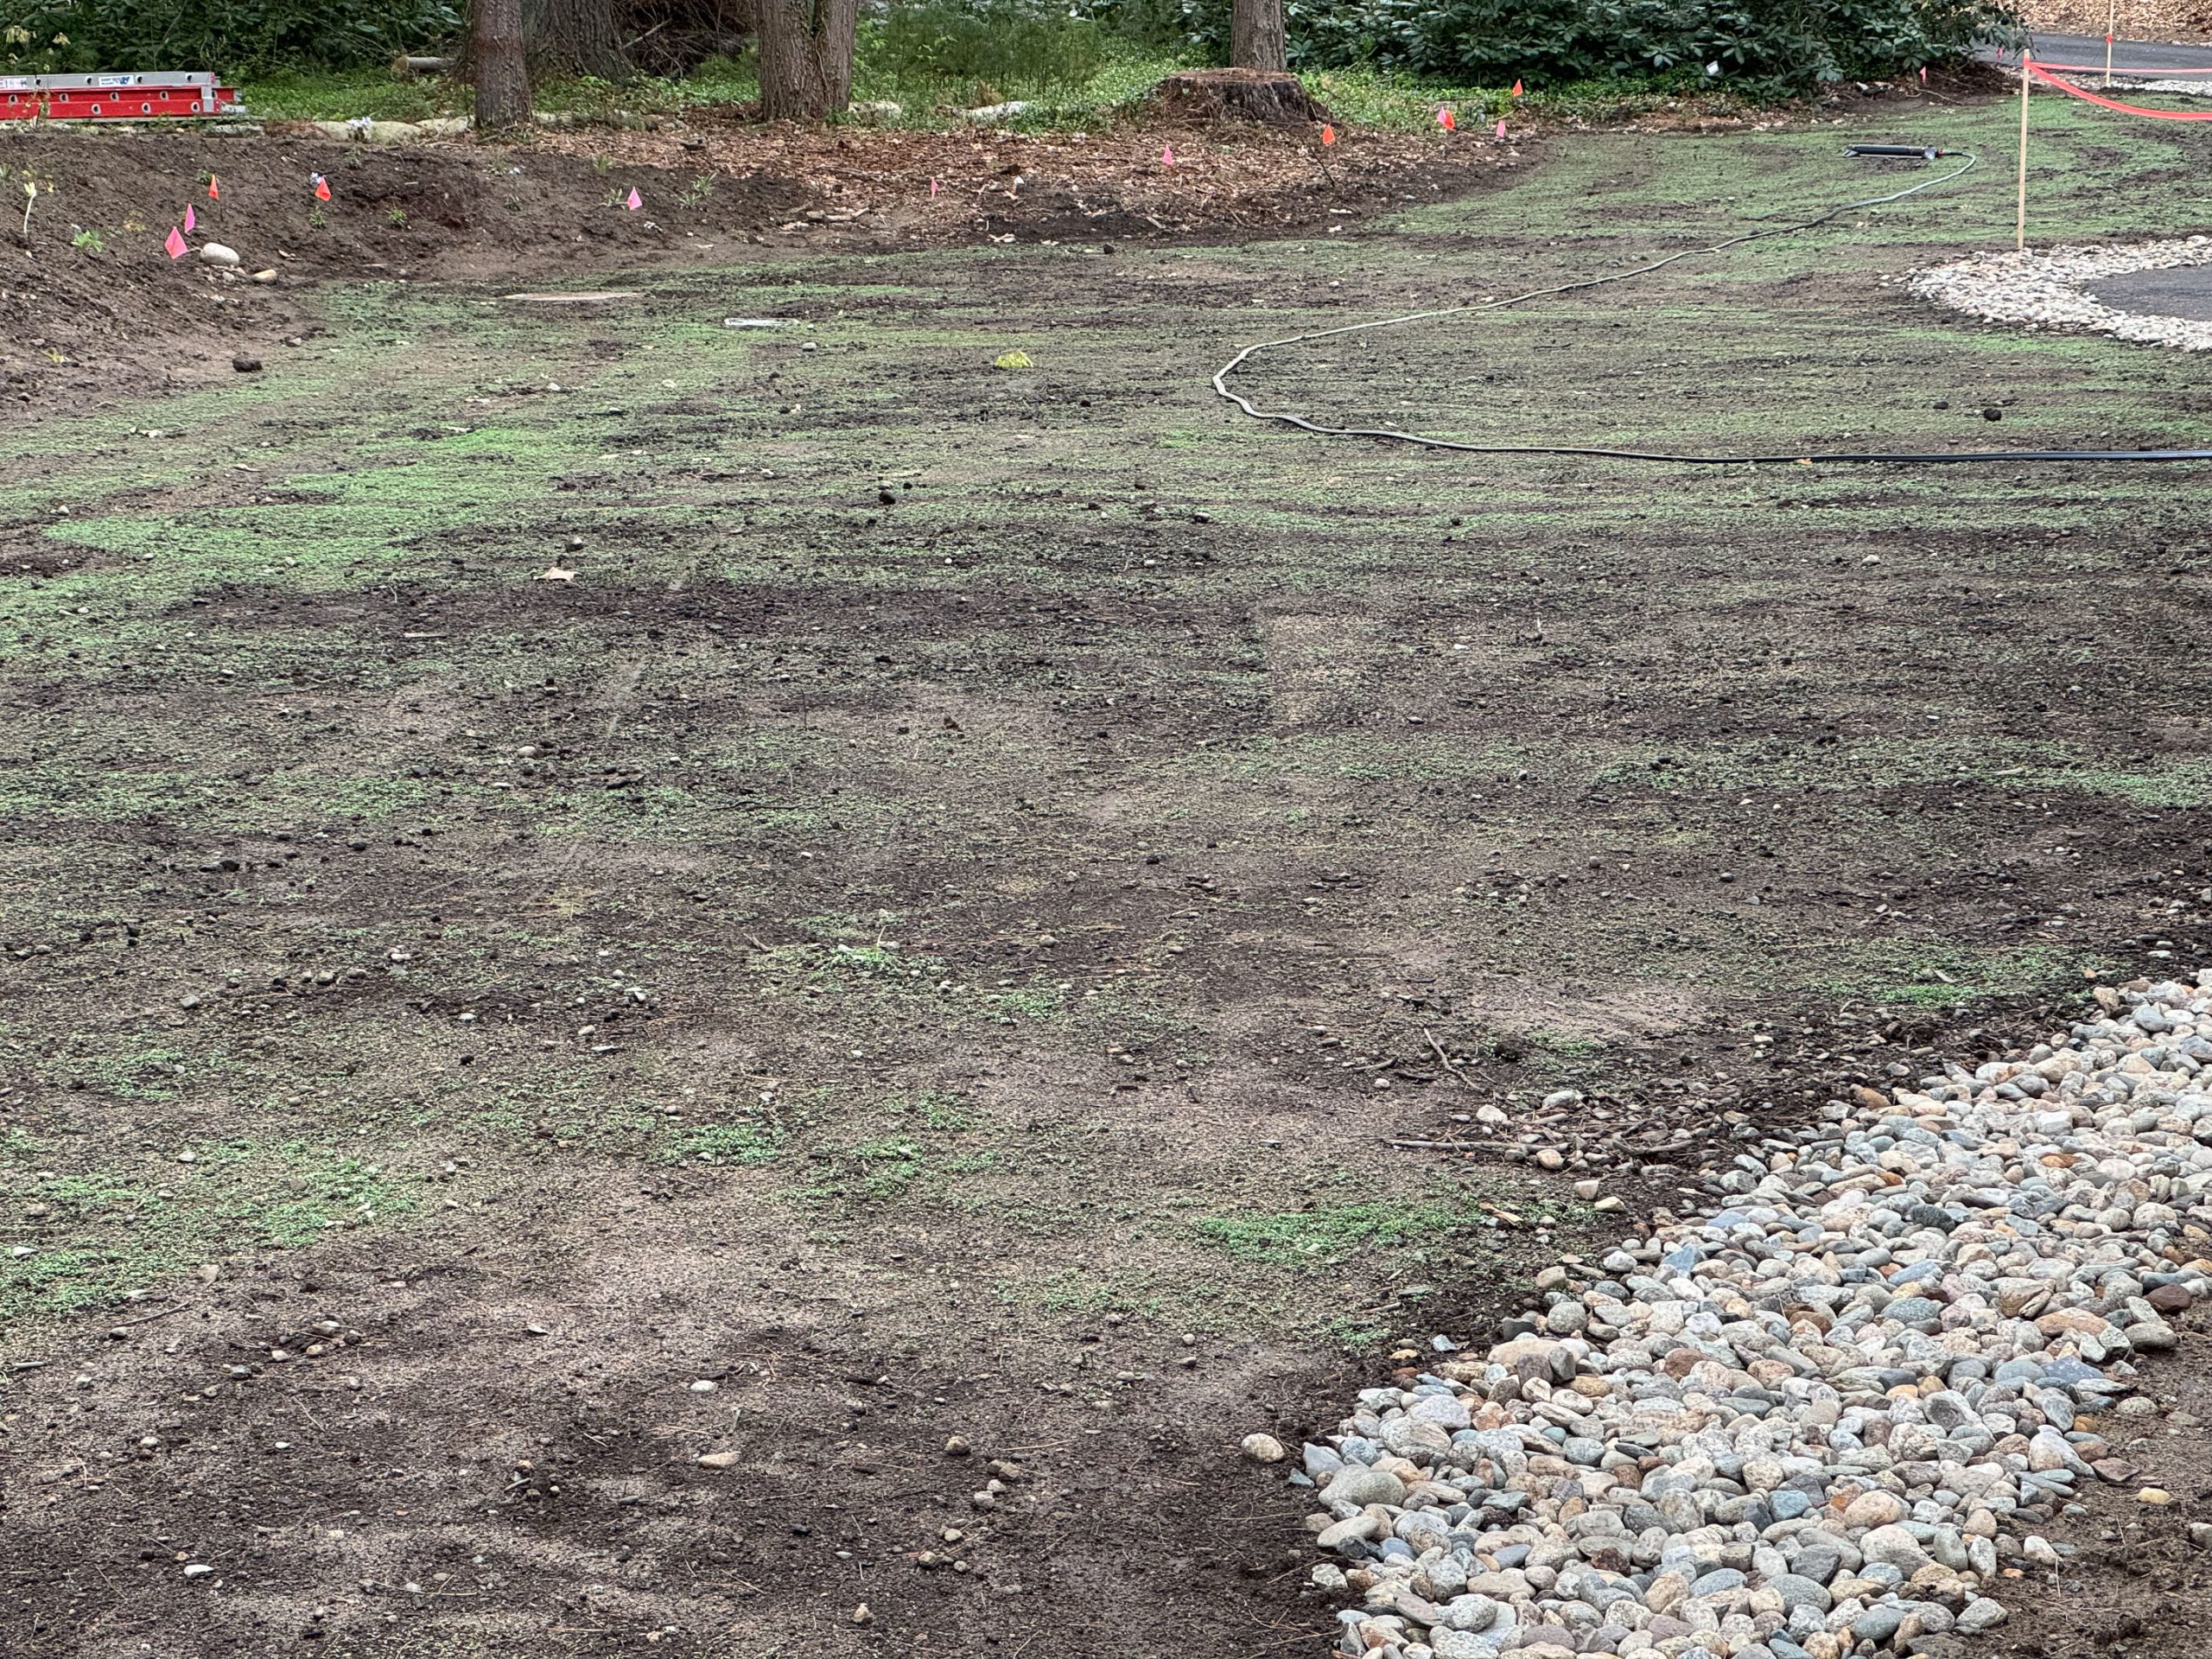
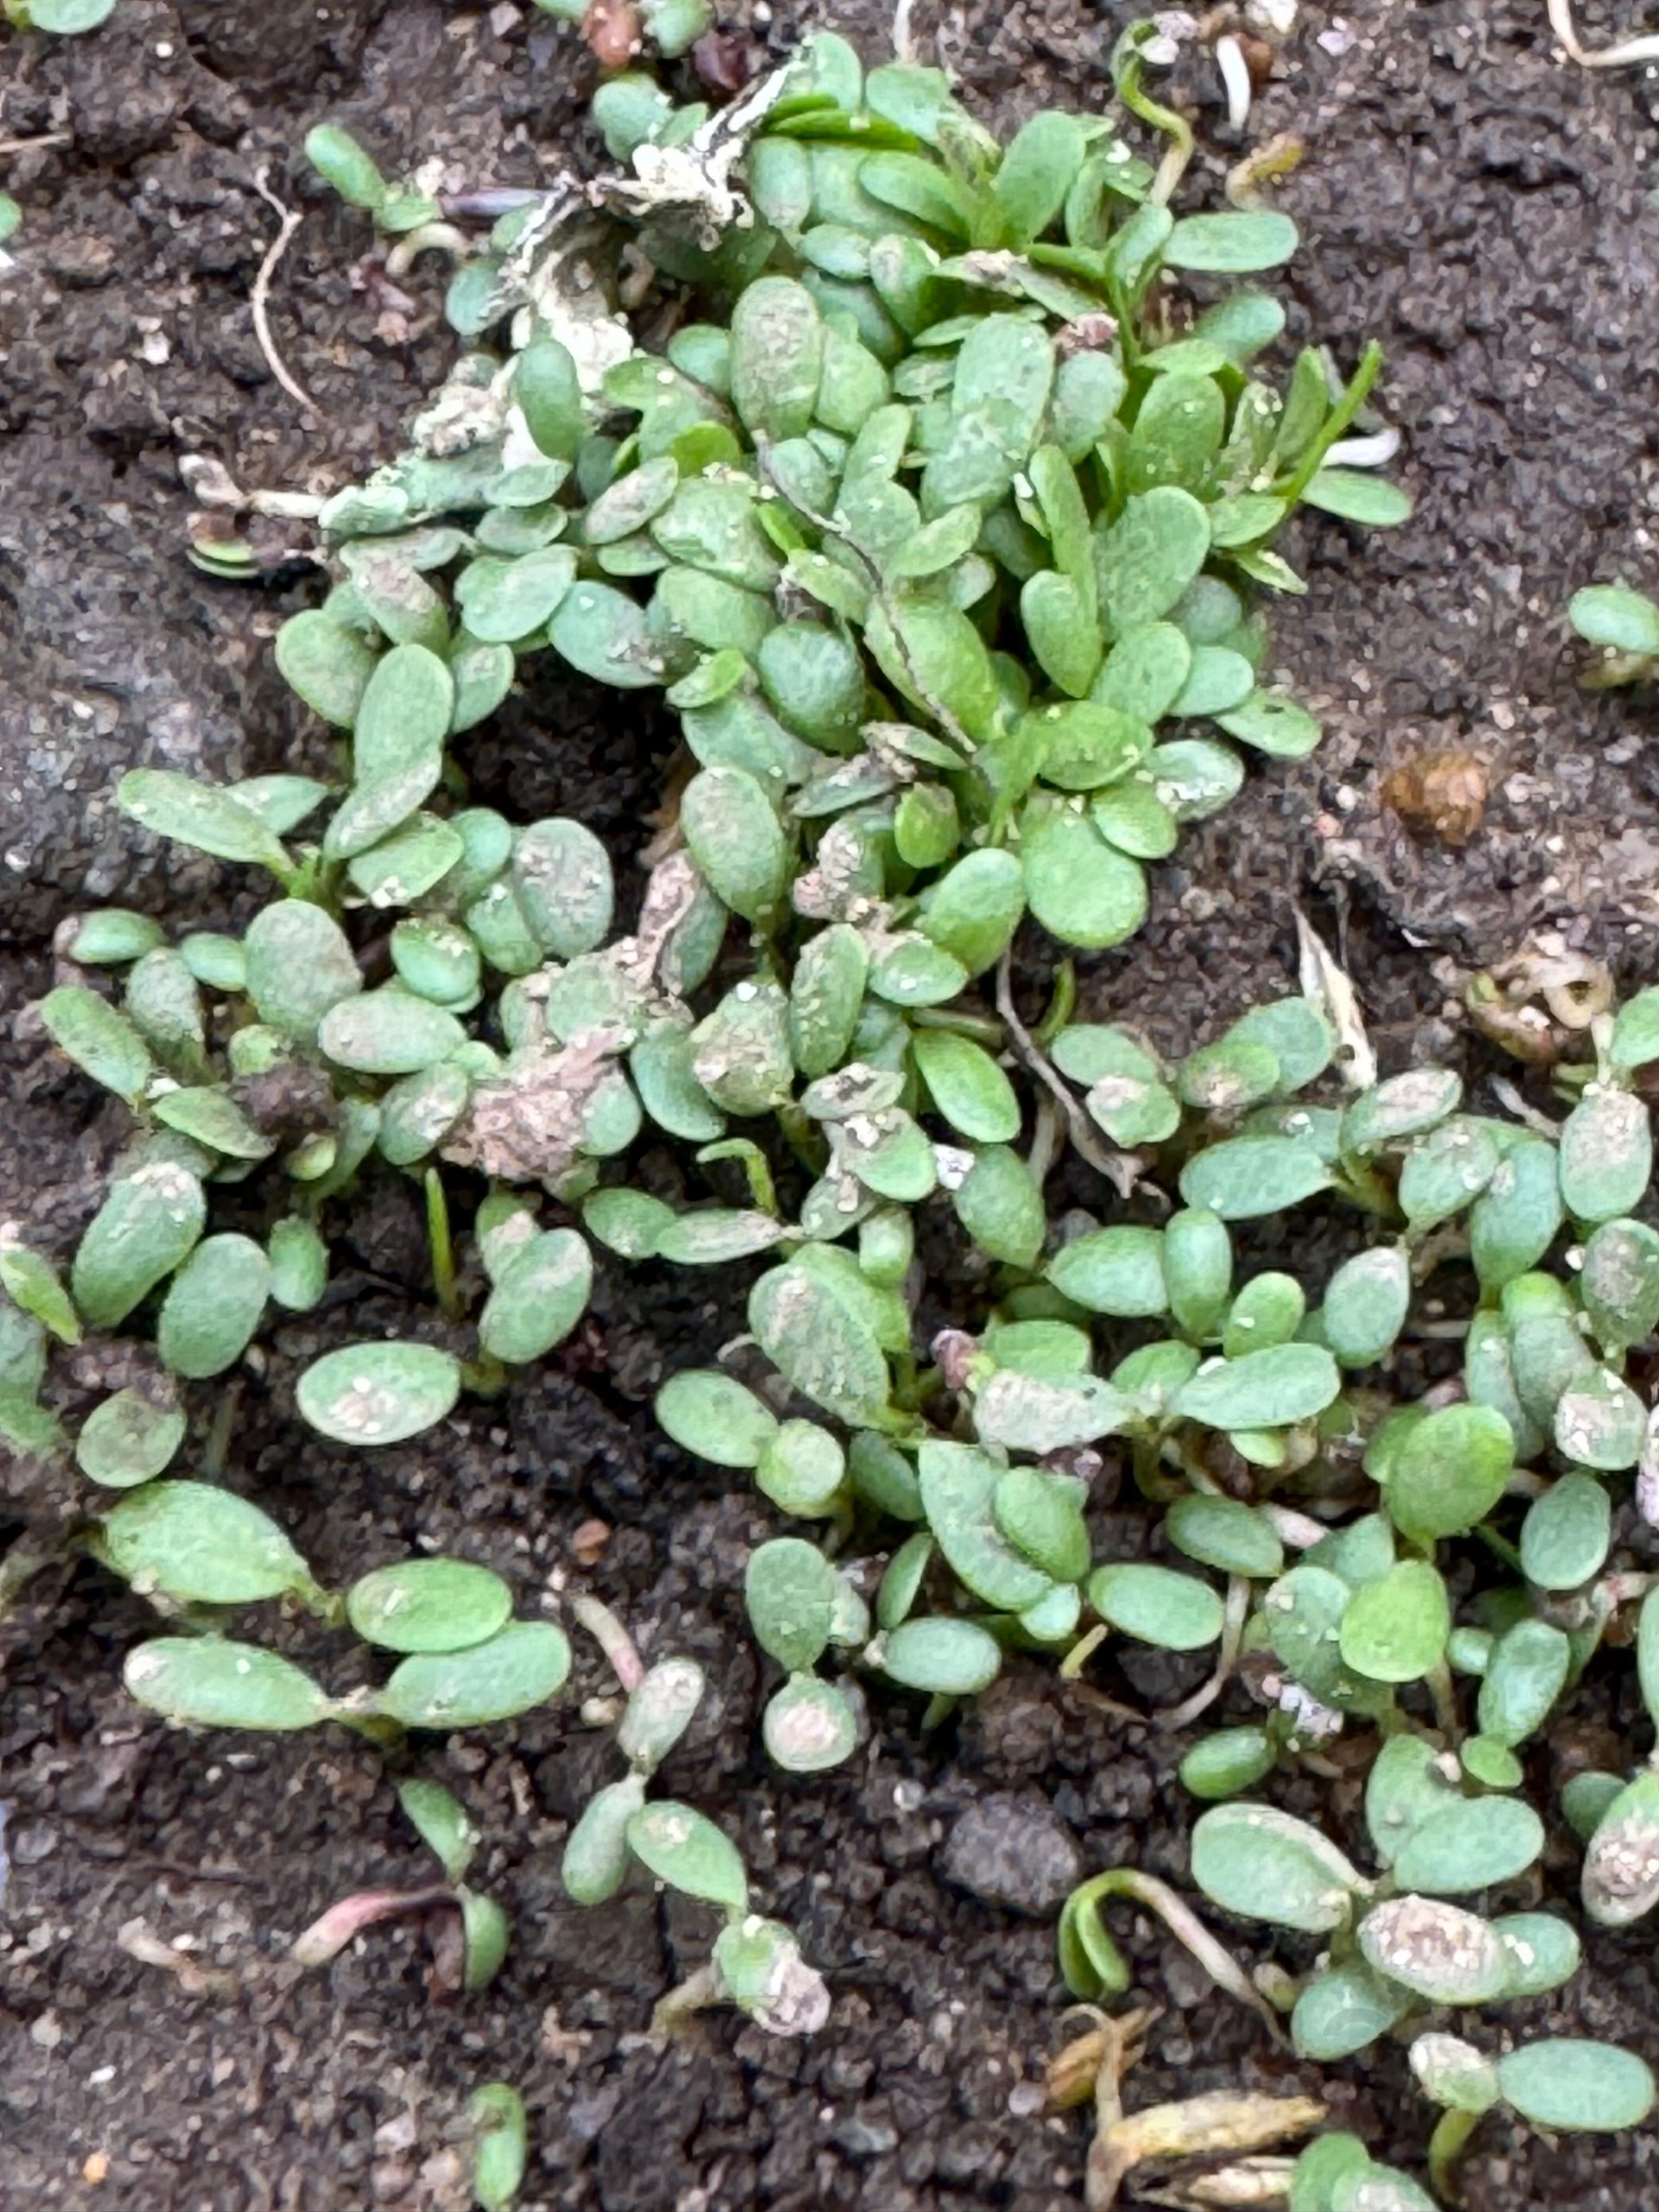
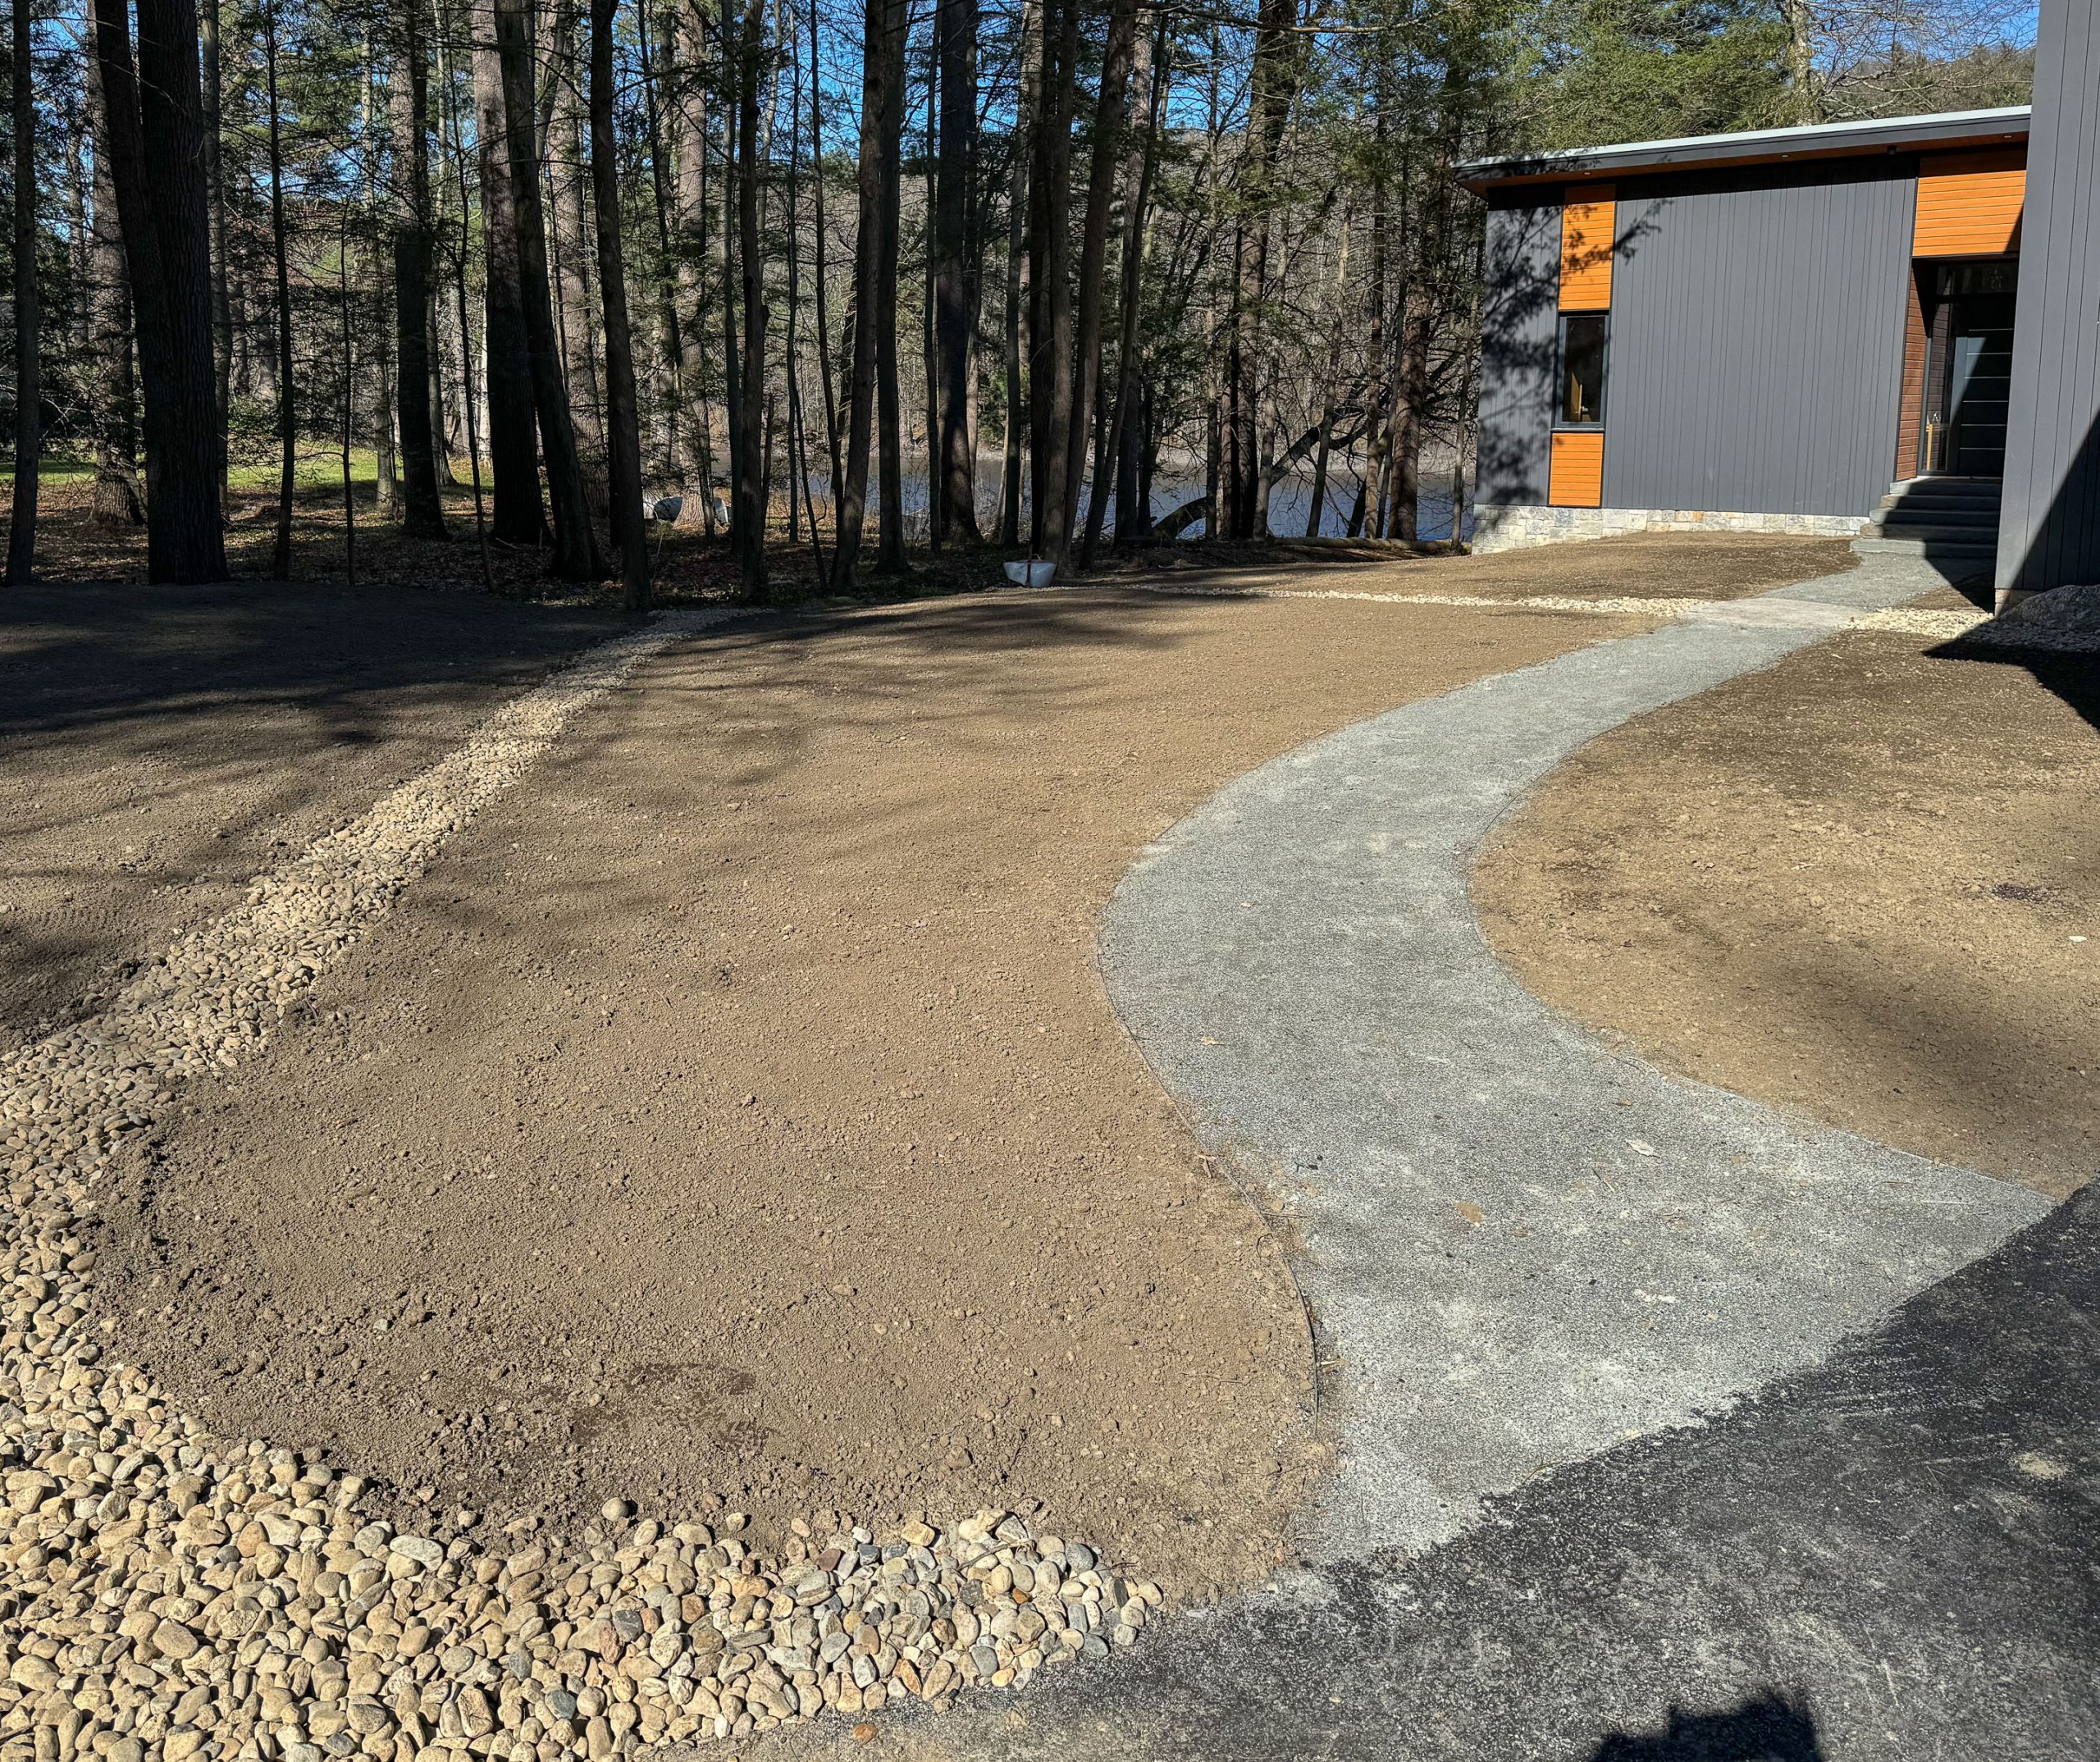
The clover we planted on our south lawn is starting to come in now. Hopefully, the tracks from the broadcast seed spreader will fill in over time. Growing conditions have been excellent and we are enjoying the changes we observe every day. Not visible in the photo but also starting to show up is the no-mow fescue that is also planted in this area.
I spent a good portion of the day working in the yard. While using an electric pole saw, I cut off a large and heavy limb which clipped my arm on the way down. Fortunately, it only resulted in a minor cut and abrasion although the impact hurt like hell. I post images like this to remind myself not to be stupid. Children, please take note. Please learn from the stupidity of your father.
It is hard to fathom, but today marks 19 years of making daily entries to this blog. That is 6,935 days and 8,943 posts (in the early days, every photo was treated as a separate entry by the hosting software). To be certain, it has been a major commitment of time and energy. Each entry takes 15-20 minutes if you consider both the photography and the writing. Even so, I do not regret the investment and feel I have created something of enduring value for our family. One day, I will feed the blog into an AI book generator and see what comes out on the other end.
We decided on a pedestal-mounted electric meter rather than one stuck onto the side of our house. It is located adjacent to the driveway and was not particularly attractive. I decided to use cedar siding I salvaged from the original house to enclose all but the components requiring access by the power company and fire department. I also added two security cameras (one is hidden on the far side) and a driveway motion sensor that triggers a chime in the house when we have visitors. It is still a little dopey looking but a huge improvement over what was previously there.
With Nico in Denver, it was down to Kyle and Maya to celebrate Mother’s Day in person with Jeanine. They treated her to a shopping spree for plants and herbs and a lovely dinner.
Due to a shortage of players, I was reassigned from my normal wing midfielder position to a striker during my soccer match this morning. I made the most of my attacking position and earned our team’s “man of the match” honor. Below is this game report.
Big thanks to everyone who showed up since we were short on subs, with only three. At the end of the match, we had no subs with Fari injured, and we were protecting Eric and Frank for the tournament this week.
Medfield conceded a goal today, so I think we are now probably the only team in the entire OTHSL that has not conceded a goal this season. Special thanks to Steve, Romulo, Eric, and Lou at the back today. Nick had his first game for us and showed off some nice skills in the midfield. Mick, Mark, and Frank dominated the midfield, pouncing on every loose ball. Jerry and Matt played well on the wings, and Fari, Carl, and Fabian hustled up top.
Man of the match goes to Carl for his goals and tackles and for taking a few knocks.
Goals After a great build-up from Nick, Matt opened the scoring with a header 1-0 Quick free-kick from Steve and Frank toe poked it home from tight angle 2-0 A slick pass from Eric found Lou, who provided the assist for Frank 3-0 Carl had a great shot from outside the box 4-0 at half-time Carl got the scoring going again in the second half with an assist from Fabian 5-0 Fari made a great run and pulled the ball back for Mick 6-0 Jerry had a far post tap in after the shocking miss in the first half Finally, Steve headed in a Carl Corner 8-0
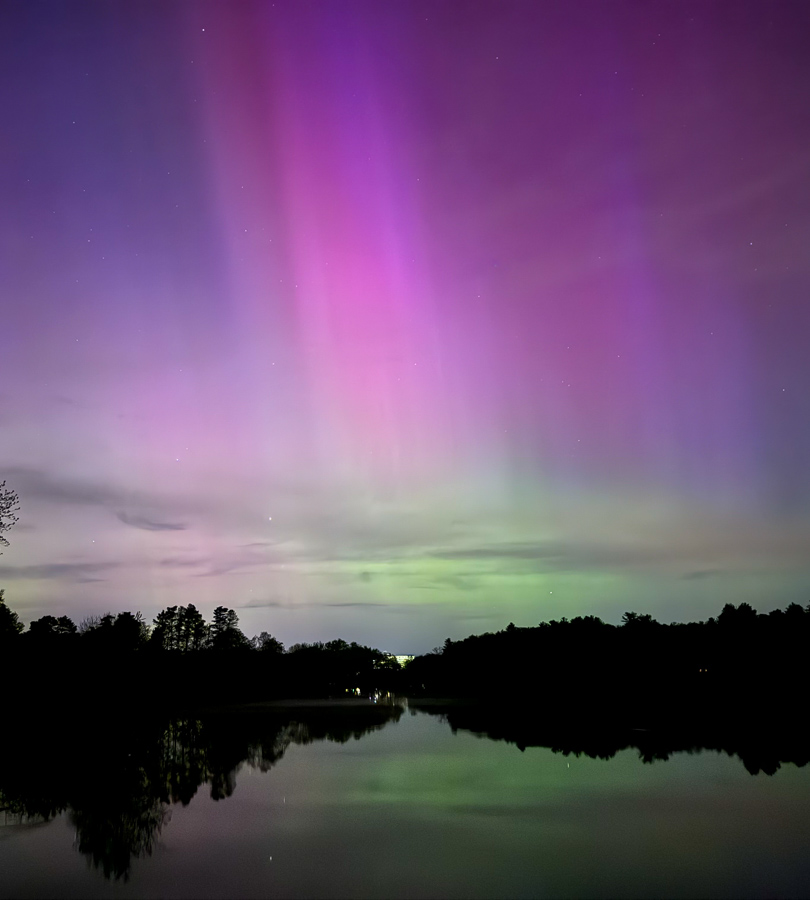
Witnessing the aurora borealis in person has been on my bucket list since I have had a bucket list. I always assumed this would require a well-timed trip to Norway, Sweden, or Iceland. Never did I imagine I would have a chance to see them in my own backyard. Late last night, Jeanine and I ventured out based on the predicted arrival of a G5 solar storm hoping to catch a glimpse of the ethereal lights. Fortunately, the weather gods were looking down on us and we had excellent viewing conditions. Although I was able to check this experience off my bucket list, I have now added a new item; to see them again.
My sister Alissa who lives in Albany, NY is in town for the Mother’s Day weekend to visit with her two adult children. She stopped in to join Jeanine and me for dinner and is my first sibling to get a tour of the completed house. She shared family news and details of the book she is writing about impact circles. She has had to endure some tough challenges in her life and the groups she has formed have helped the participants deal with their shared hardships. Alissa will return later this month to watch Nico playing amputee soccer at Gillette Stadium and will be our first house guest. Tomorrow, we will be moving most of our remaining belongings from the Road House to the River House. This will include a queen size bed destined for the guest room, the one remaining piece of furniture needed to allow for overnight visits.
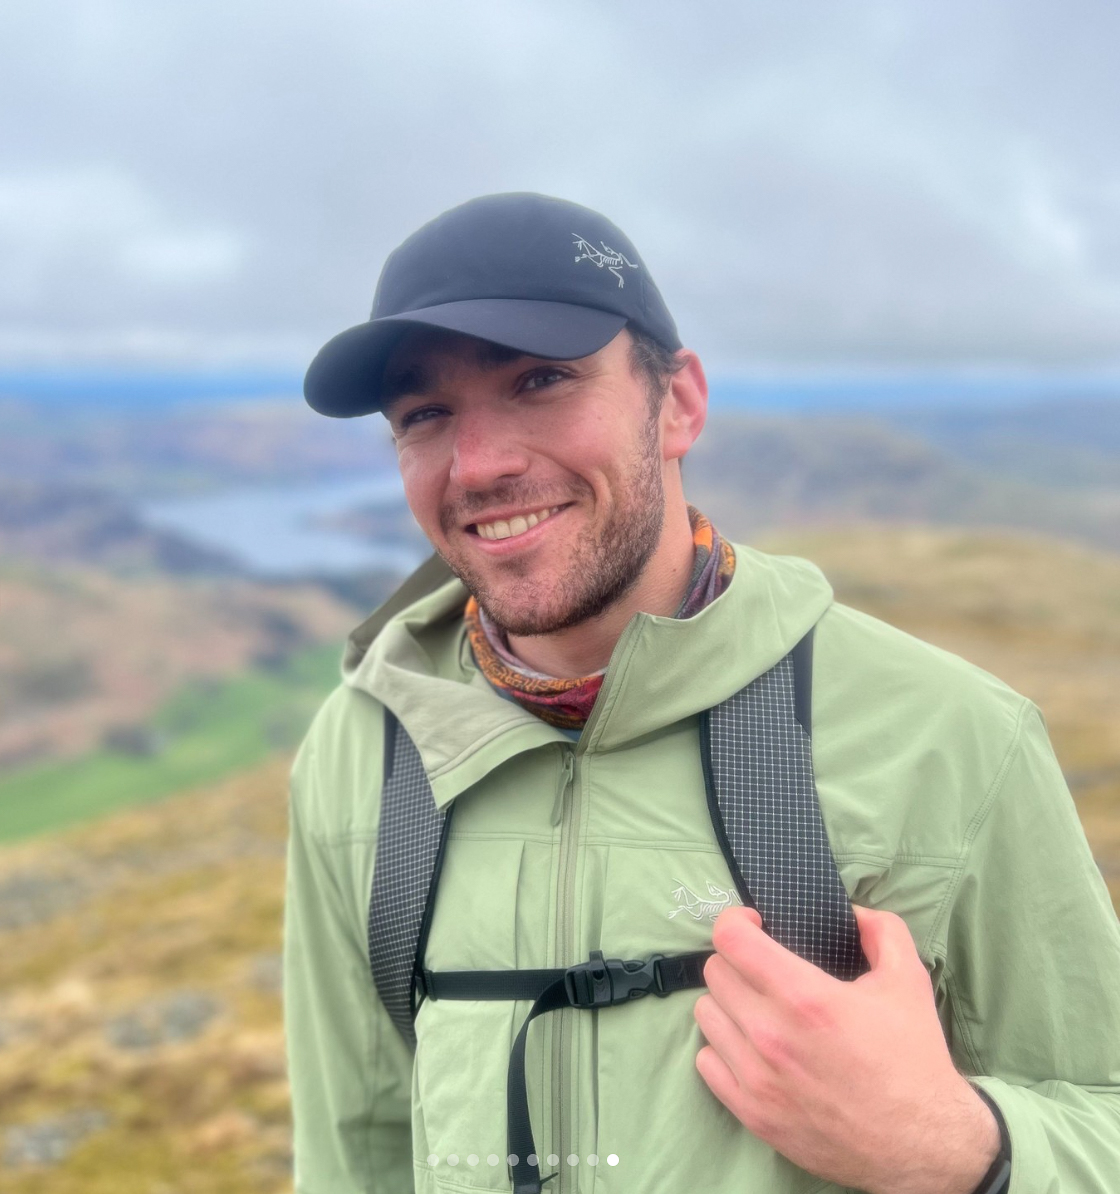
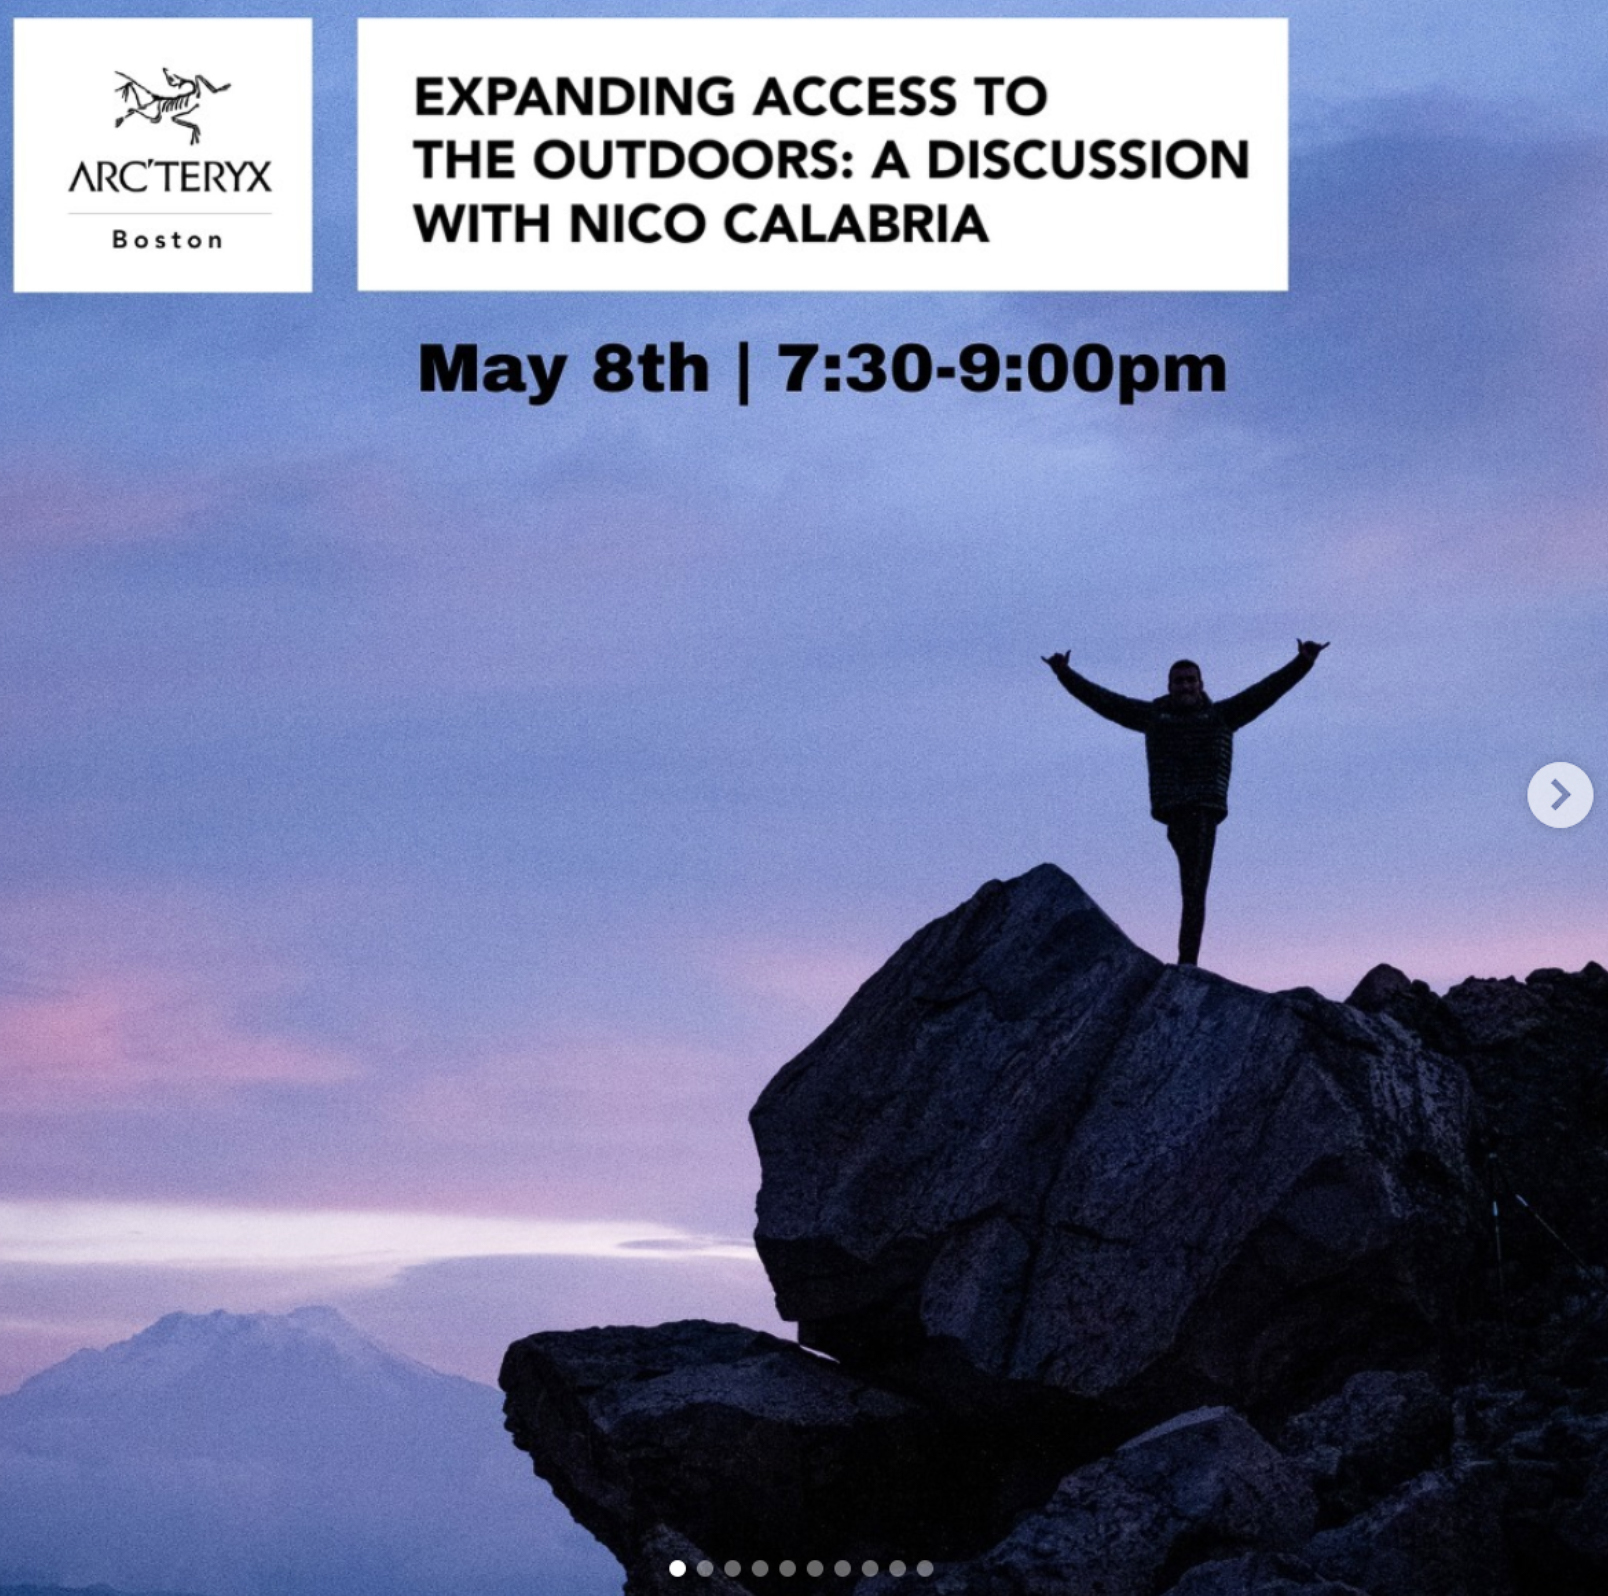
Nico has recently been named an ambassador for Arc’teryx, my favorite brand of outdoor gear. Below is a message he posted on his Instagram account.
I still very much feel like a learner in the accessibility space. As someone who grew up with few accessibility needs, I took my own mobility and independence for granted. Sure, having a disability is hard sometimes, but I had what I needed to get to the places I wanted to go and a supportive community. Access to outdoor spaces has been one of the greatest single contributors to my overall wellbeing. I find peace and joy outside with my friends & family. Feeling connected to the more than human world, actively moving through it, appreciating trees, and reflecting on the balance of it all gives me a sense of oneness and comfort.
However, many people with disabilities and other marginalized groups have limited access to the outdoors. I remember feeling this distinctly for the first time when I visited Tanzania in 2007. People with disabilities lacked the assistive technology they needed. Assistive tech can be expensive, many places are not wheelchair accessible, and the community as a whole has historically been left out of the conversation. When the place itself is inaccessible, then people with disabilities remain invisible. I’m excited to be working with Arc’Teryx to try to tackle some of these challenges and work to make the outdoors a more accessible place regardless of ability. I look forward to learning more about the diverse needs of people with disabilities and working together to offer opportunities to the wider Boston community.
The yard on the south side of our house has been planted with clover and no-mow fescue. thus far, only the former has started to emerge. It is a much-welcome change from the otherwise barren soil we have looked at for over two years. It has been an unusually rainy spring which is working to our advantage and with any luck the fescue will come in soon.
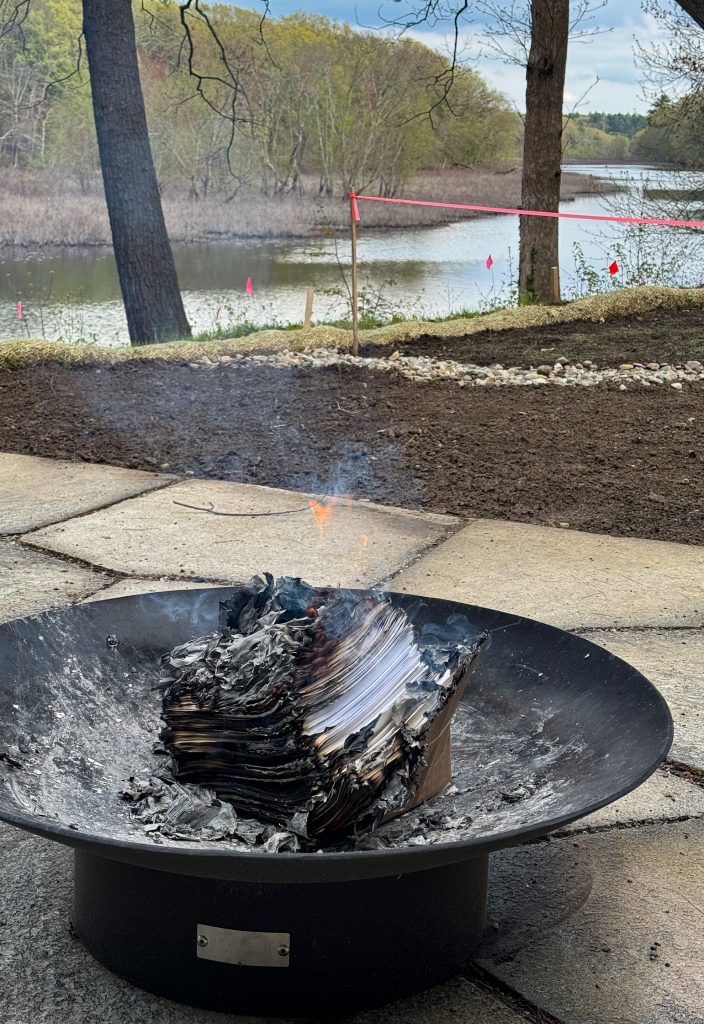
I have saved paper copies of every federal and state income tax return I have filed since 1976. I have moved these records from Schenectady, NY to Indianapolis to Palo Alto to an apartment in Indianapolis to a house in Indianapolis to another house in Indianapolis to a house in Fishers, IN, to a townhouse in Santa Clara to a house in Indianapolis to a house in Concord, to a storage unit in Boston, to a house in Concord and finally to the River House. With each move, the stack has gotten bigger and heavier. Today, I decided to get rid of all but the last ten years’ worth since they have served no purpose to date and will eventually fall to the kids to deal with when I am dead. Since these documents contain confidential information I decided to burn them. In less than 10 minutes, hundreds of hours of work went up in smoke. It felt good to watch.
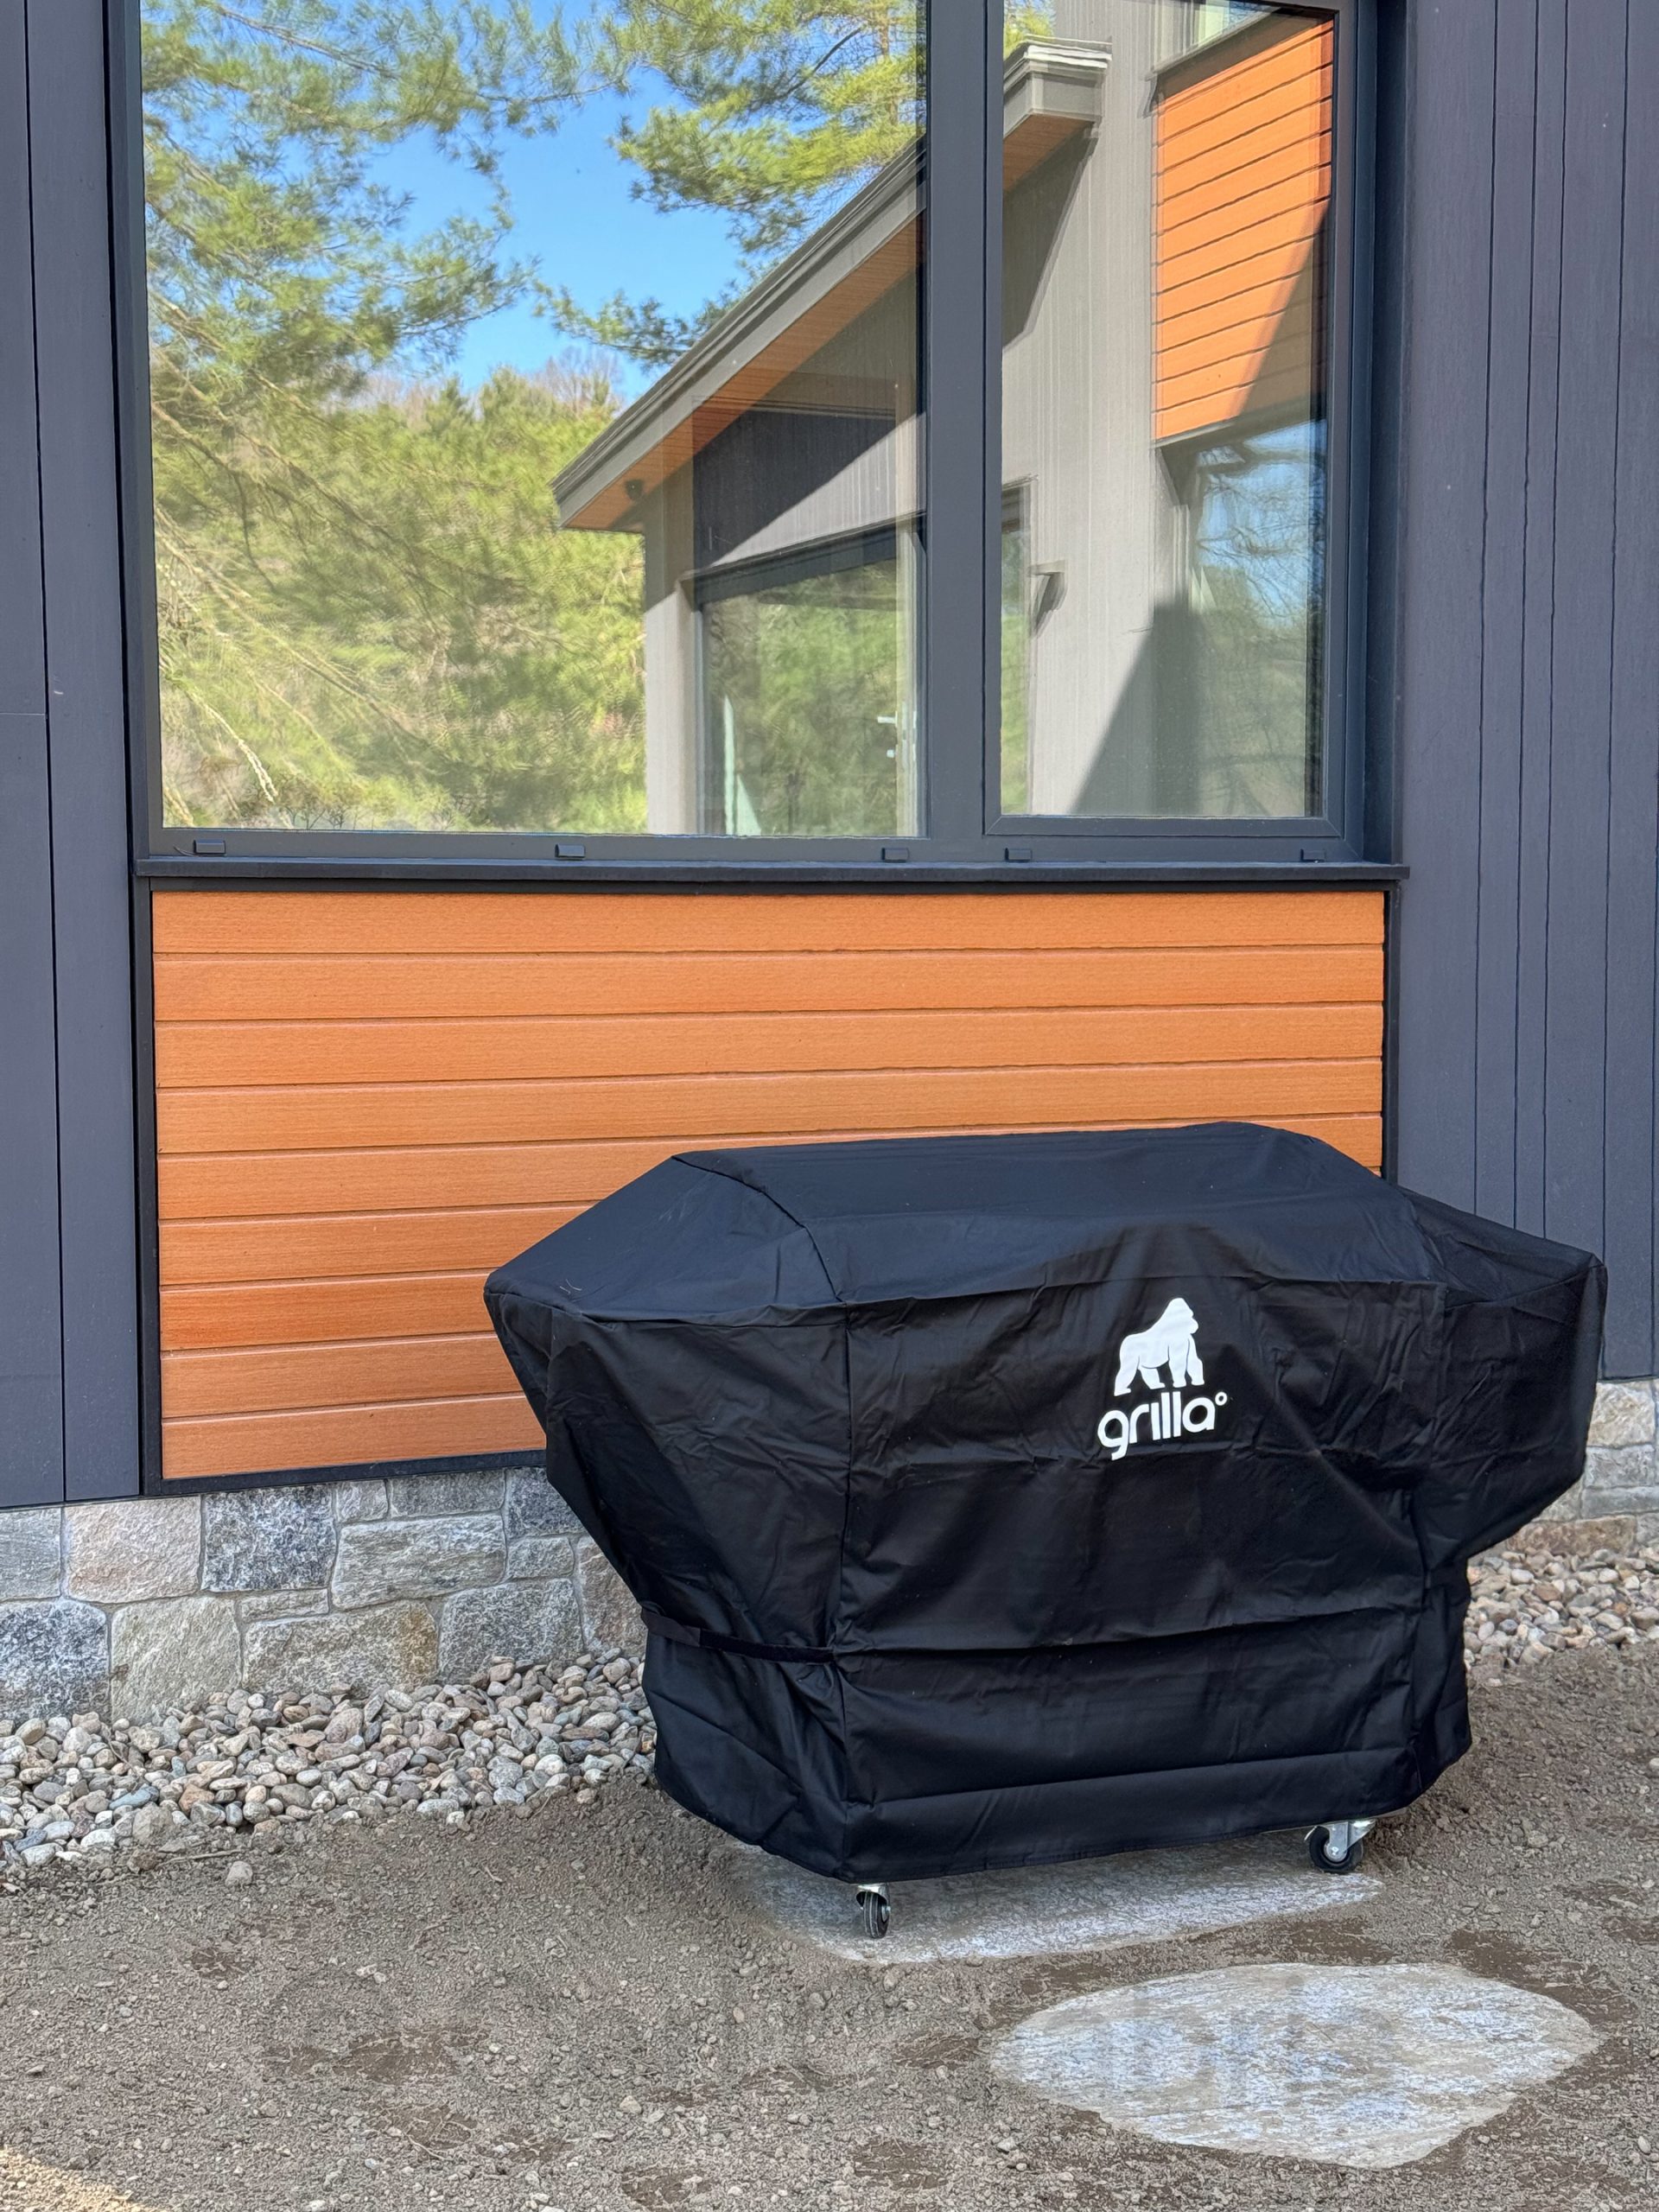
Jeanine was shocked to notice that all the plants recently installed on the south side of our house had disappeared. A careful review of the surveillance video (starting at time code 9:06:00) revealed the culprit. If you watch the upper middle of the screen between the two river stone streams you will observe a very fat groundhog systematically eating every plant. He then checks out the patio and grill for additional snacks. This occurred yesterday in broad daylight while I was away playing soccer. The criminal is known to us as well as the location of his hideout. It remains to be decided what we will do about this. We plan to replant with something, not at the top of a groundhog’s favorite food list. Should there be a repeat offense, however, incarceration and relocation may be necessary.
One of the best things about the soccer team I play for is that we gather after every match to hang out together. We call this an “aprés.” If it is an away game, we meet at a nearby bar or restaurant. If it is a home game, players volunteer to host a BBQ. In recent years, we have expanded the invite list to include the younger over-48 and over-55 Concord teams.
Today, after an 8-0 win we celebrated at our house. Given the date, we decided on a Cinco de Mayo theme. Rather than burgers and sausages, we did chicken fajitas on the grill with Mexican beers and Margaritas. Jeanine made a delicious Carlota de Limón desert and Nicolai helped out as our mixologist. It is the largest gathering we have had at the house since we moved in and proved to be a most enjoyable event. I was too busy at the grill, tending the fire pit, or cleaning up to memorialize with a photo. Fortunately, the patio is covered by one of our security cameras allowing me to download a short clip for the blog. Not shown here are the guests gathered inside watching the Liverpool match on the big screen in our living room.
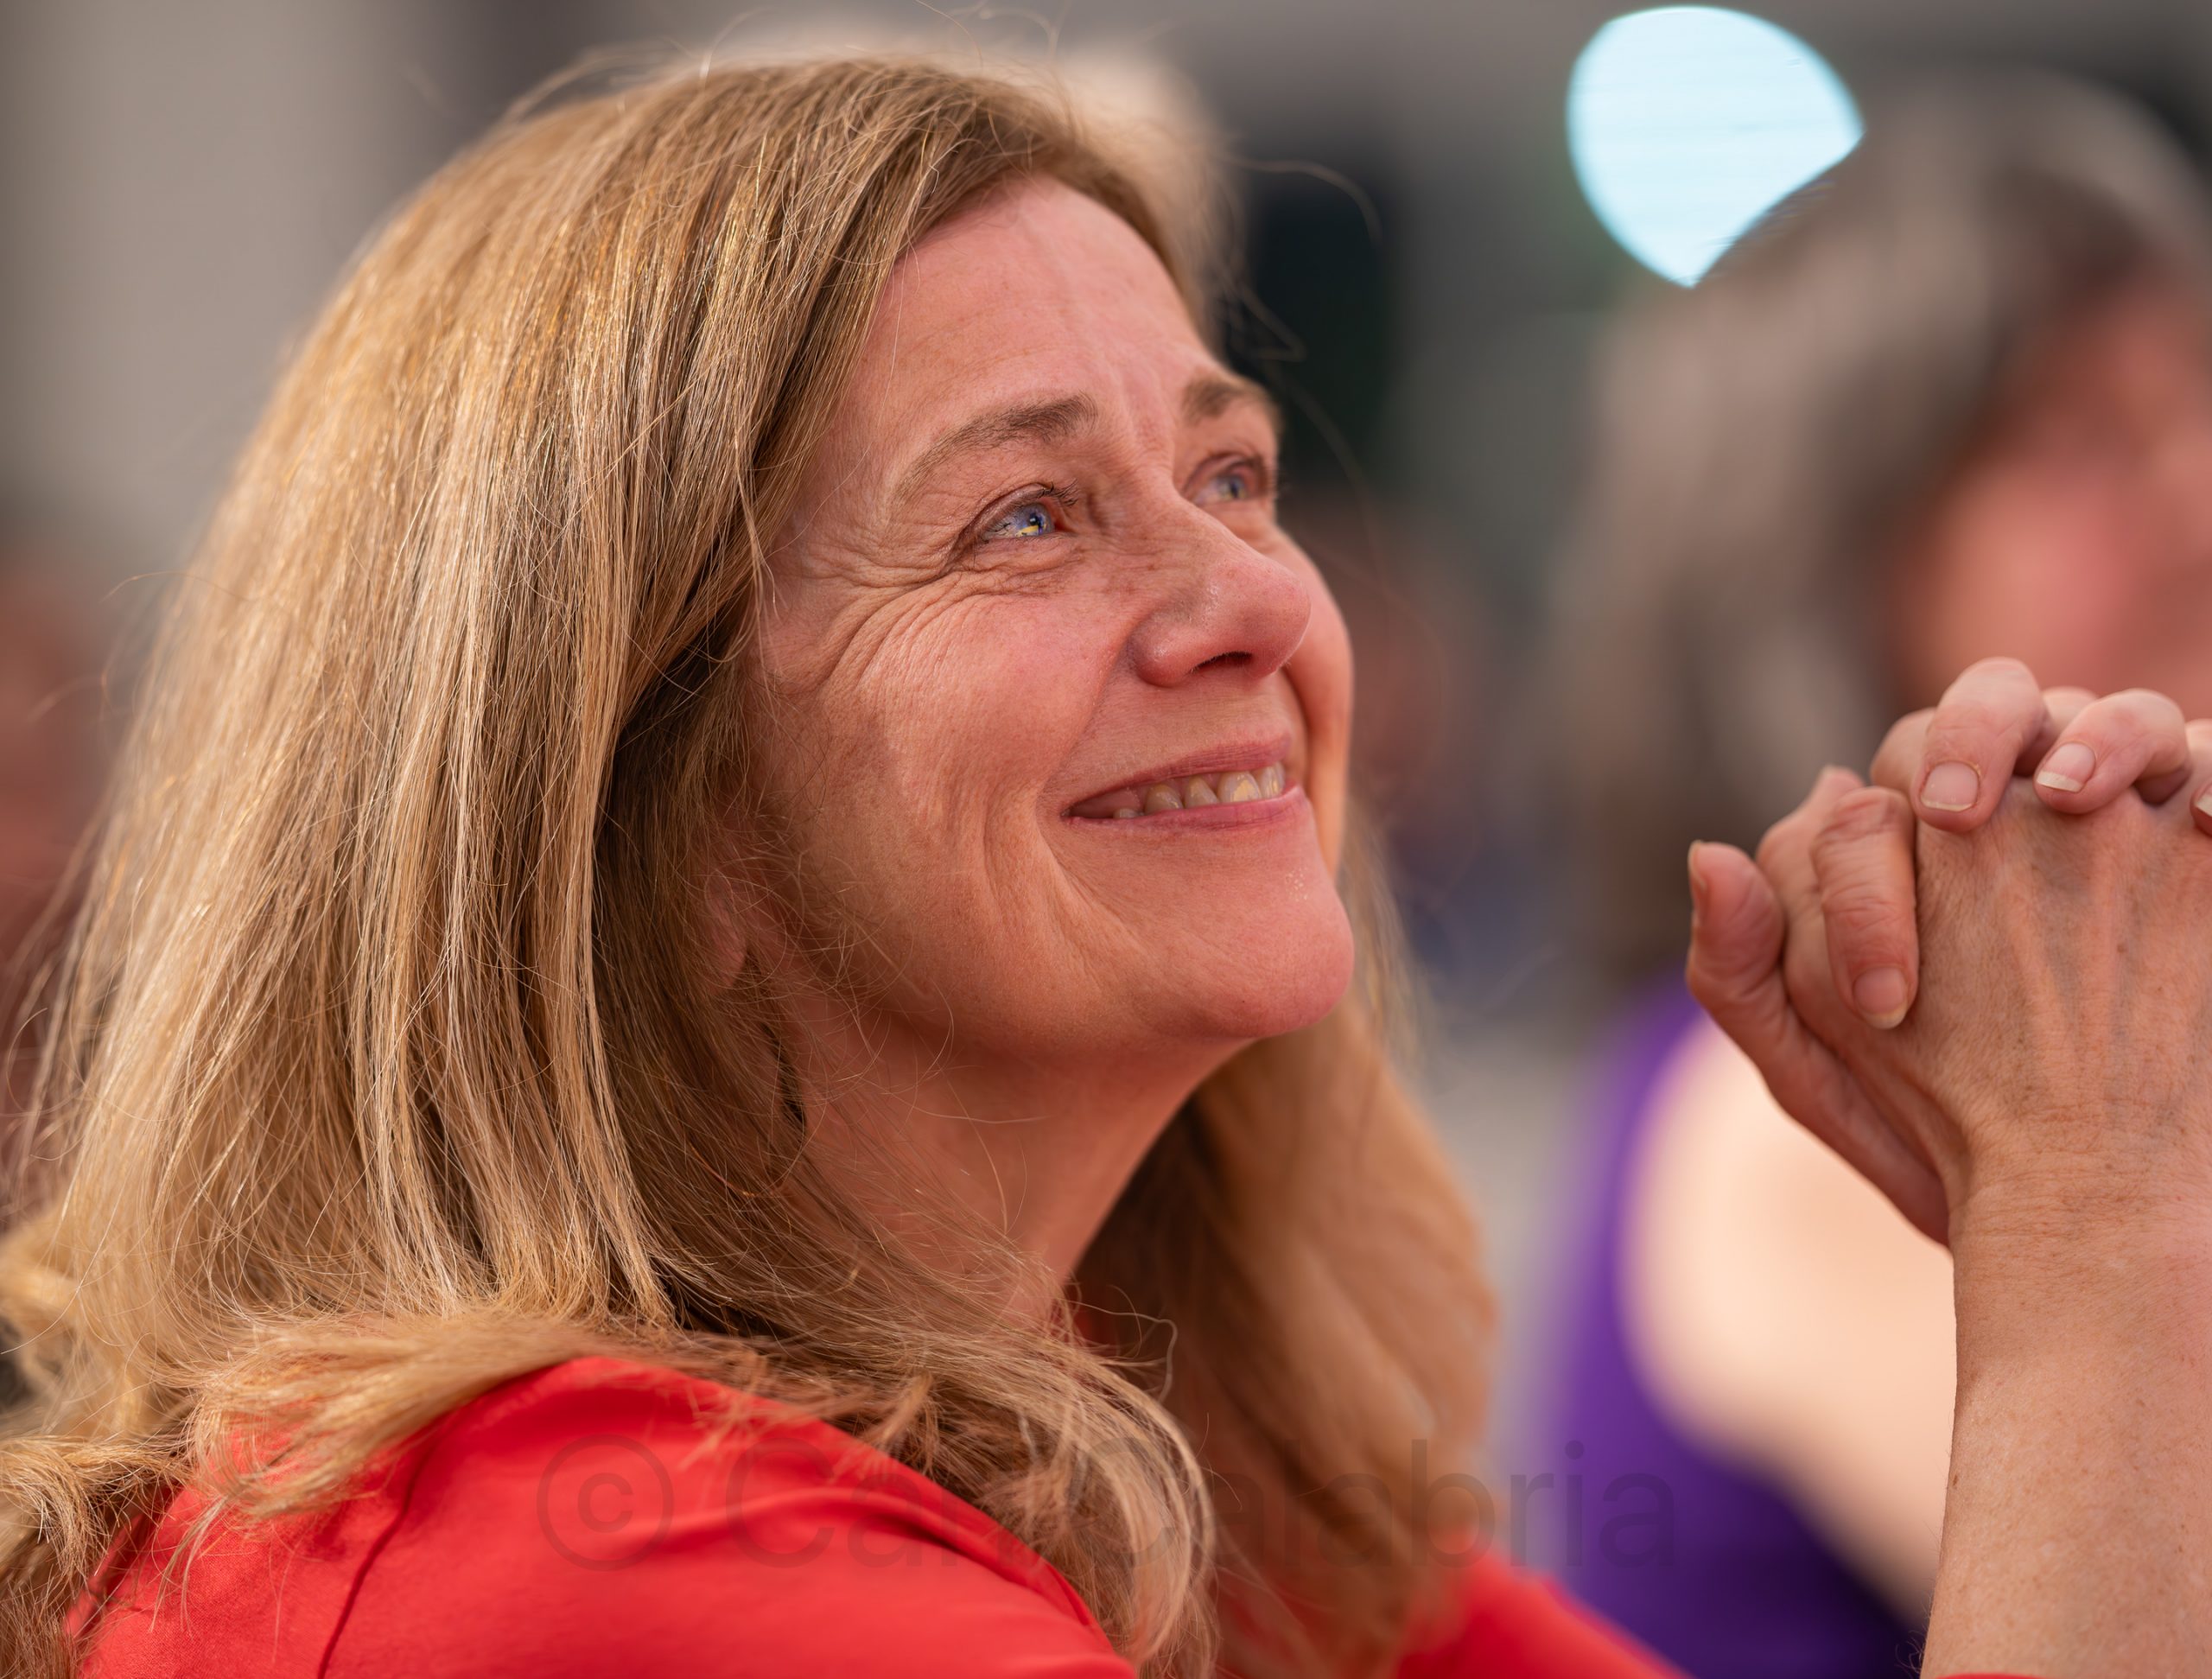
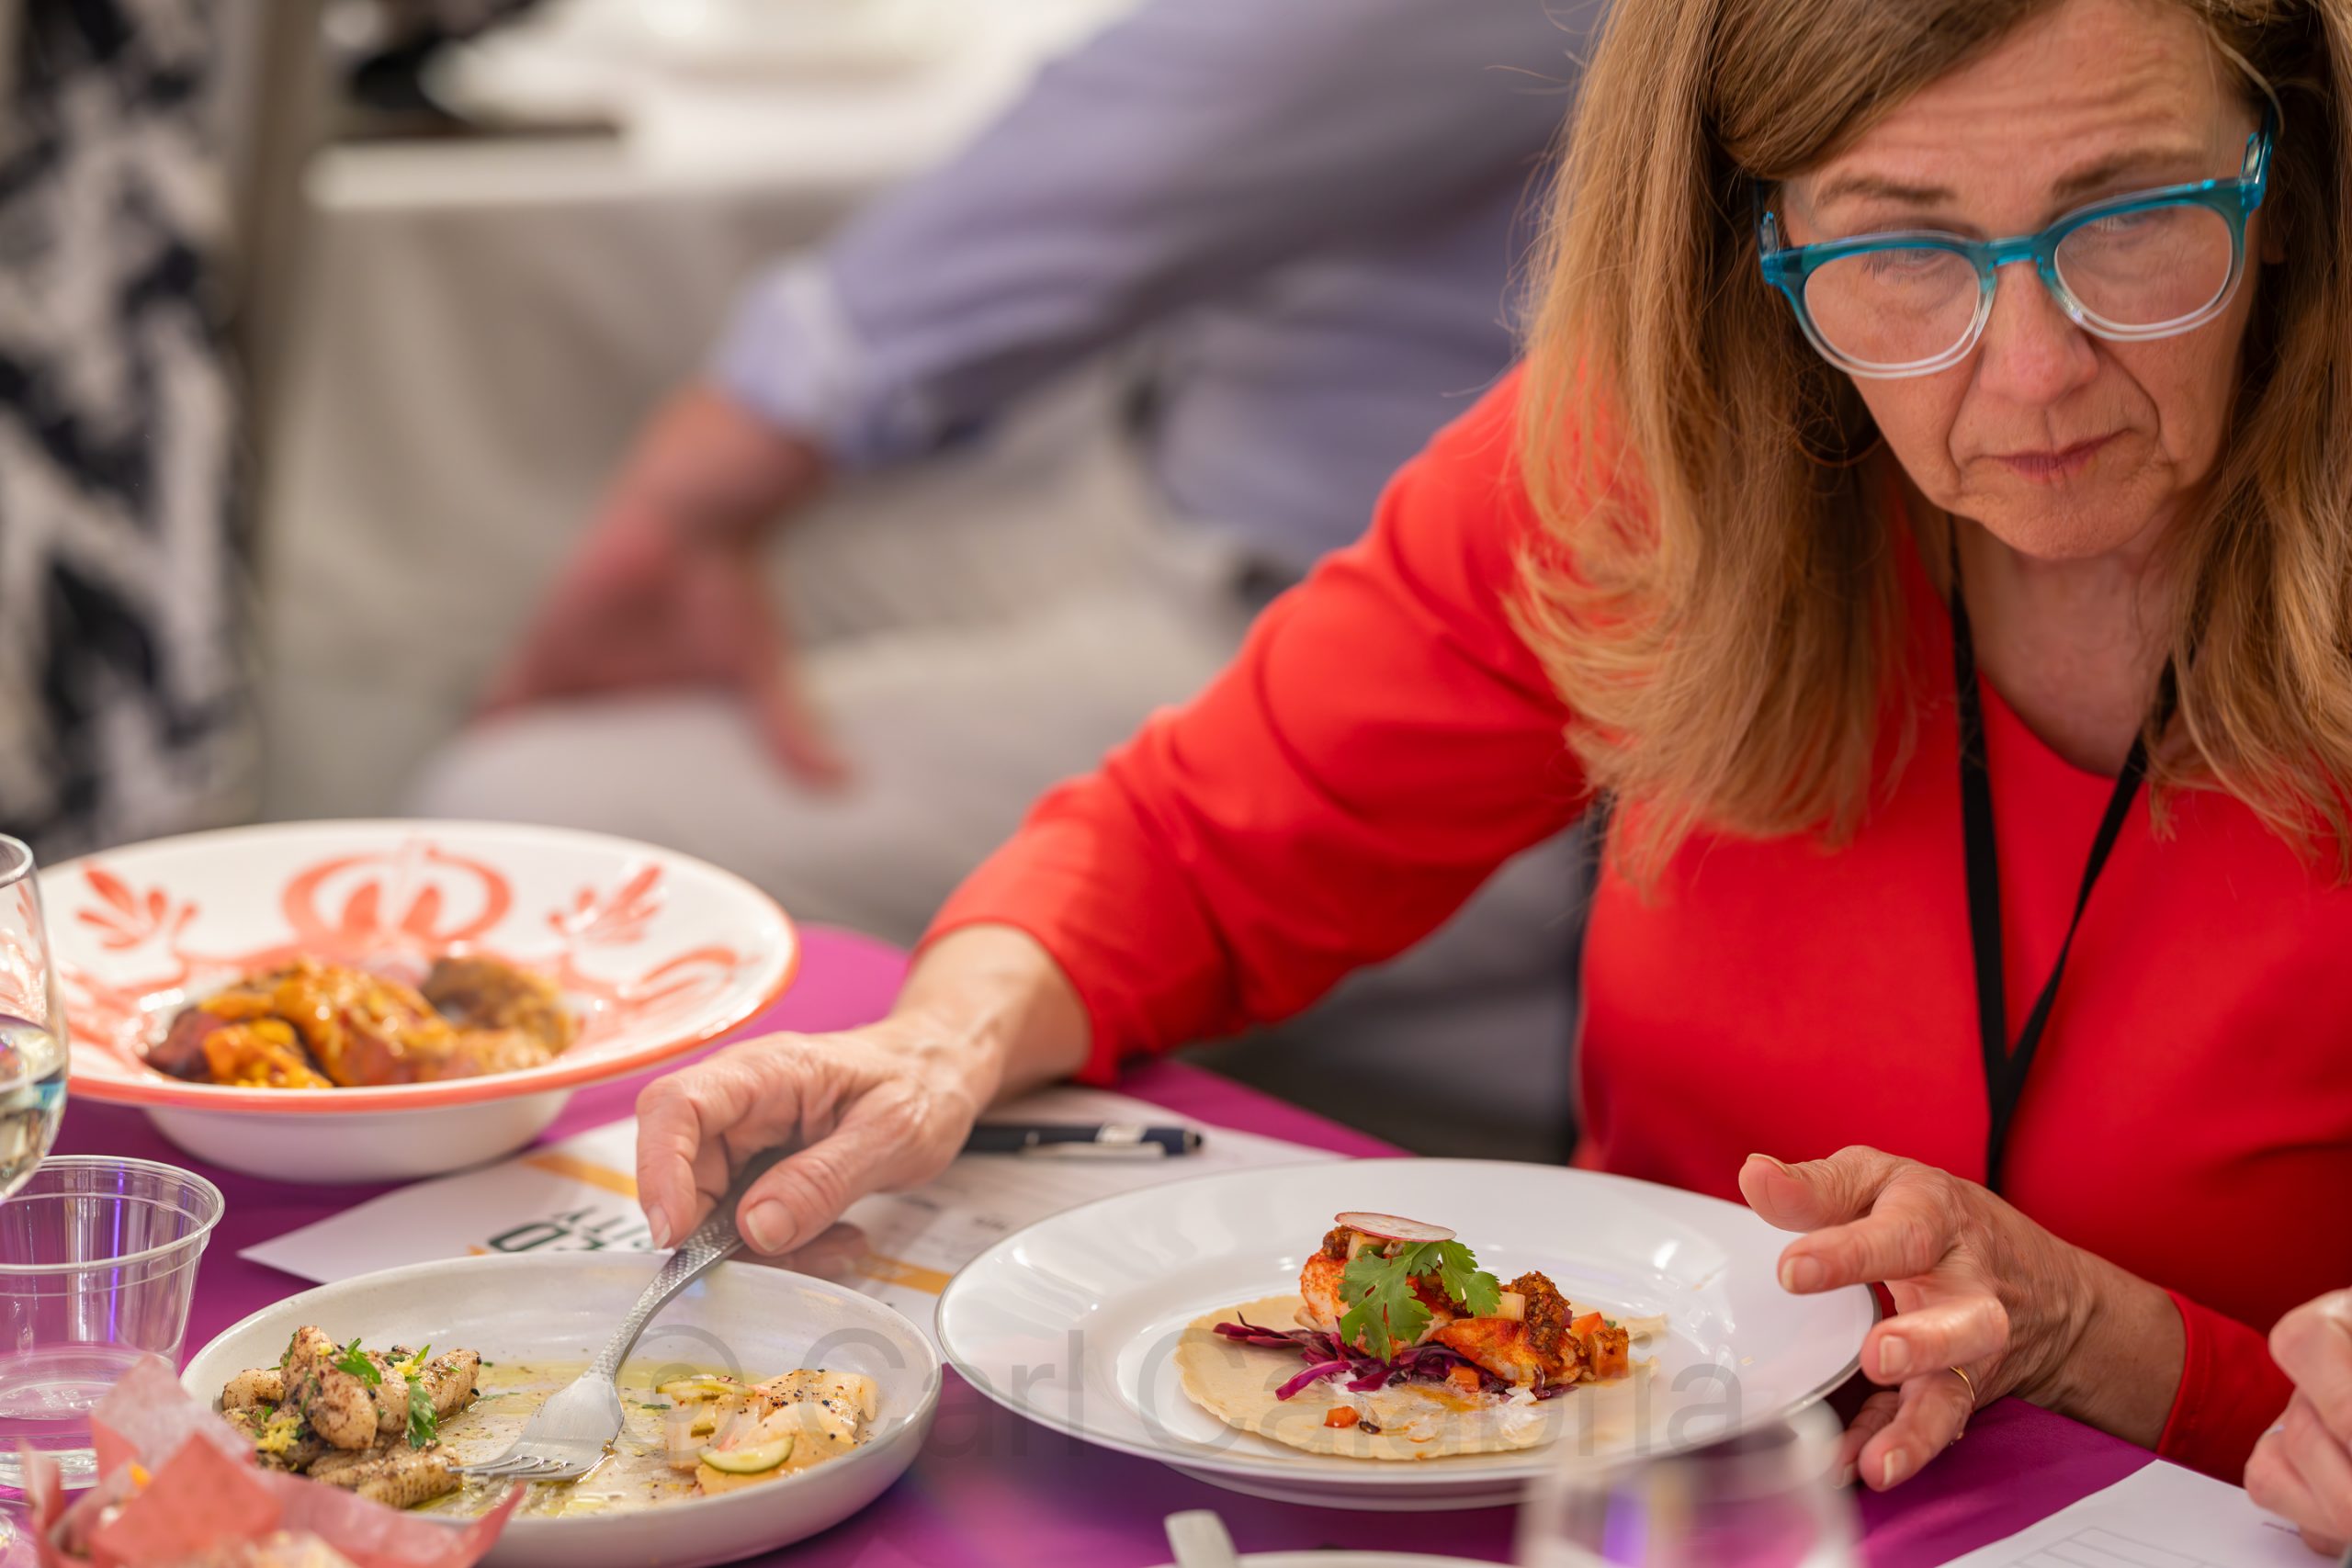
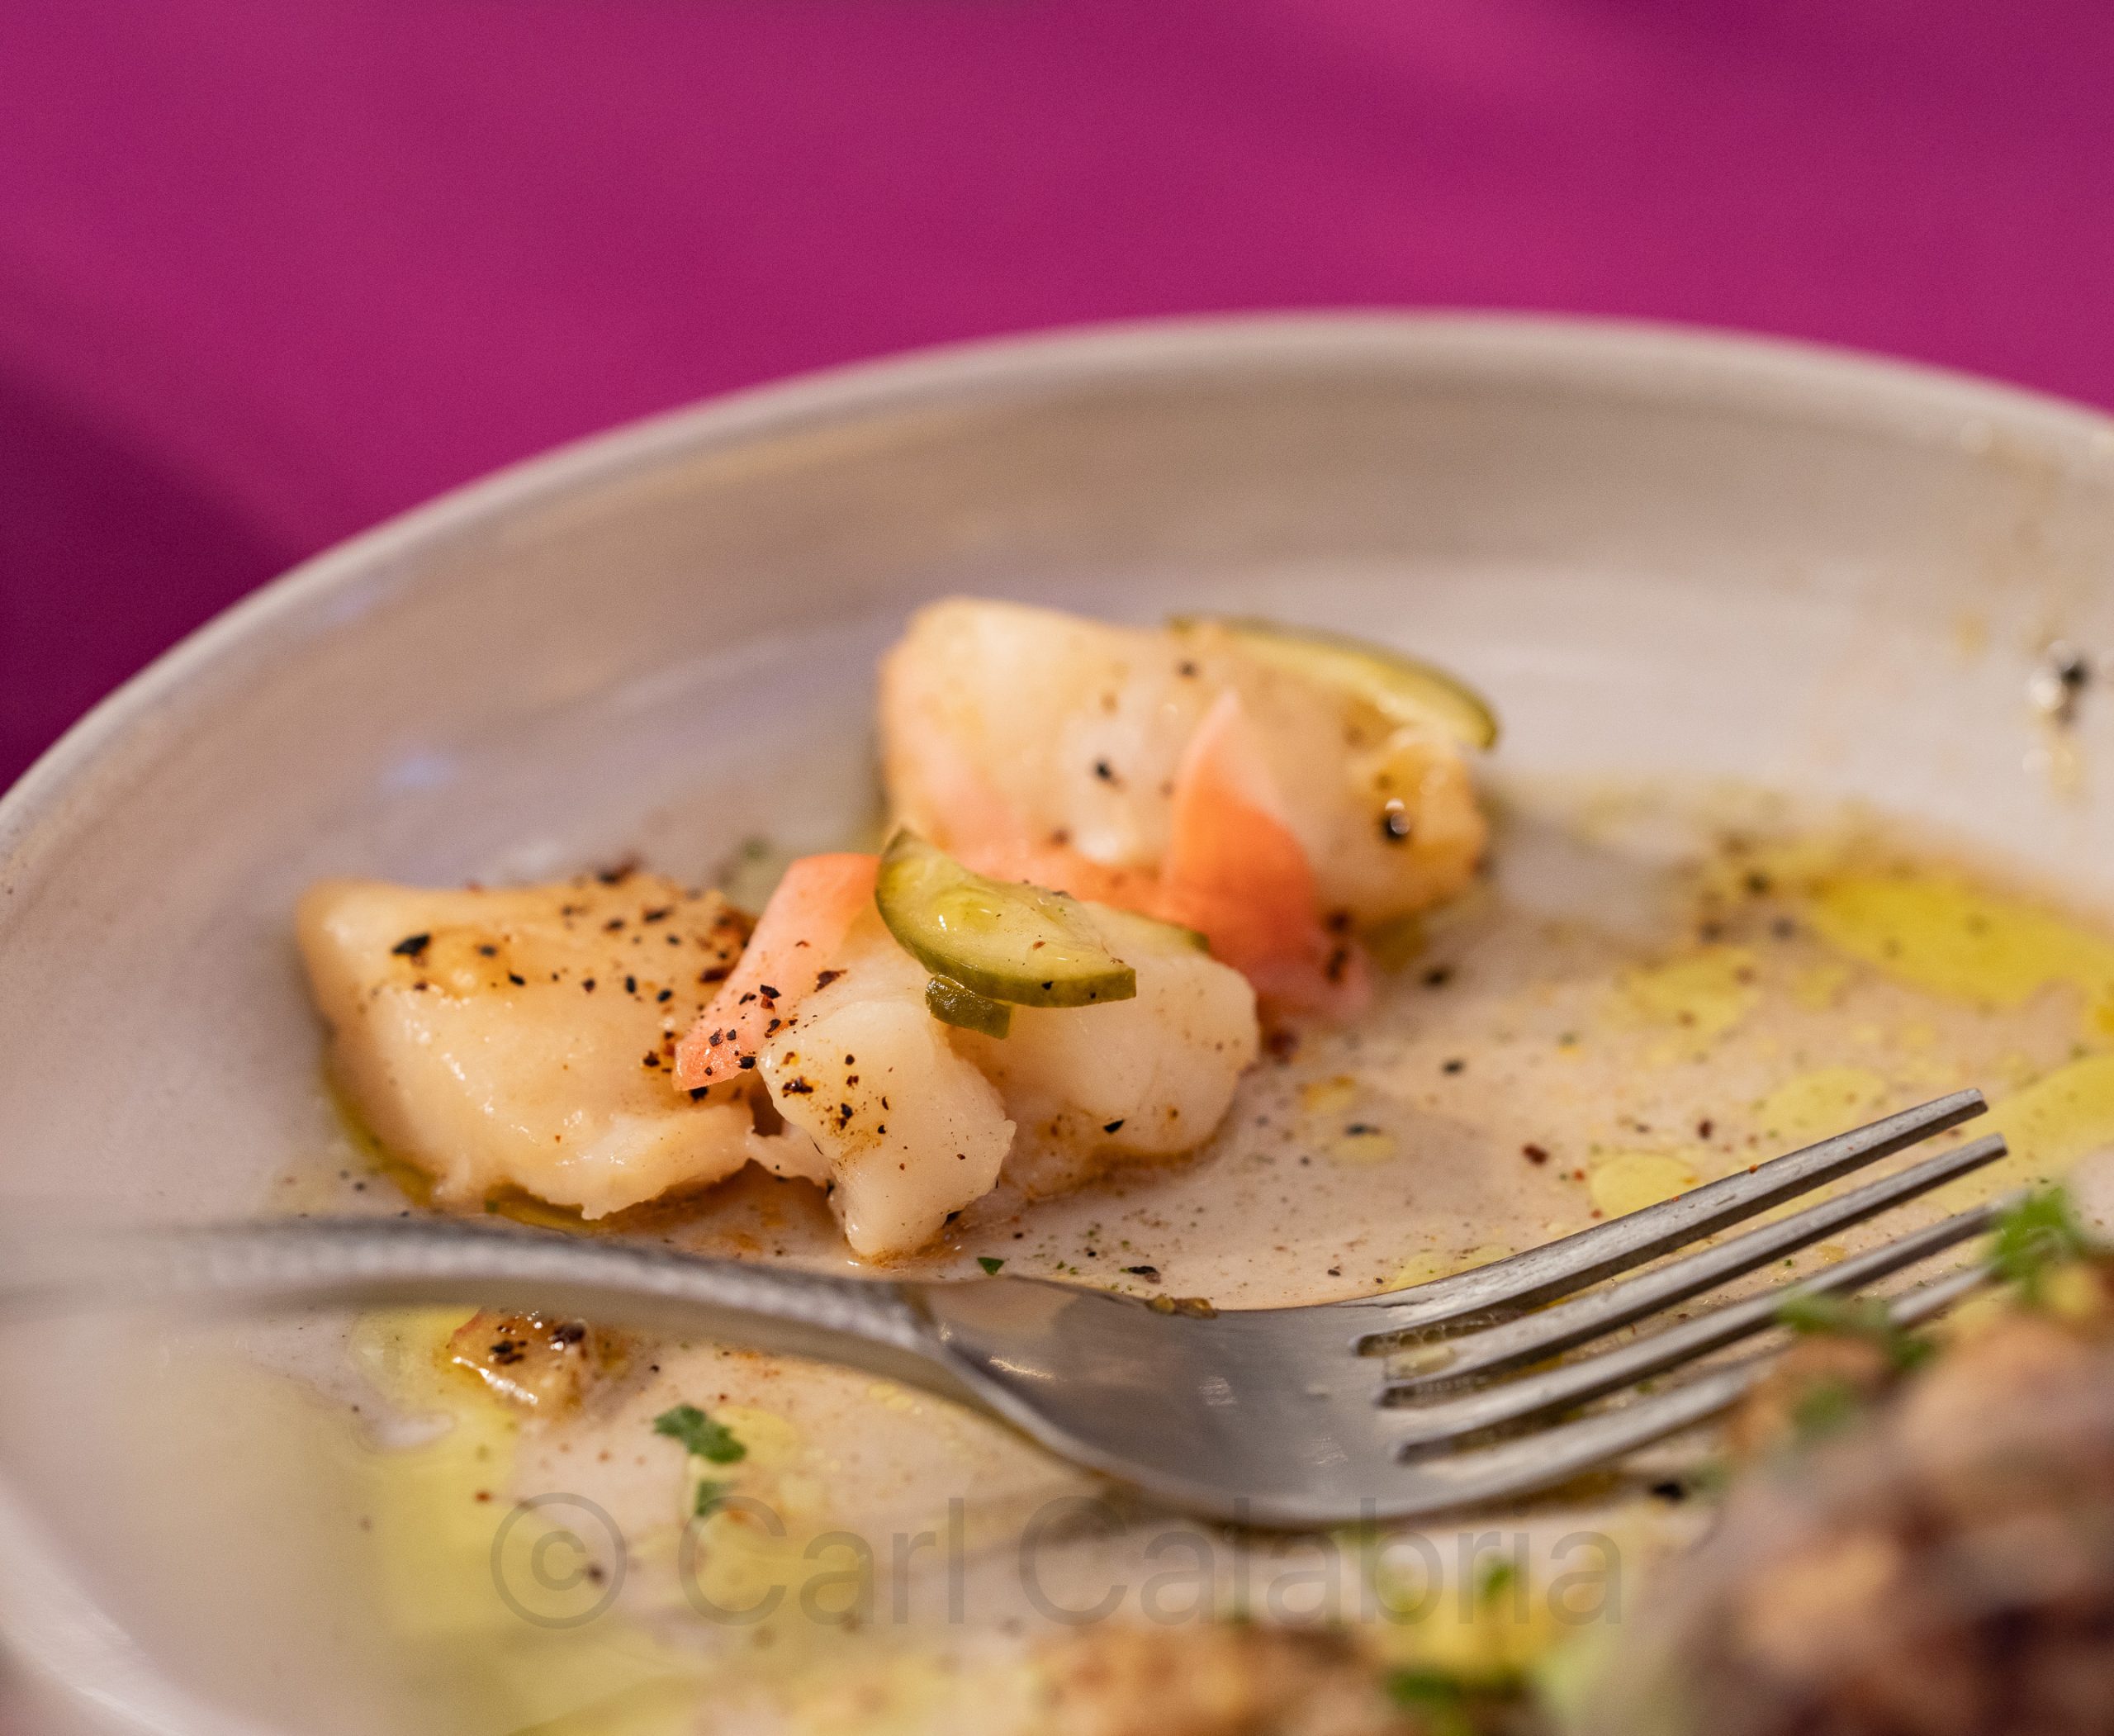
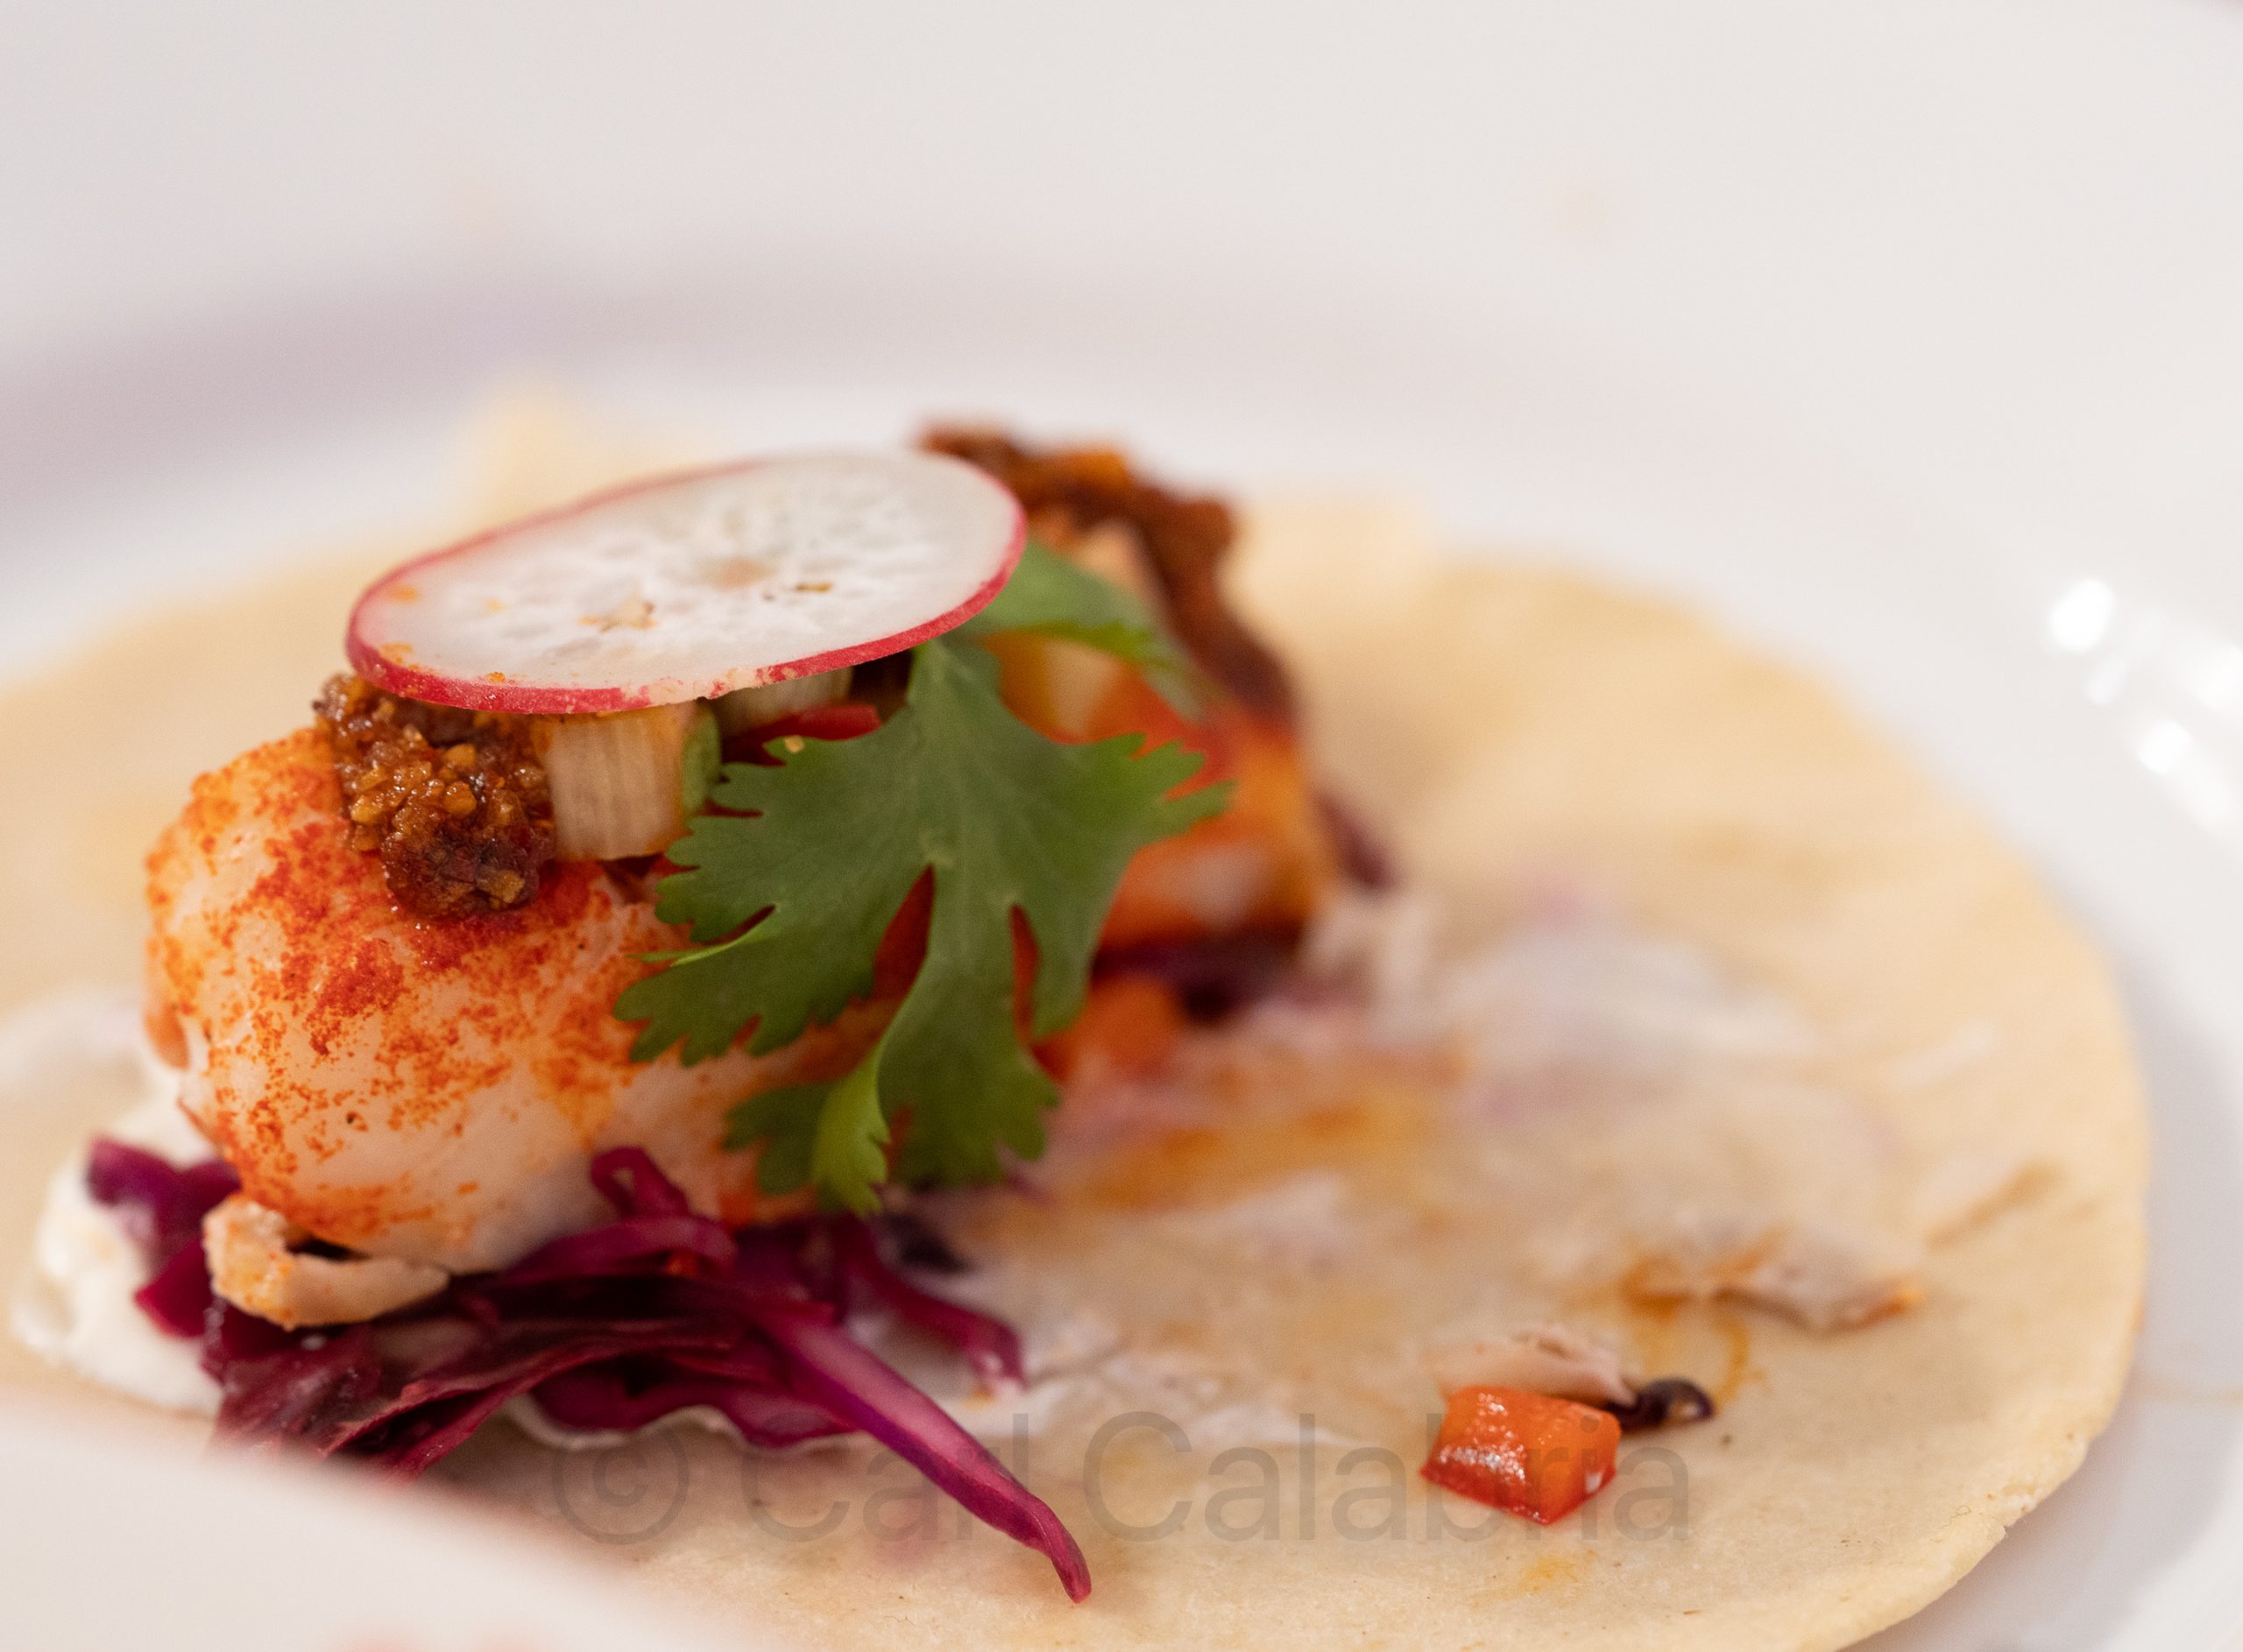
Nothing could have brought more joy to Jeanine than being one of the judges at Chopped for Charity, the Open Table fundraiser she started while Executive Director. This evening her only responsibility was to sample food from three of the finest chefs in the Boston area, comment on her observations, and vote for a winner. She was in heaven. Seeing so many of her friends from Open Table and being acknowledged for her decade of leadership and impact on the organization made the evening one she will never forget.
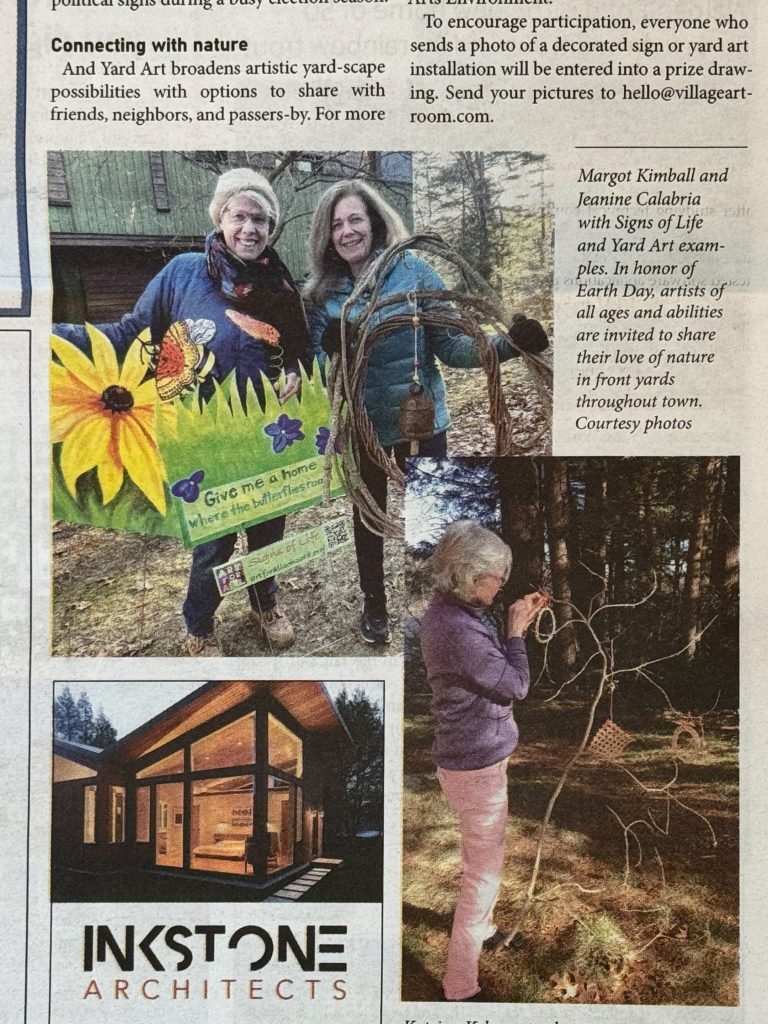
Jeanine appeared in last week’s Concord Bridge with her friend Margo Kimball. Signs of Life combines the repurposing of yard signs (think campaign and fundraising signs) to promote art, nature, and mental well-being.
My nephew, Mario, was in Boston this week for business and we were thrilled he could join us for dinner this evening. We were excited to learn that his new job in business development will bring him to the area at least once a year. He brought us up to speed on plans for his 2025 wedding and his new life in Seattle where he recently moved with his fiance. Also joining us, was Jovan, Nicolai’s amputee soccer teammate and Bionic Project colleague.
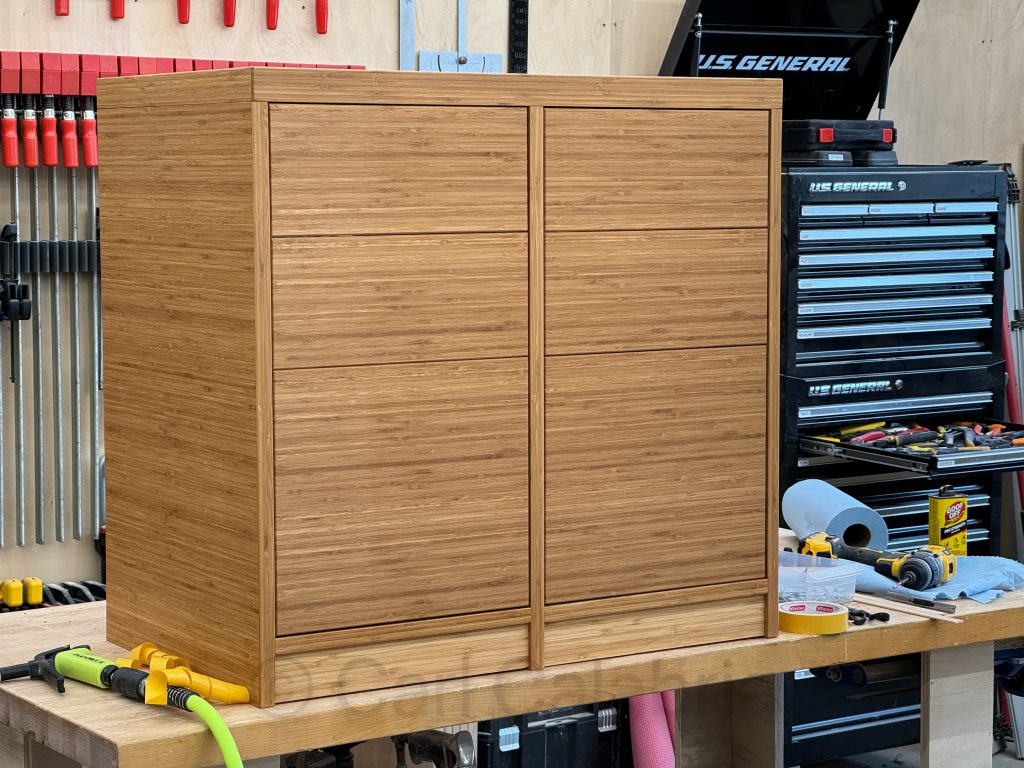
I generally take great pains to match grain and color on various parts of the furniture I build. Notice how the grain pattern on the left side drawers matches that on the right side. Also, notice how the color of the toe kicks does not match the rest of the piece. Fortunately, it took little time to locate some matching bamboo and replace them.
I made progress on the credenza I am building for my office. Pictured above is a look at the internal hardware needed to support the push-to-open drawers. The rod between sides is used to synchronize the slides so that a push on one side of the drawer face will trigger the other side as well. The rods are connected to the devices which propel the drawer forward when triggered. They in turn are connected to the actual drawer slides. Having installed this arrangement on something like 120 drawers throughout the house, I have gotten quite proficient at installing them.
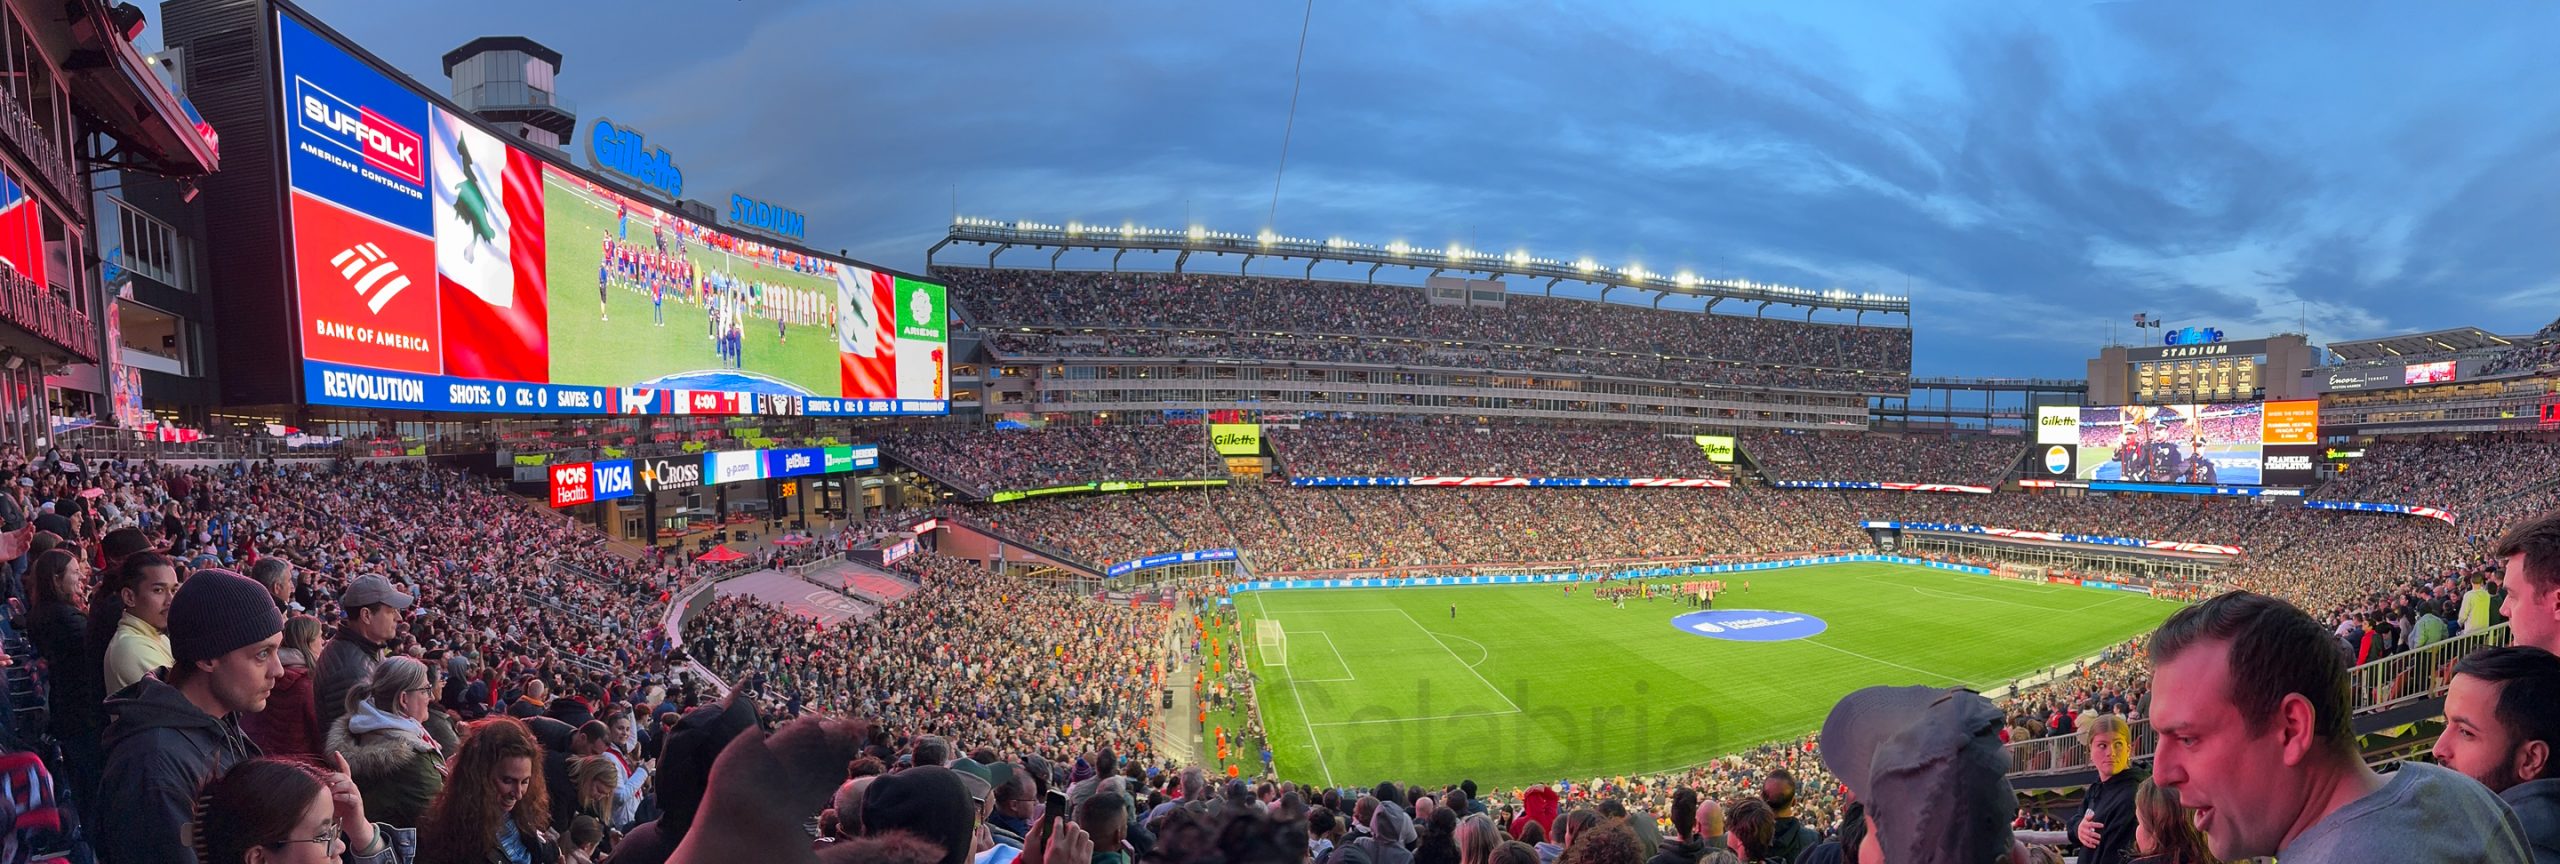
On May 25th, the New England Revolution soccer team takes on the New York City FC at Gillette Stadium. Immediately following the match a second 50-minute game will be played between the amputee soccer teams representing the New England Revs and New York City FC. Nicolai is the captain of the former and has been working for years with the NE Revs to develop an amputee soccer league and to draw attention to the sport.
Jeanine and I will be attending with a group of my soccer teammates and would love to see you there. We will be in Section 105.
Tickets are good for both matches and parking is free. If purchase using the following link, $5 will be donated to the American Amputee Soccer Association (AASA).
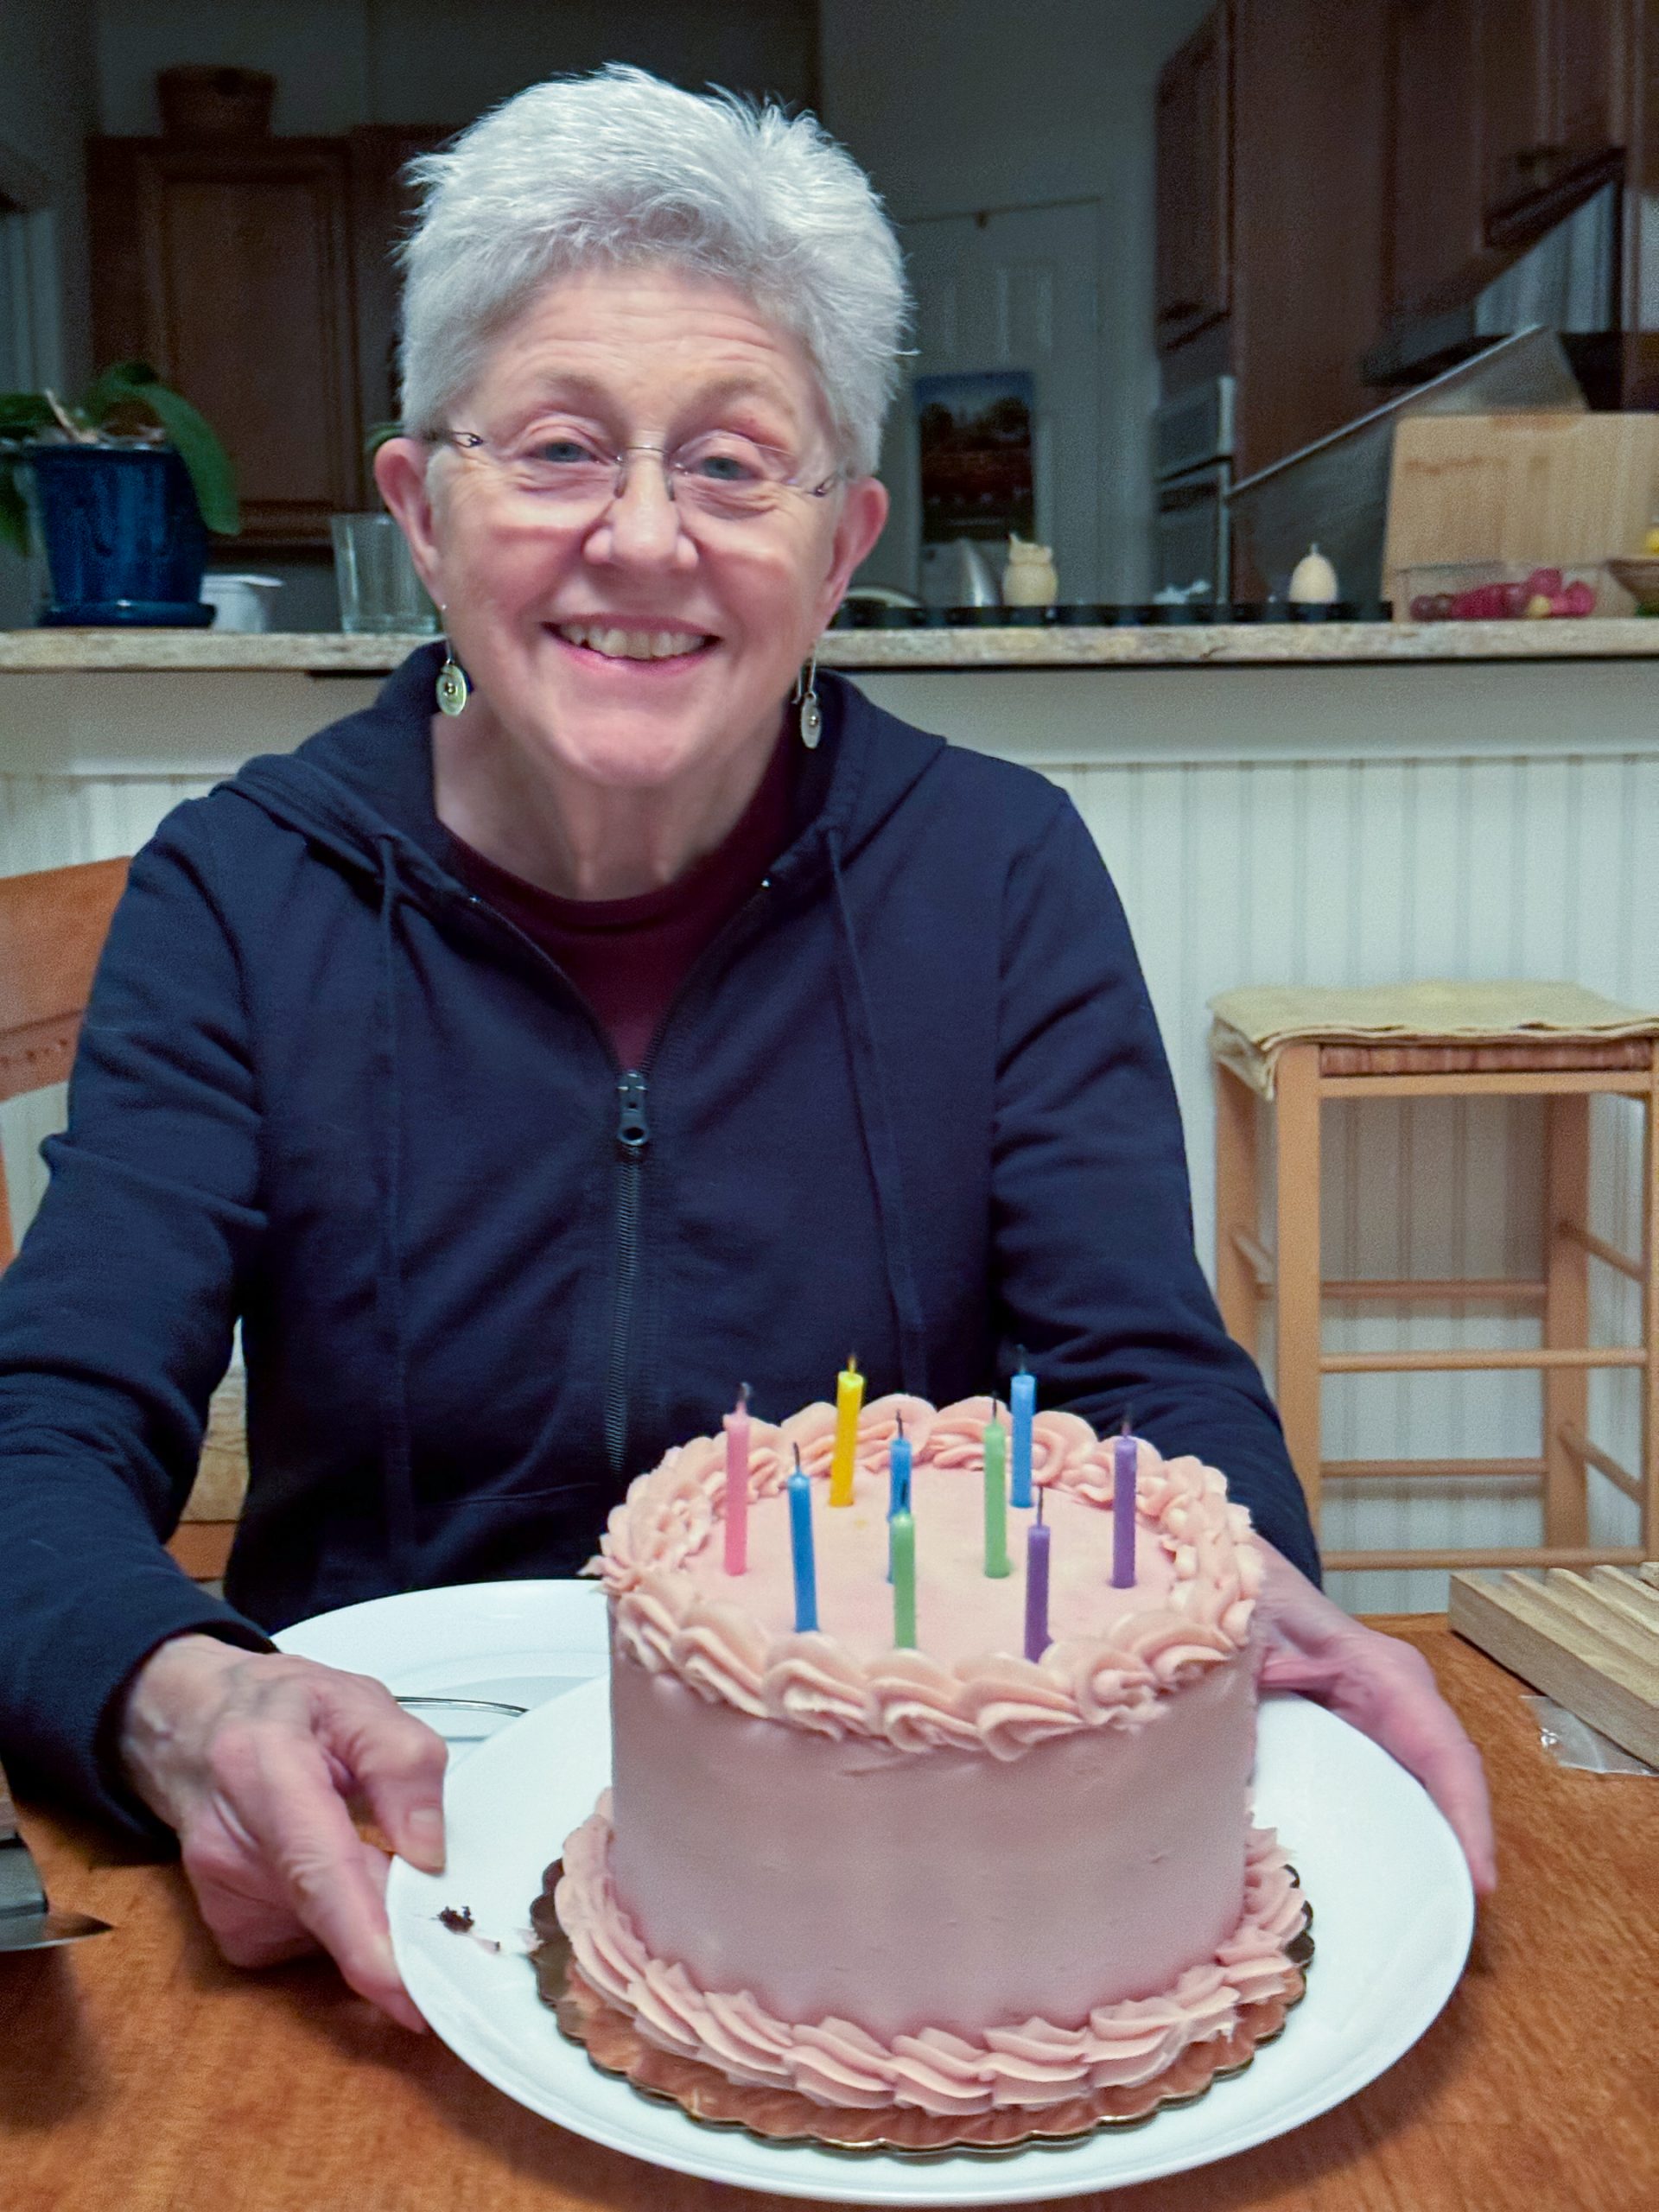
Jeanine has been in Burlington, VT all weekend celebrating her sister Susan’s 72nd birthday.
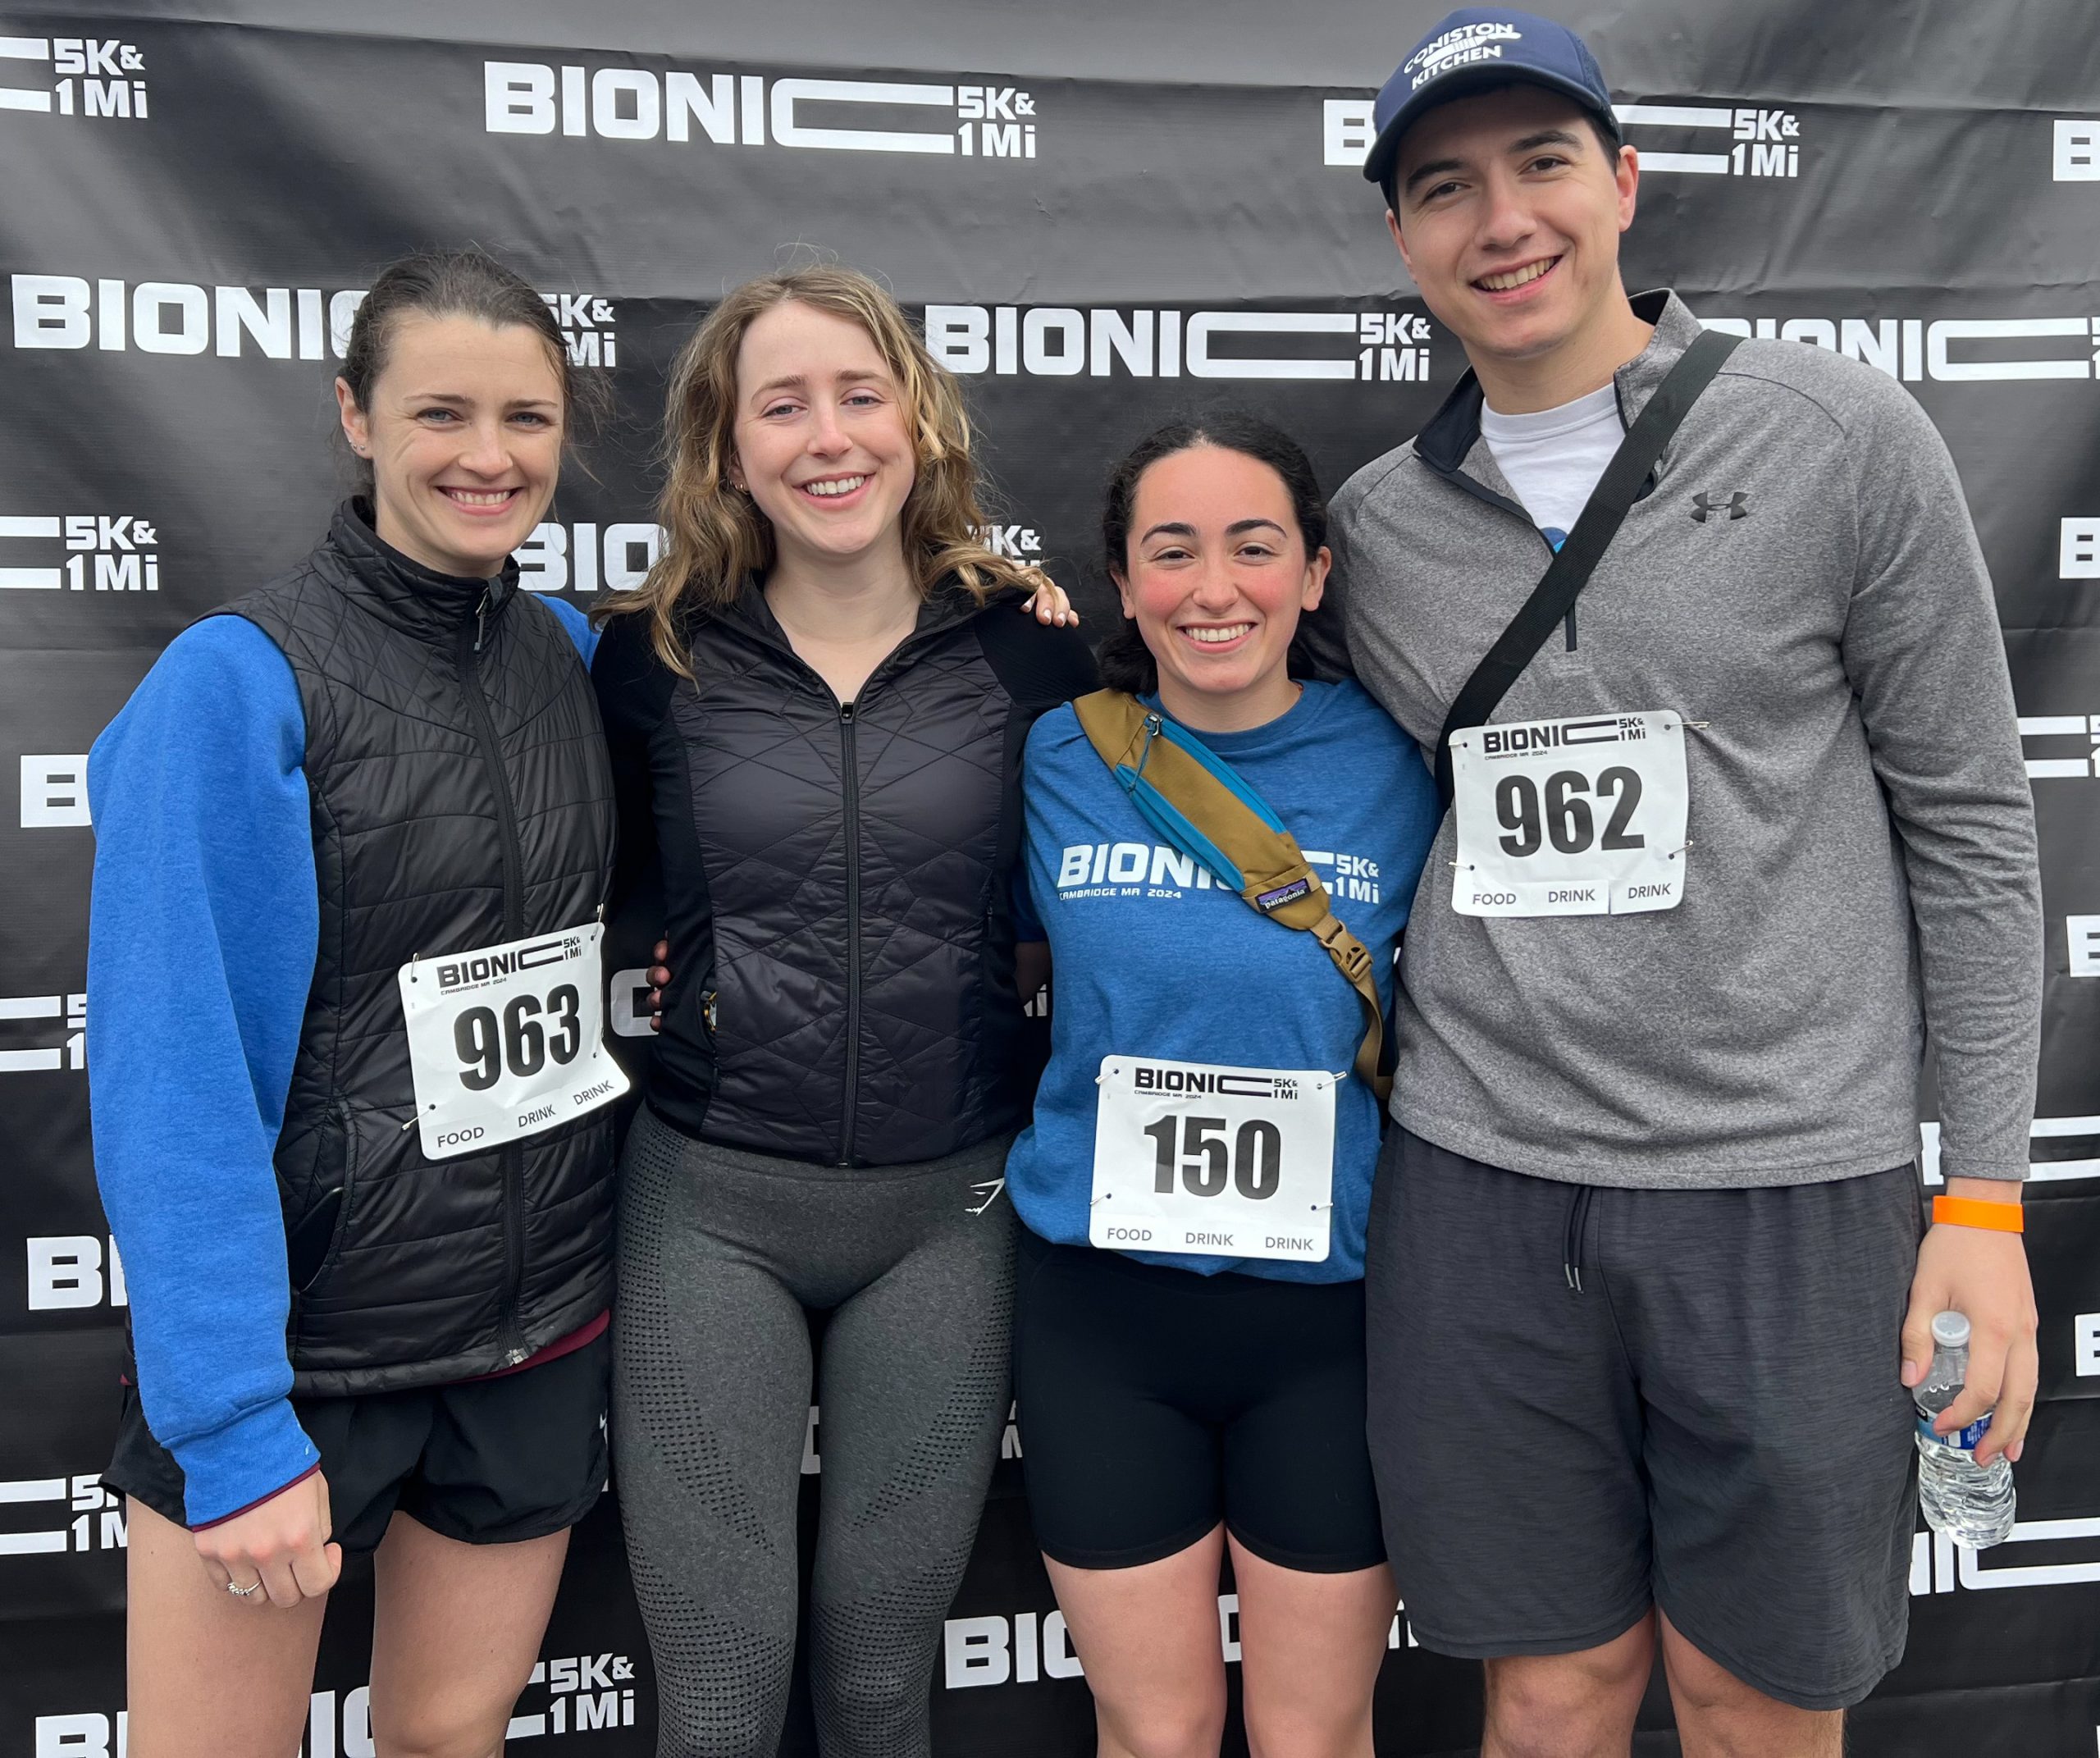
On the home front, Nicolai, Maya, and several of her friends, participated in the Bionic 5K race this morning. Later in the week, I hope to publish a picture of Nico, who placed first in the above-the-knee amputee division.
This season, my over-62 soccer team is required to play in Division 2, because we are a newly formed team. Should we finish in first place, we will be promoted to Division 1 for the fall season. Our team is comprised of the same guys, just a little older now, who were Division 1 champs for several years running in the over-55 league. This explains our 11-0 win this morning against the team from Harvard. So far this season we have scored 22 goals and given up zero. Honestly, it is more fun to play against better opponents and hopefully that will be the case in the fall.
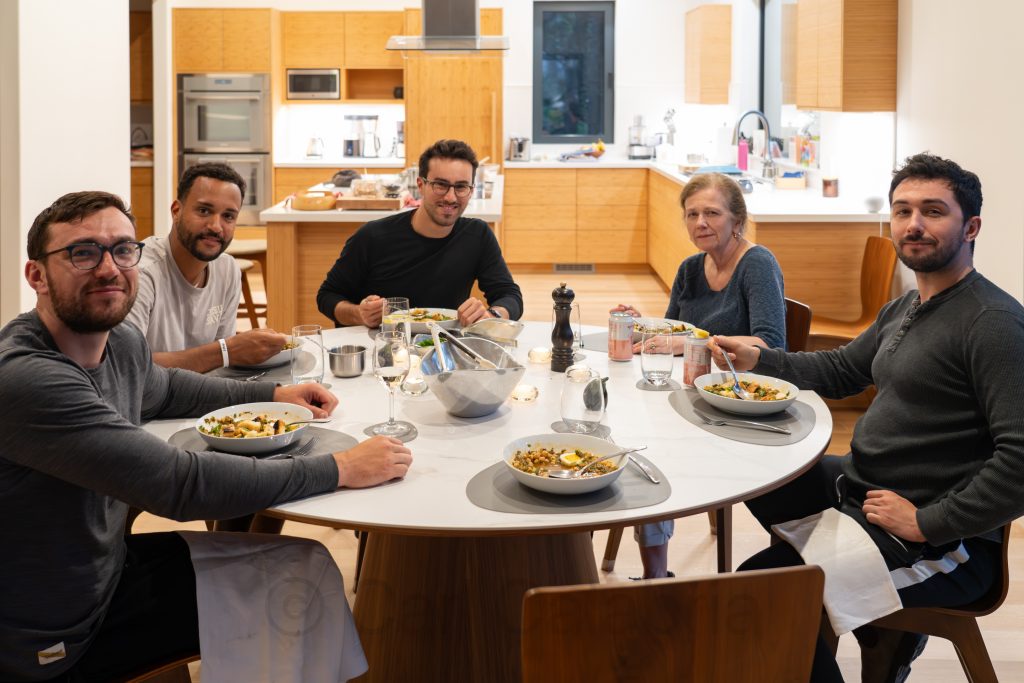
I hosted the kids and their friends for dinner this evening at the River House. It was the first time in their entire lives that I prepared an entire meal for them. I made chicken fajitas on the grill served with guacamole, salsa, sour cream, shredded cheese, Spanish rice, and black beans. After the shock wore off and the story told of how Jeanine was fooled into believing I knew how to cook when we were dating (full story on page 83 of her cookbook), we gathered around the fire pit for dinner. For those who do not know, Jeanine is a magnificent cook and all three kids have followed in her footsteps making this audition of my culinary ability somewhat intimidating. In the end, the results were not half bad and there may be more cooking in my future.
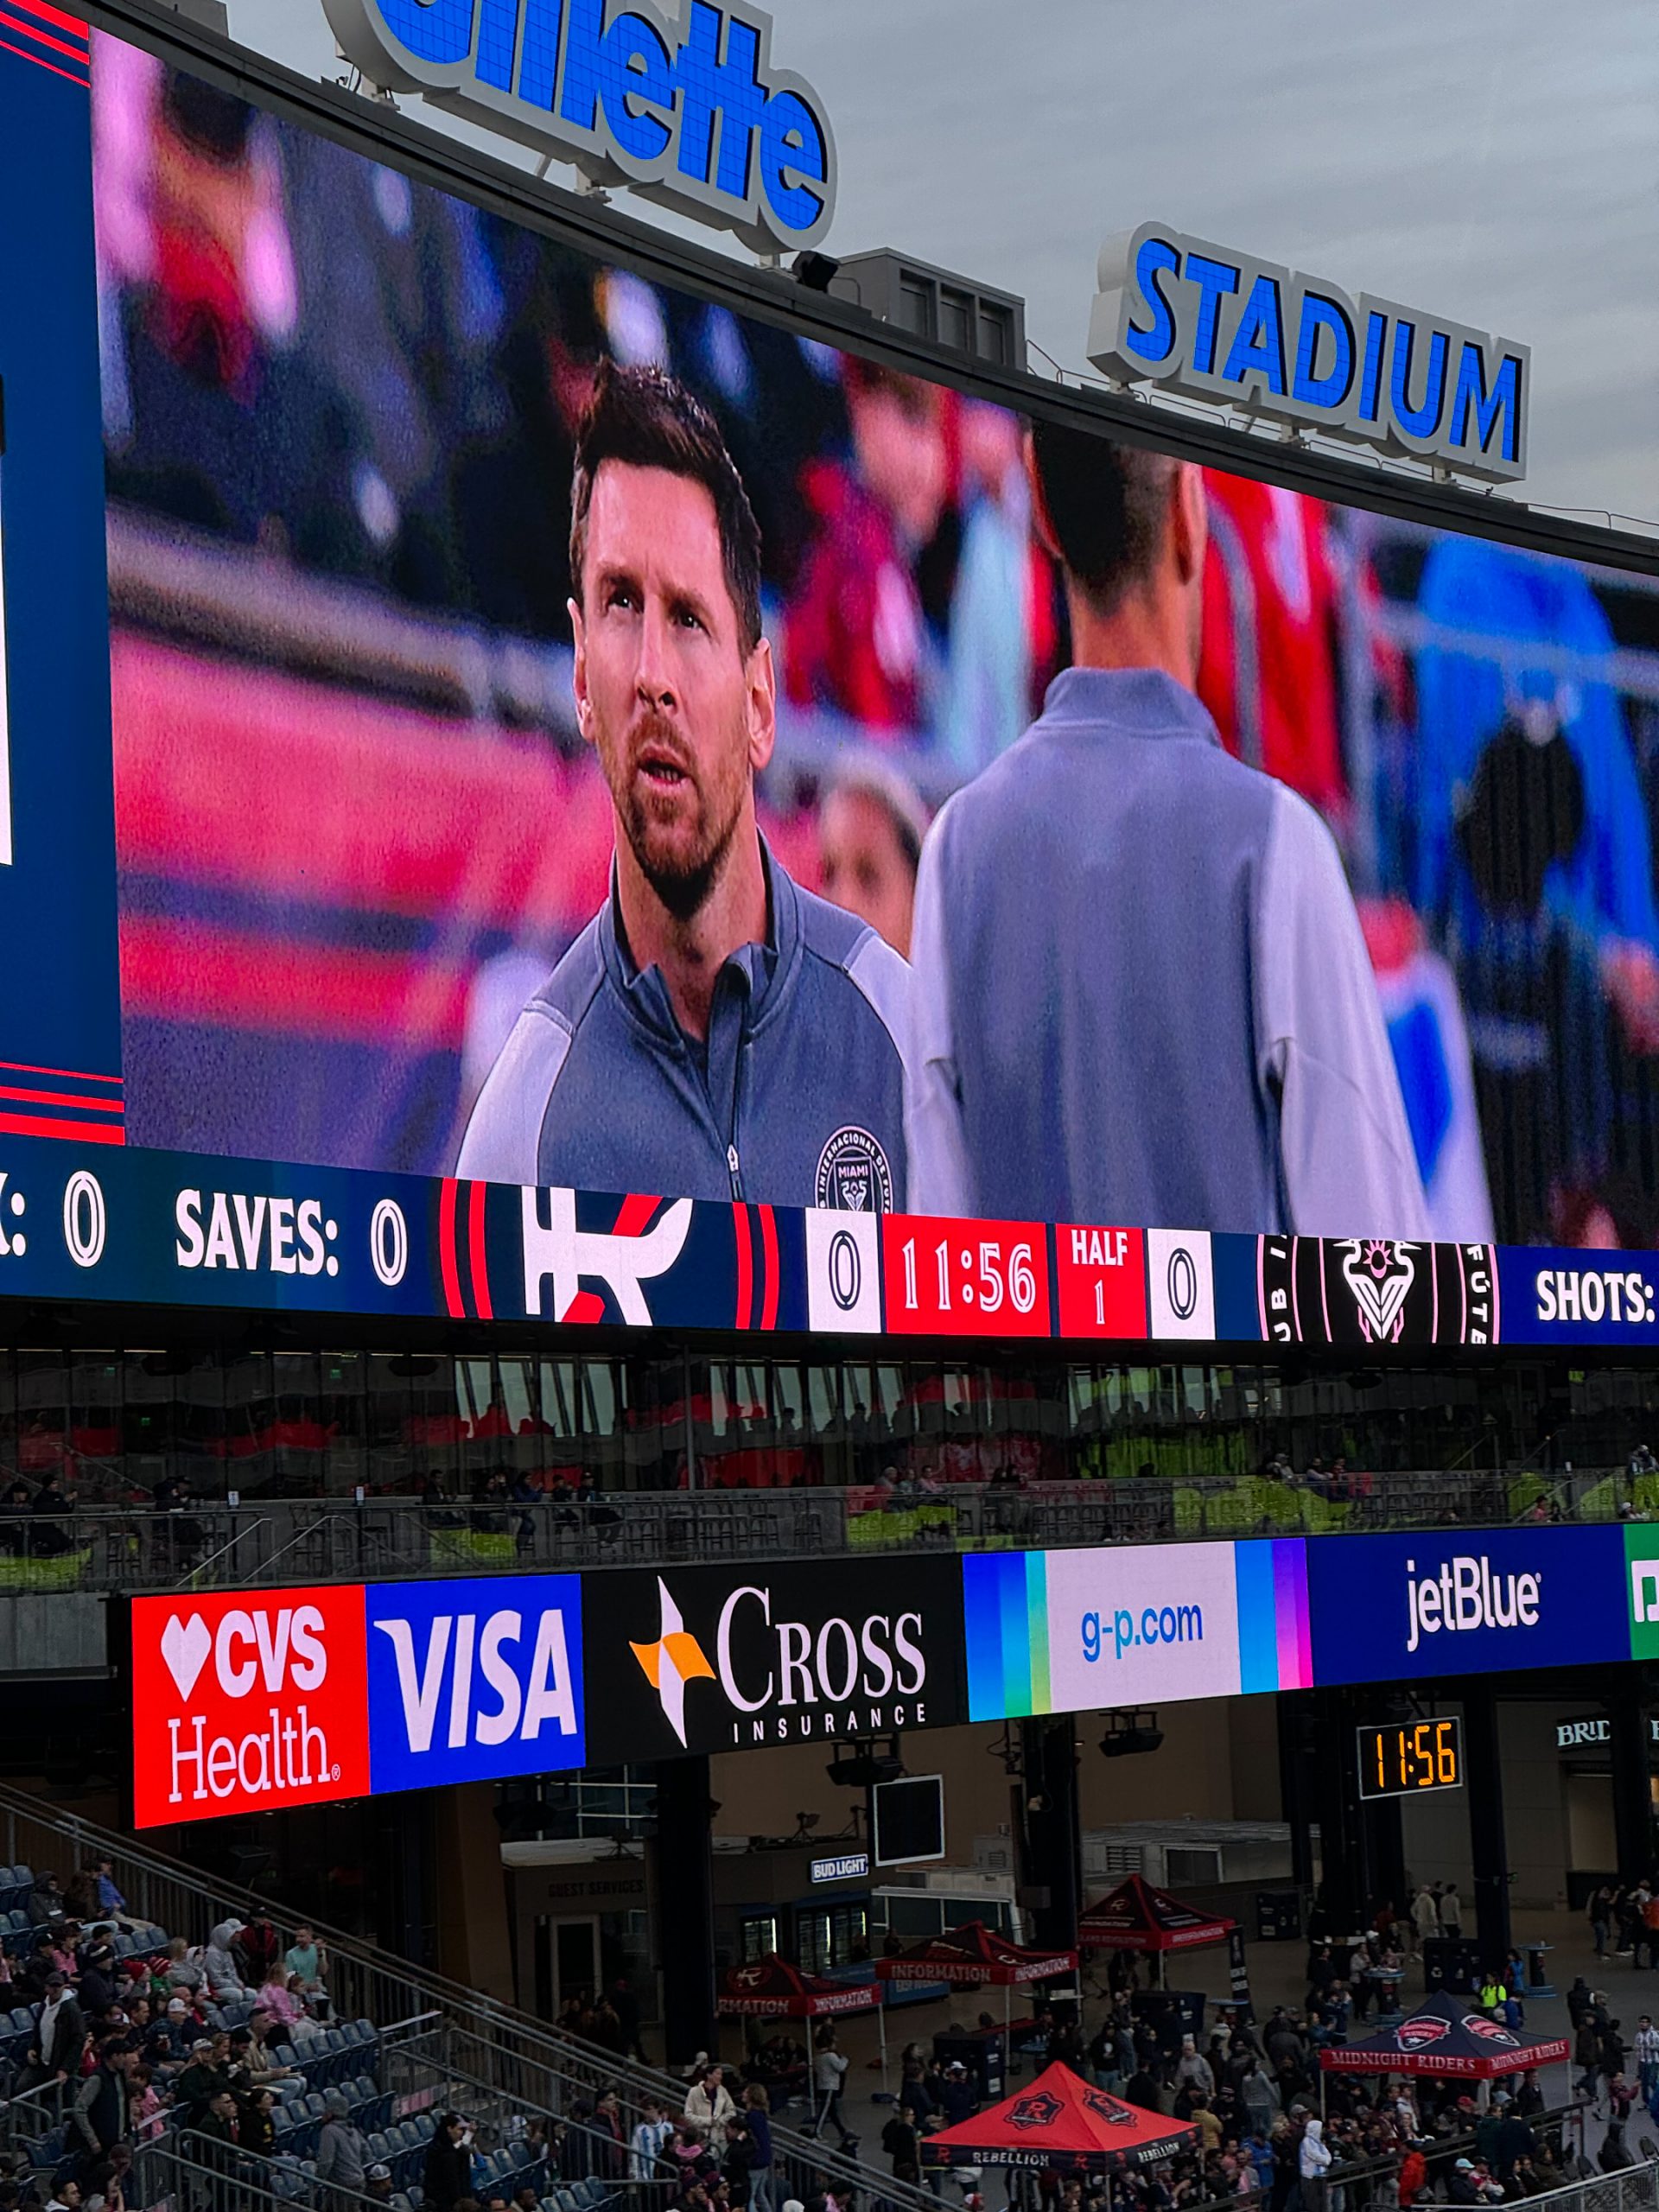
I joined some of my soccer teammates at Gillette Stadium this evening to watch the NE Revs take on Miami CF. It was a chance to see Lionel Messi in action and we were not disappointed. He scored twice in the 4-1 drubbing of the Revs. He spends ~90% of his time on the pitch walking or slowly jogging about, and any high school soccer coach would question his contribution to defense. Even so, when the ball is at his feet, there is little doubt why he is considered the greatest soccer player of all time. While I thoroughly enjoyed the soccer match, the parking logistics for the stadium were abysmal. Pedestrian traffic interrupts car traffic due to the lack of a bridge or tunnel between the field and general parking. Rather than parallel entry points into the parking area, it is ultimately reduced to a single file where the time it takes to park a single car is the rate limiter. With a crowd of 65,000, I would estimate a total of 25,000 cars. It took an hour and a half just to exit the parking lot.
It has taken some time to get around to completing the stairs to the garage. I finished the structural portion several months ago to facilitate access to the house. The plan post-construction was to top the structure with the same white oak flooring used throughout the house. I intentionally left a roughly sanded surface to reduce the possibility of slipping when coming into the house with wet or muddy shoes. I was very satisfied being able to use all scrap/left-over materials for this project.
Nico has been named to the 2024 Range of Motion Project (ROMP) climb team for the second time. Each year, a select group of adaptive athletes, industry leaders, and disability rights advocates come together for the signature climb: an attempt on one of Ecuador’s highest peaks to symbolize what is possible when you have access to proper prosthetics care and to raise money for those who do not. To commemorate their 10th anniversary, this year’s team will split into groups to climb the highest three mountains in Ecuador (Chimborazo 20,549 ft, Cotopaxi 19,347 ft, and Cayambe 18,996 ft). Nico climbed Cayambe last year and is hoping he will be assigned to Chimborazo or Cotopaxi. This year’s goal is to raise $500,000 to fund prosthetic care for underserved communities. Should you wish to support Nico’s fundraising goal of $10,000 you can do so at this link by selecting his name from the list of climbers.
When Maya and I visited Ecuador in 2017 we climbed a small portion of Cotopaxi from the trailhead at 14,650 to the Refugio José Rivas at 15,953 feet. Getting to the summit looks to be an order of magnitude more difficult.
Our landscaping plan for the River House is based on native species. Only recently did we learn that local insects and pollinators are not able to eat non-native plants. Absent a food source, their numbers dwindle which negatively impacts the entire ecosystem. A secondary goal was to create a pallet of colors and textures that change with the seasons and require little maintenance or watering. Much as I took charge of the design process for the house, Jeanine has taken the lead on the landscaping design. Installation of plant material in the front “yard” commenced today and it is exciting to watch as the transformation begins.
Jeanine adds: We will be planting many drought-resistant grasses that require no mowing. Grass seeds mixed with clover will assist with adding nitrogen to the ground to help recover post-construction. The only non-native plants added to the mix (requested by Carl ) are hostas which will line the front walkway – Elephant and Mouse-ear variety! To preserve the views of the river, only low-profile trees will be added, witch hazel, hazelnut, serviceberry, viburnum, and leucothoe (a broadleaf evergreen). In place of a typical suburban lawn, many different ground covers will be established (“barren strawberry”, sedges, creeping thyme). Like most features of the house, the plan is to enjoy the natural setting without adding maintenance.
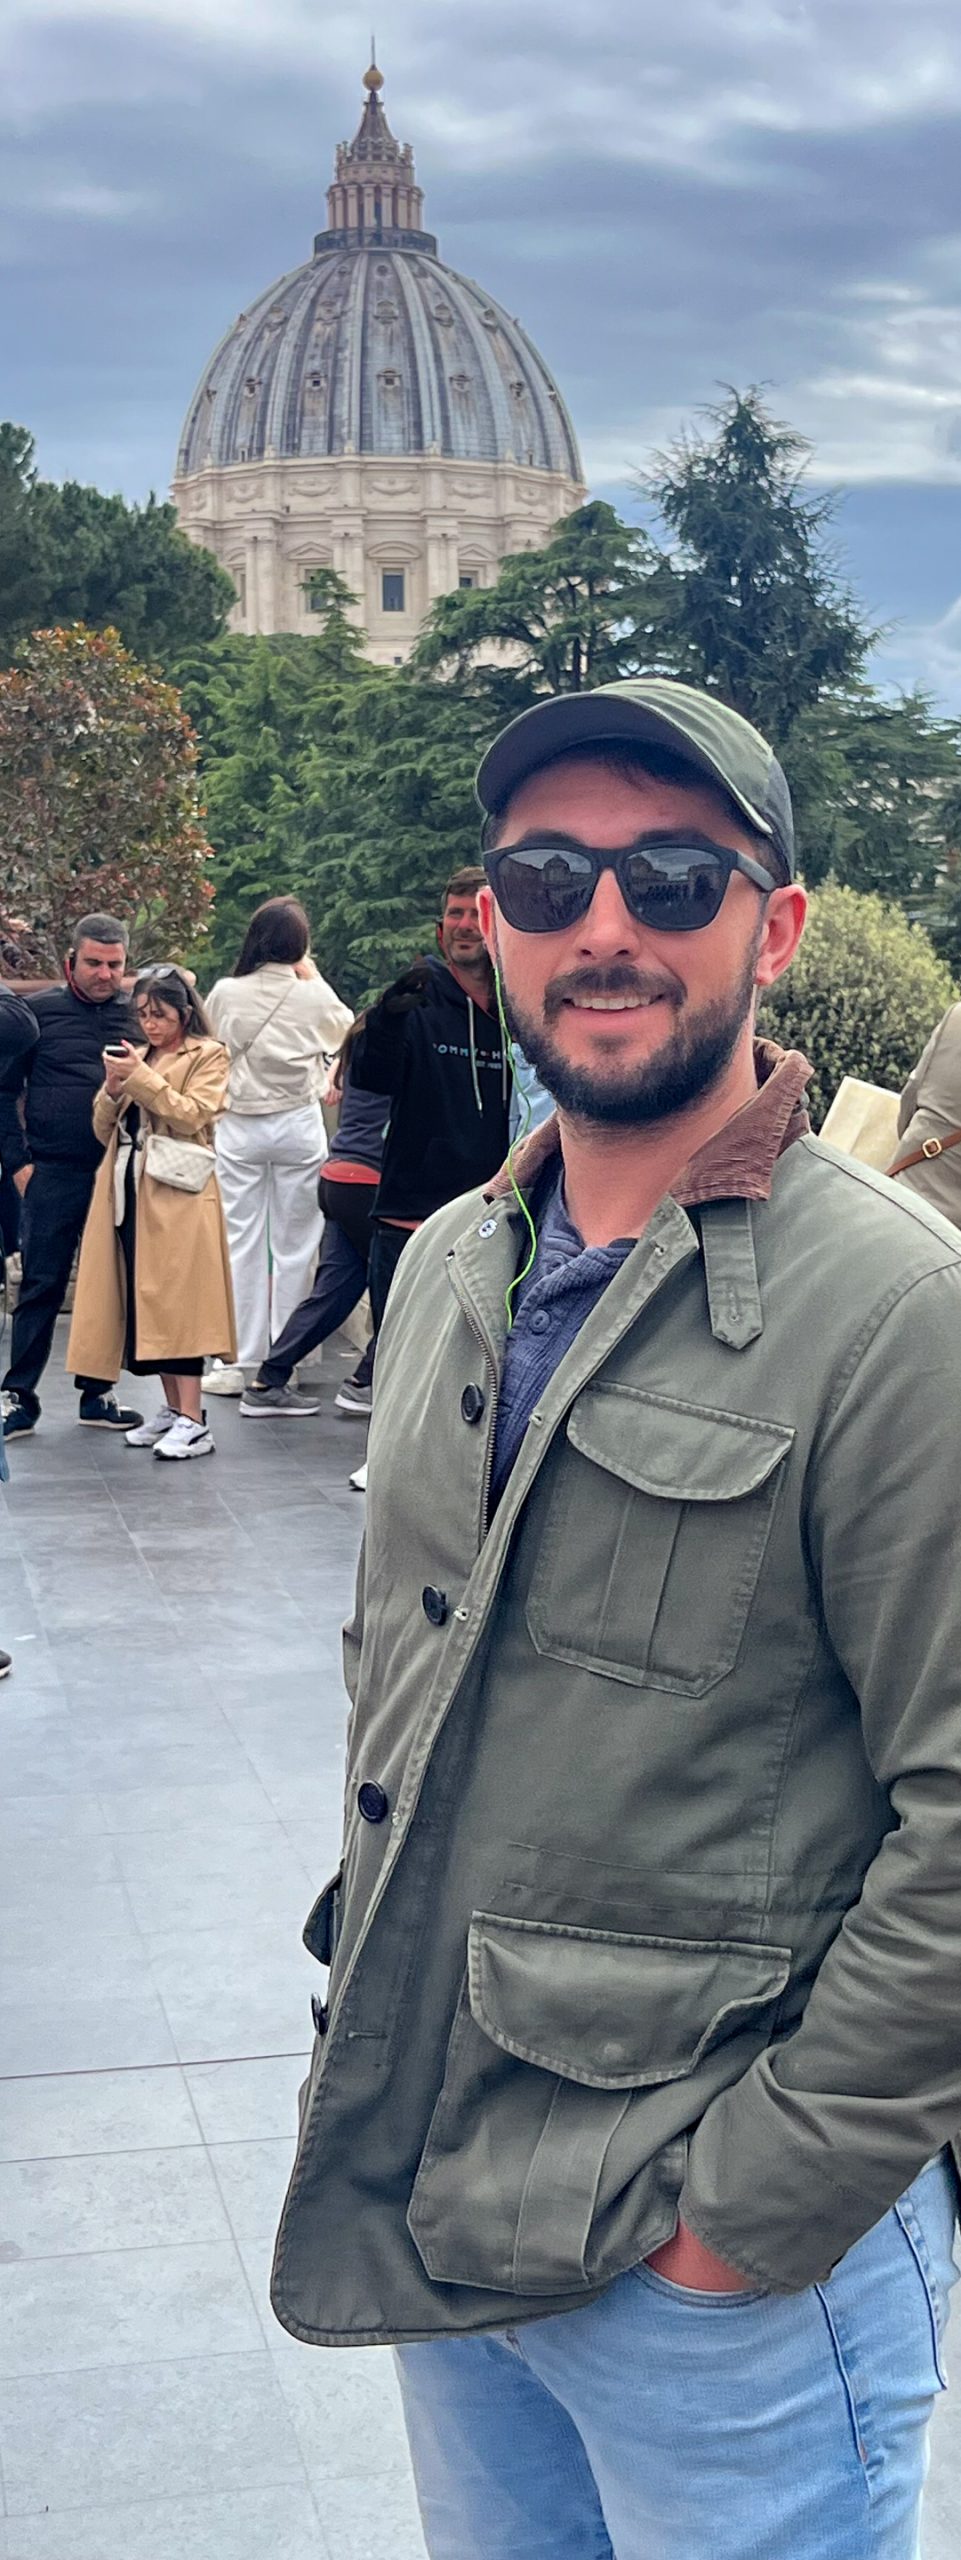
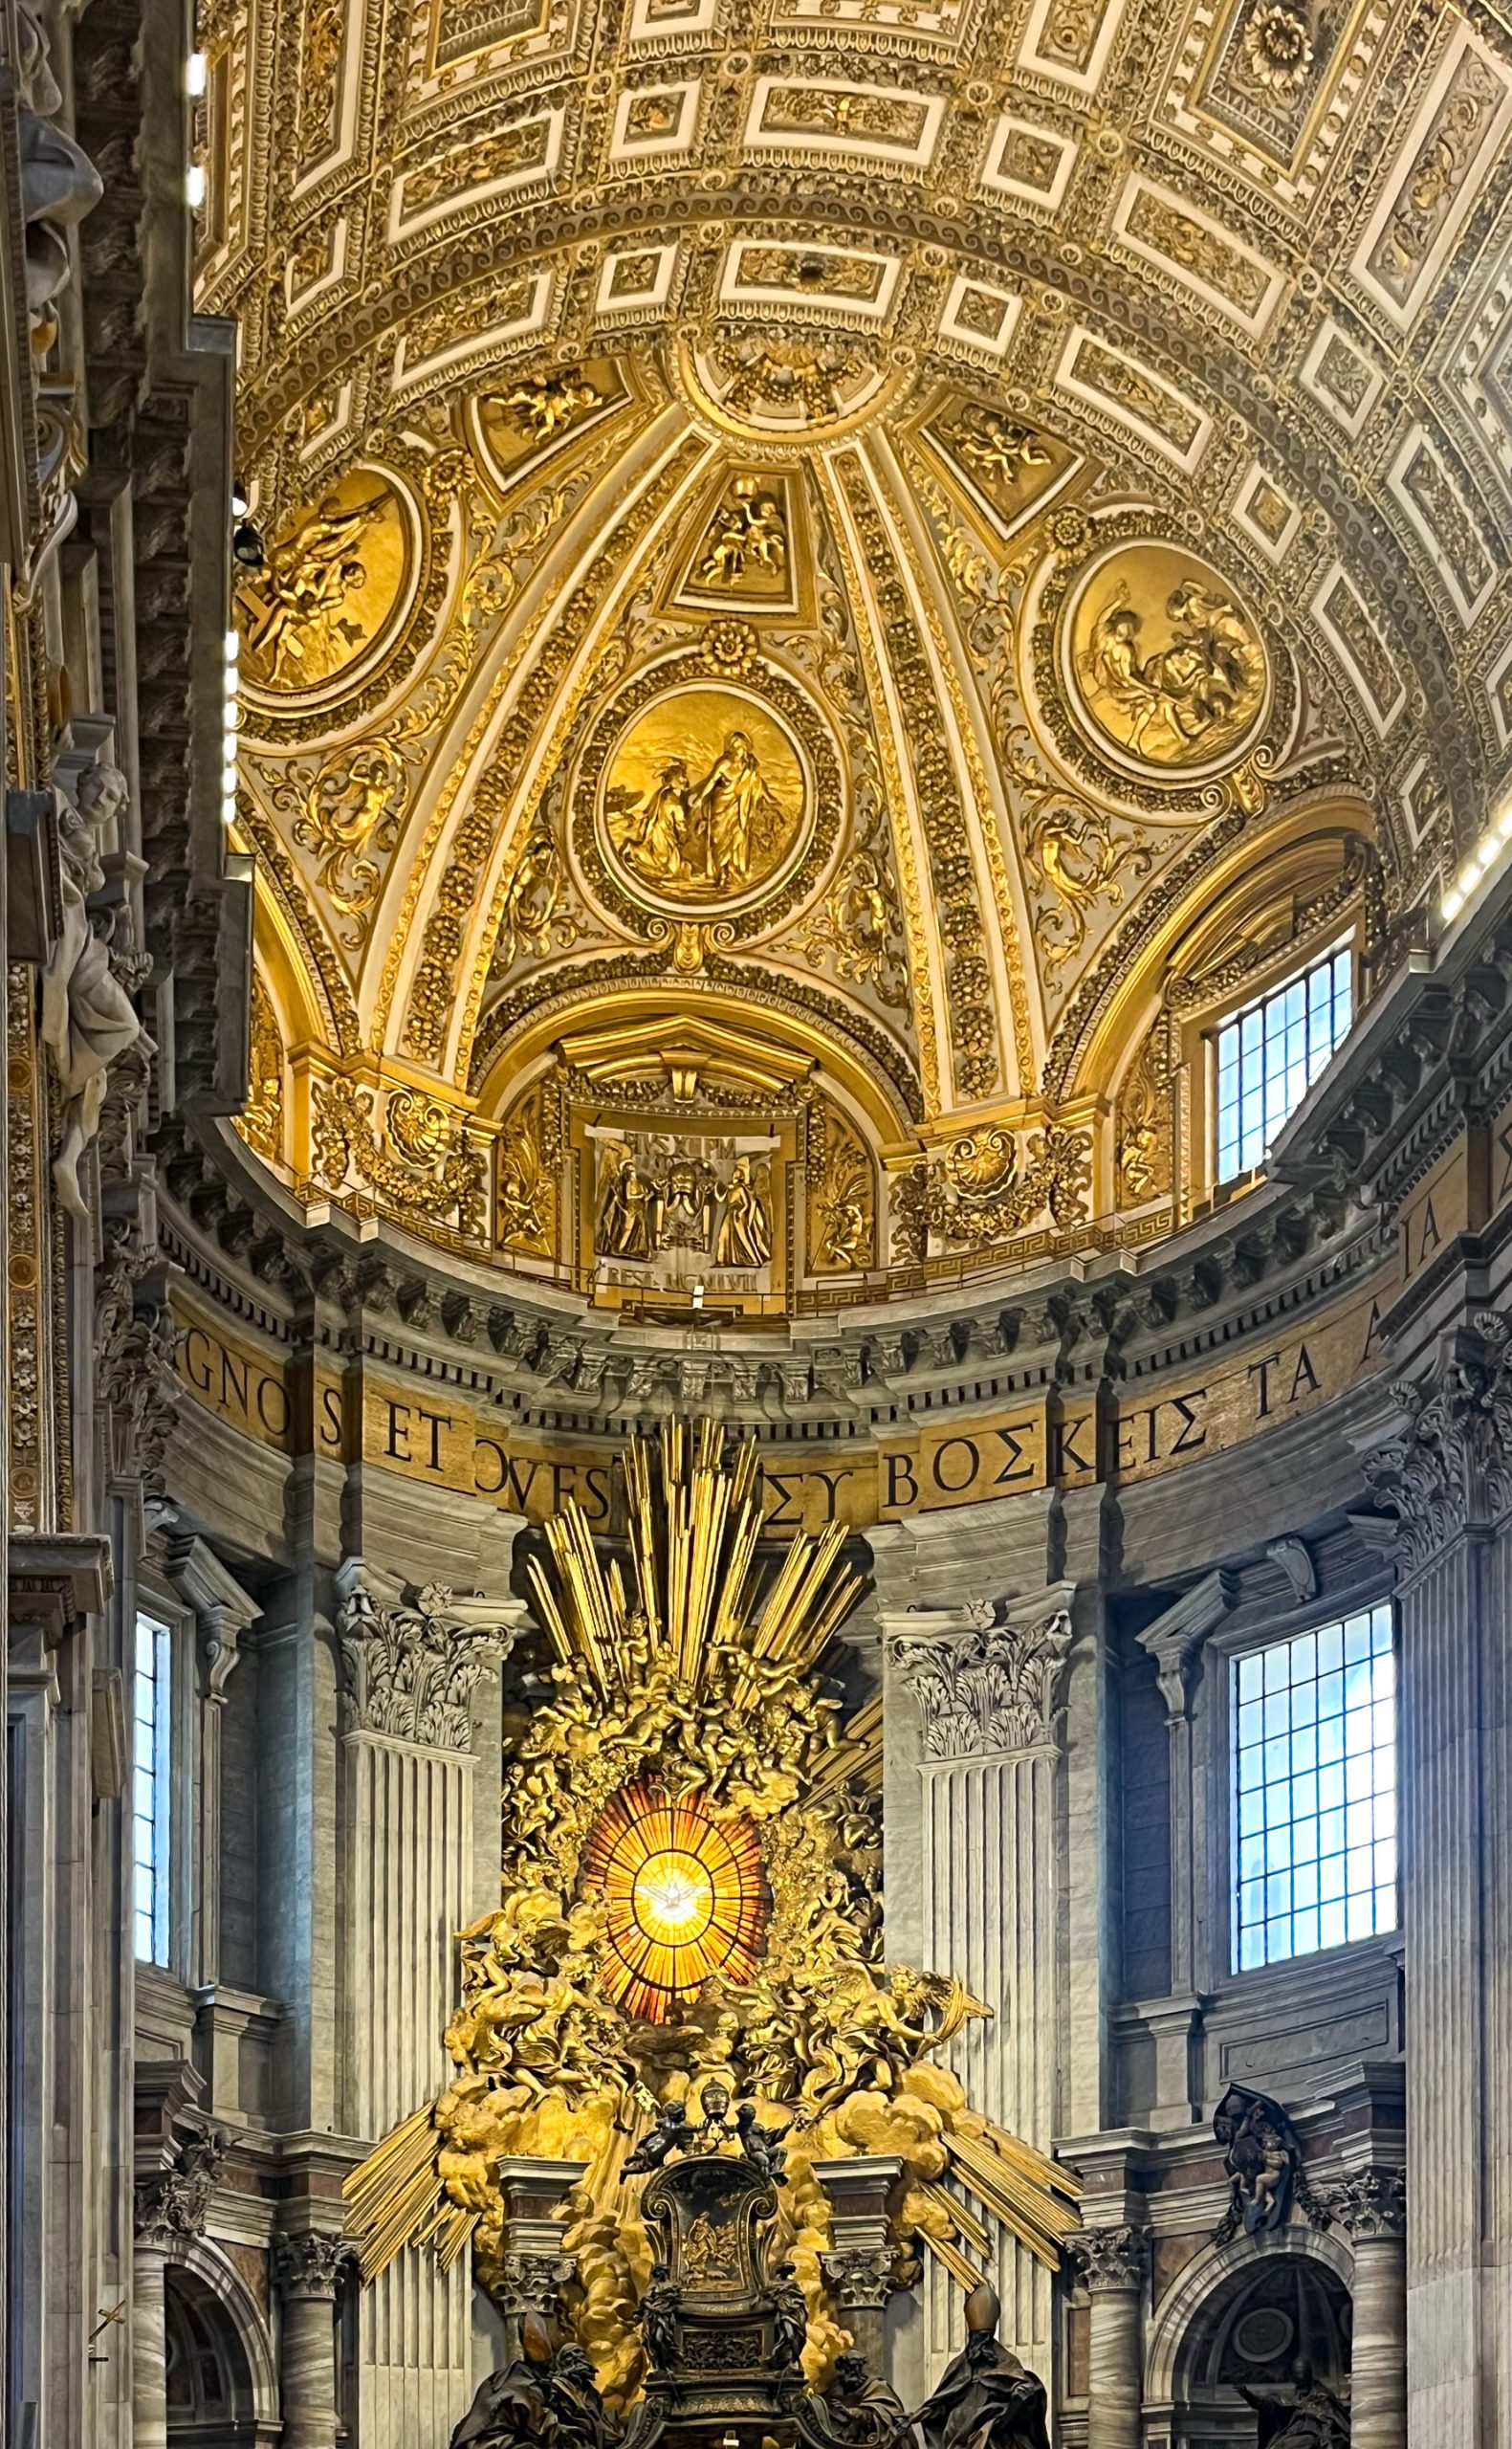
Kyle has moved on from Spain to Italy where he connected with my brother and his family who are on vacation in Tuscany. I am pleased to report that we are receiving a steady stream of photos that help us live vicariously through his travels which have now taken him to Rome. Not posted here are the many food photos he has shared. I feel like I will gain weight just by looking at them.
Final grading for the yard was completed today as was seeding with a no-mow fescue. Jeanine assisted our landscapers with the installation of one hundred native plants while I put our last two stone slabs to good use as foundation elements for our new grill. I also cut down 30-foot lengths of leftover standing seam aluminum roofing into 6-foot sections and loaded them into my car for transport to a metal recycling center. The yard has really taken shape over the last few days. More plants will be added later this week and it is probably time to schedule the driveway top coat. I say probably because we are seeking permission to cut down all the white pine trees that pose a threat to the house. Because we are so close to the river, we will require authorization from the Natural Resources Commission. Should we receive it, we will want to postpone the top coat which may be ruined by the large crane that will be required to remove the trees.
My soccer team’s second match of the season produced another shutout with 7 unanswered goals. I had one shot on net but found the post instead. Still, it was a well-struck ball and I like the sound of the reverberating frame. I managed one assist before tweaking my hamstring at the end of the first half. Given our lead, I decided to sit for the remainder of the game rather than risk exacerbating the injury, even though it was minor.
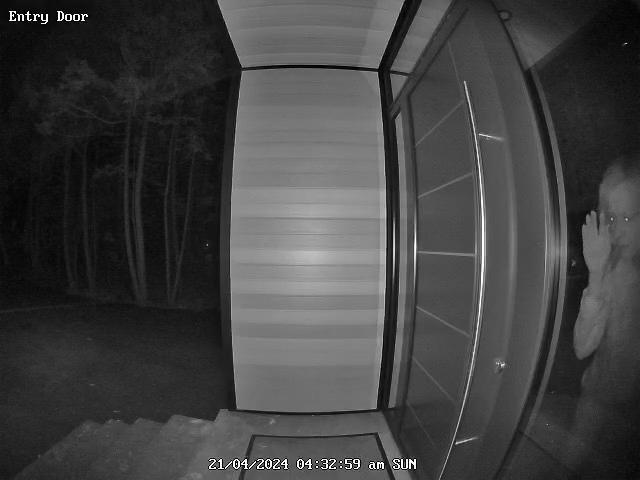
Jeanine was convinced she heard the doorbell ring at 4:30 am. A review of our video surveillance recordings revealed no such occurrence but did show a ghostly figure peering out the window shortly thereafter. We have a total of six cameras covering the house and grounds that we use primarily as nature cams. Thus far we have captured a fox, a fisher cat, deer, groundhogs, raccoons, a coyote, and beavers but none have rung the doorbell so far.
Rain for much of the day sent me to my workshop to start the construction of a small credenza for my office. It is the perfect project on which to use our last sheet of bamboo plywood and will make a nice matching piece to the desk I built earlier. The design will include two drawers for hanging file folders and four smaller ones. I cut and edged all of the carcass components and used my last sheet of 5/8″ baltic birch plywood for the drawer box parts. When the next rainy day comes along I will complete the project.
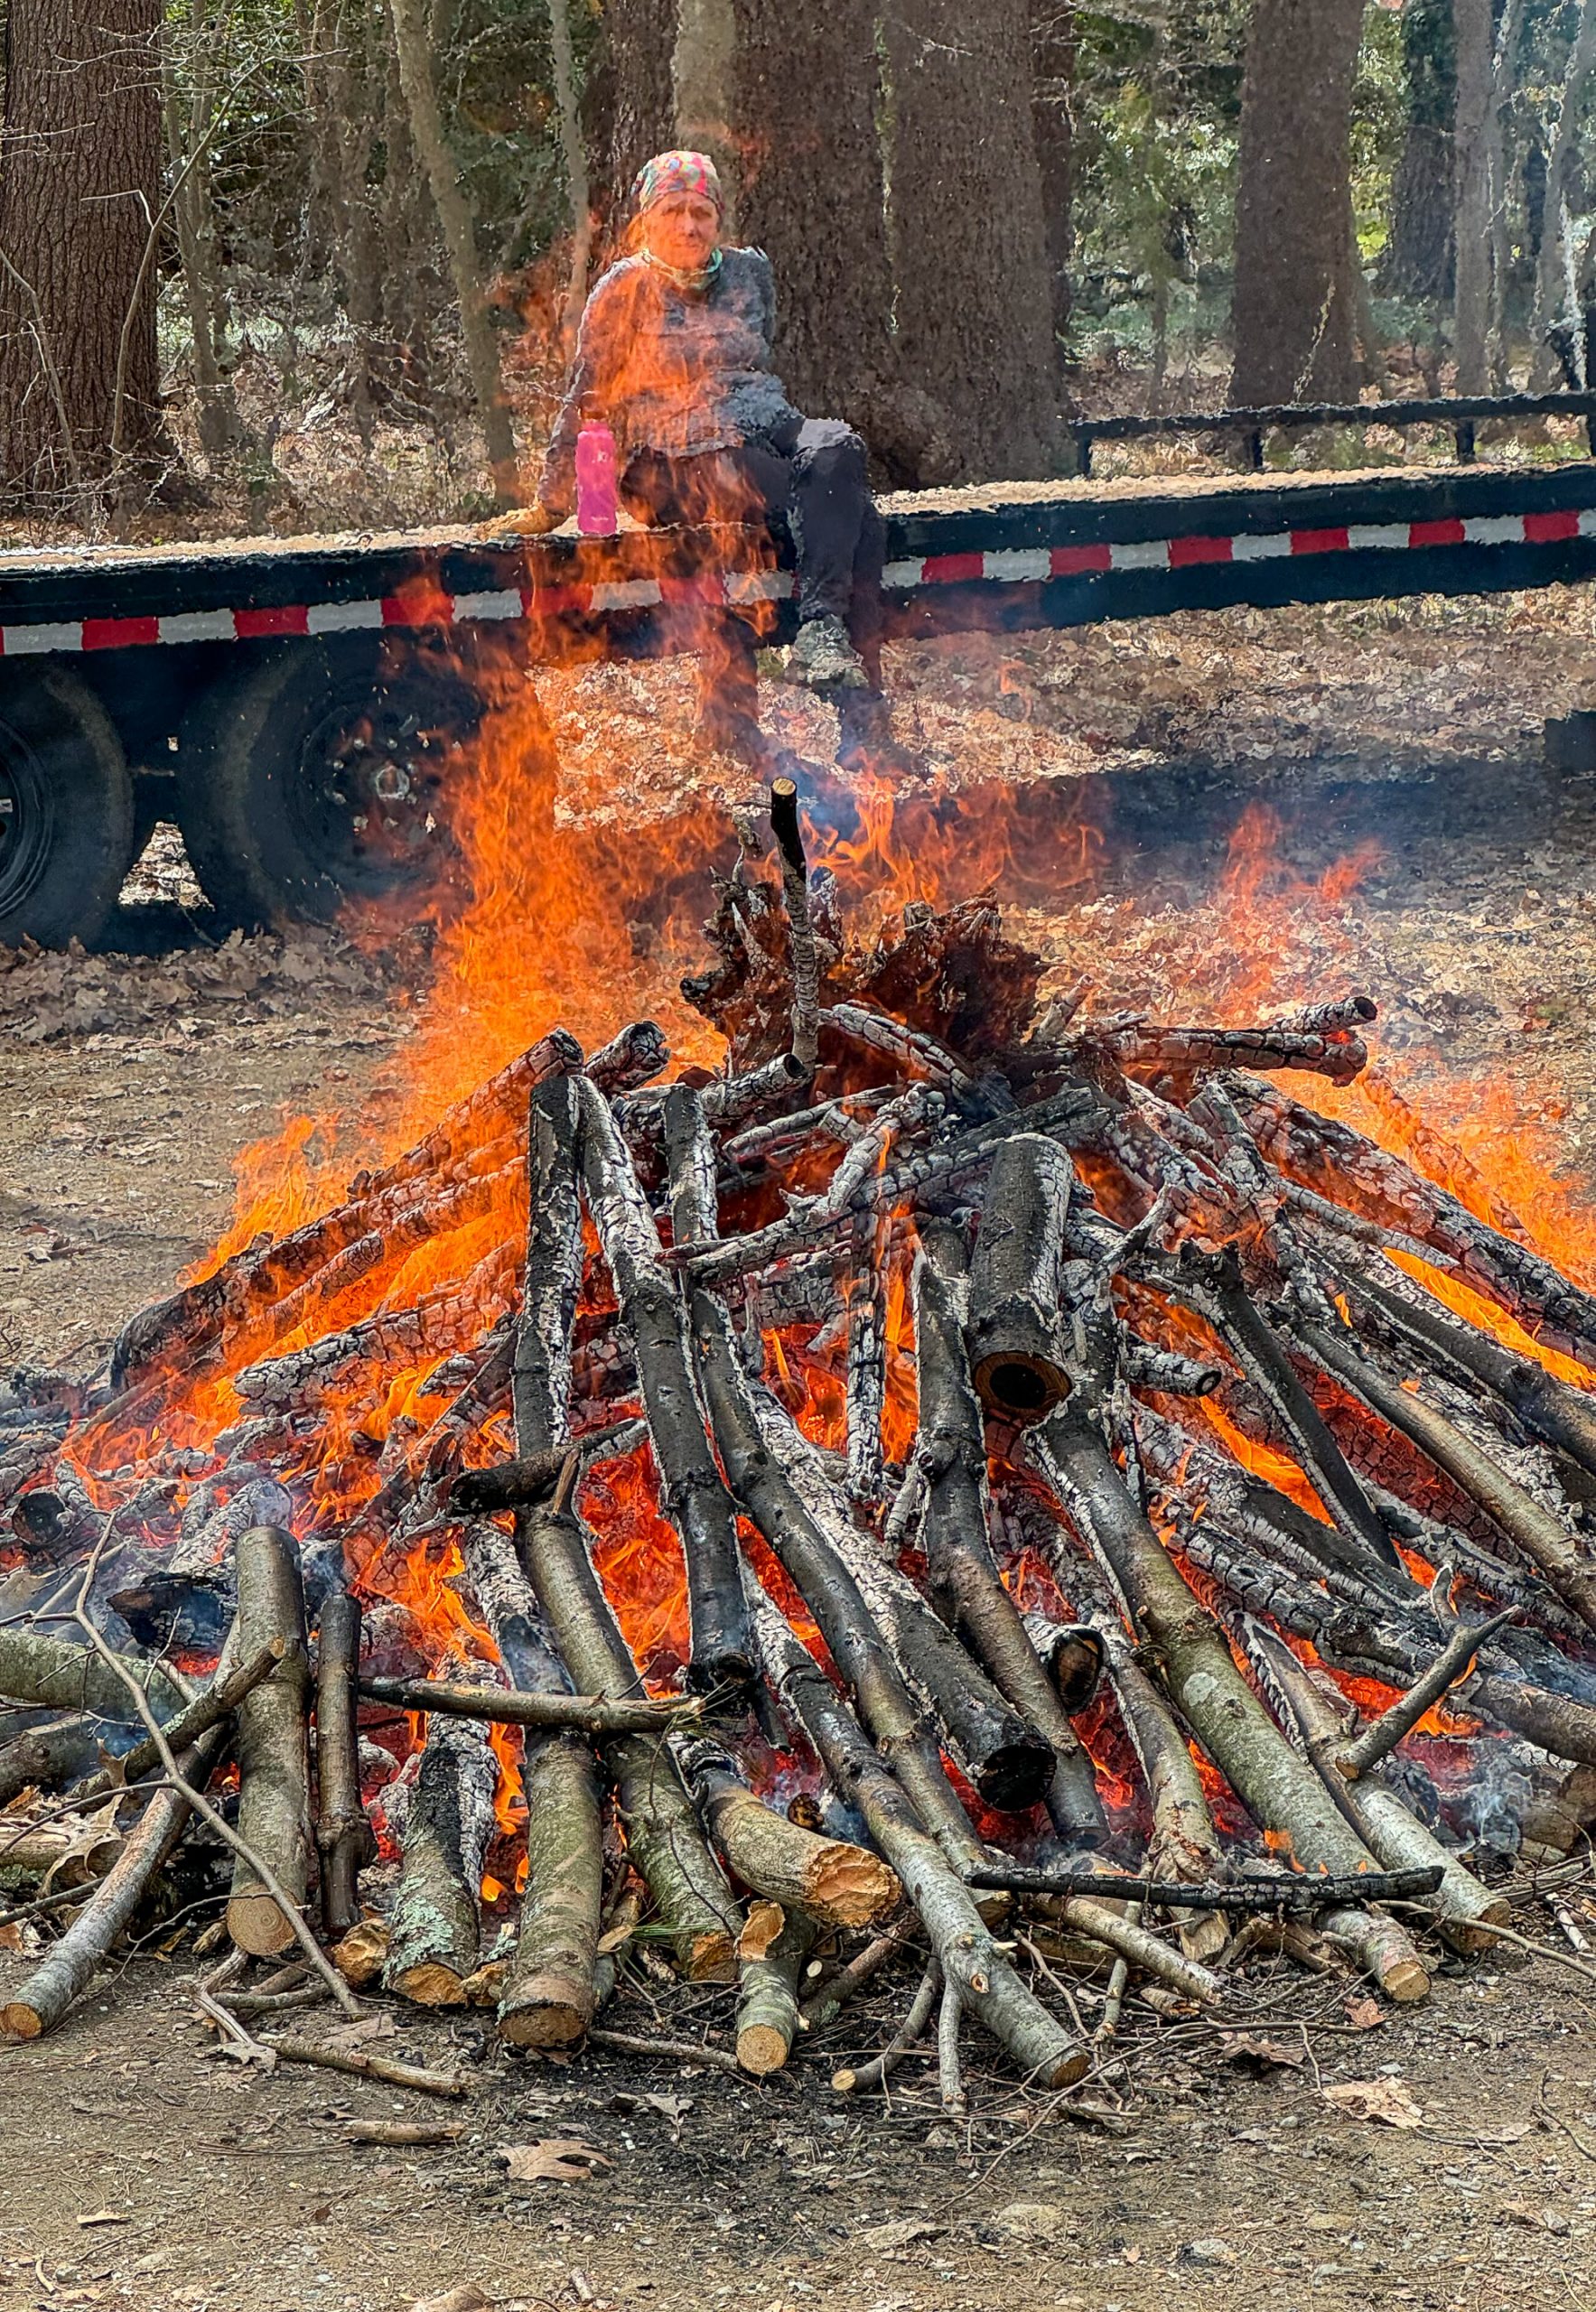
Jeanine and I spent the better part of the day burning off downed limbs that we had been gathering for days. Six hours of constantly feeding the fire covered half of what we needed to burn. In all likelihood, we will hire someone to chip the remaining tree trunks that fell during the winter and have them deal with the remaining limbs as well. Although the work was quite strenuous, it was also very satisfying. We want our property to remain very natural but are aiming for something closer to a park than a jungle.
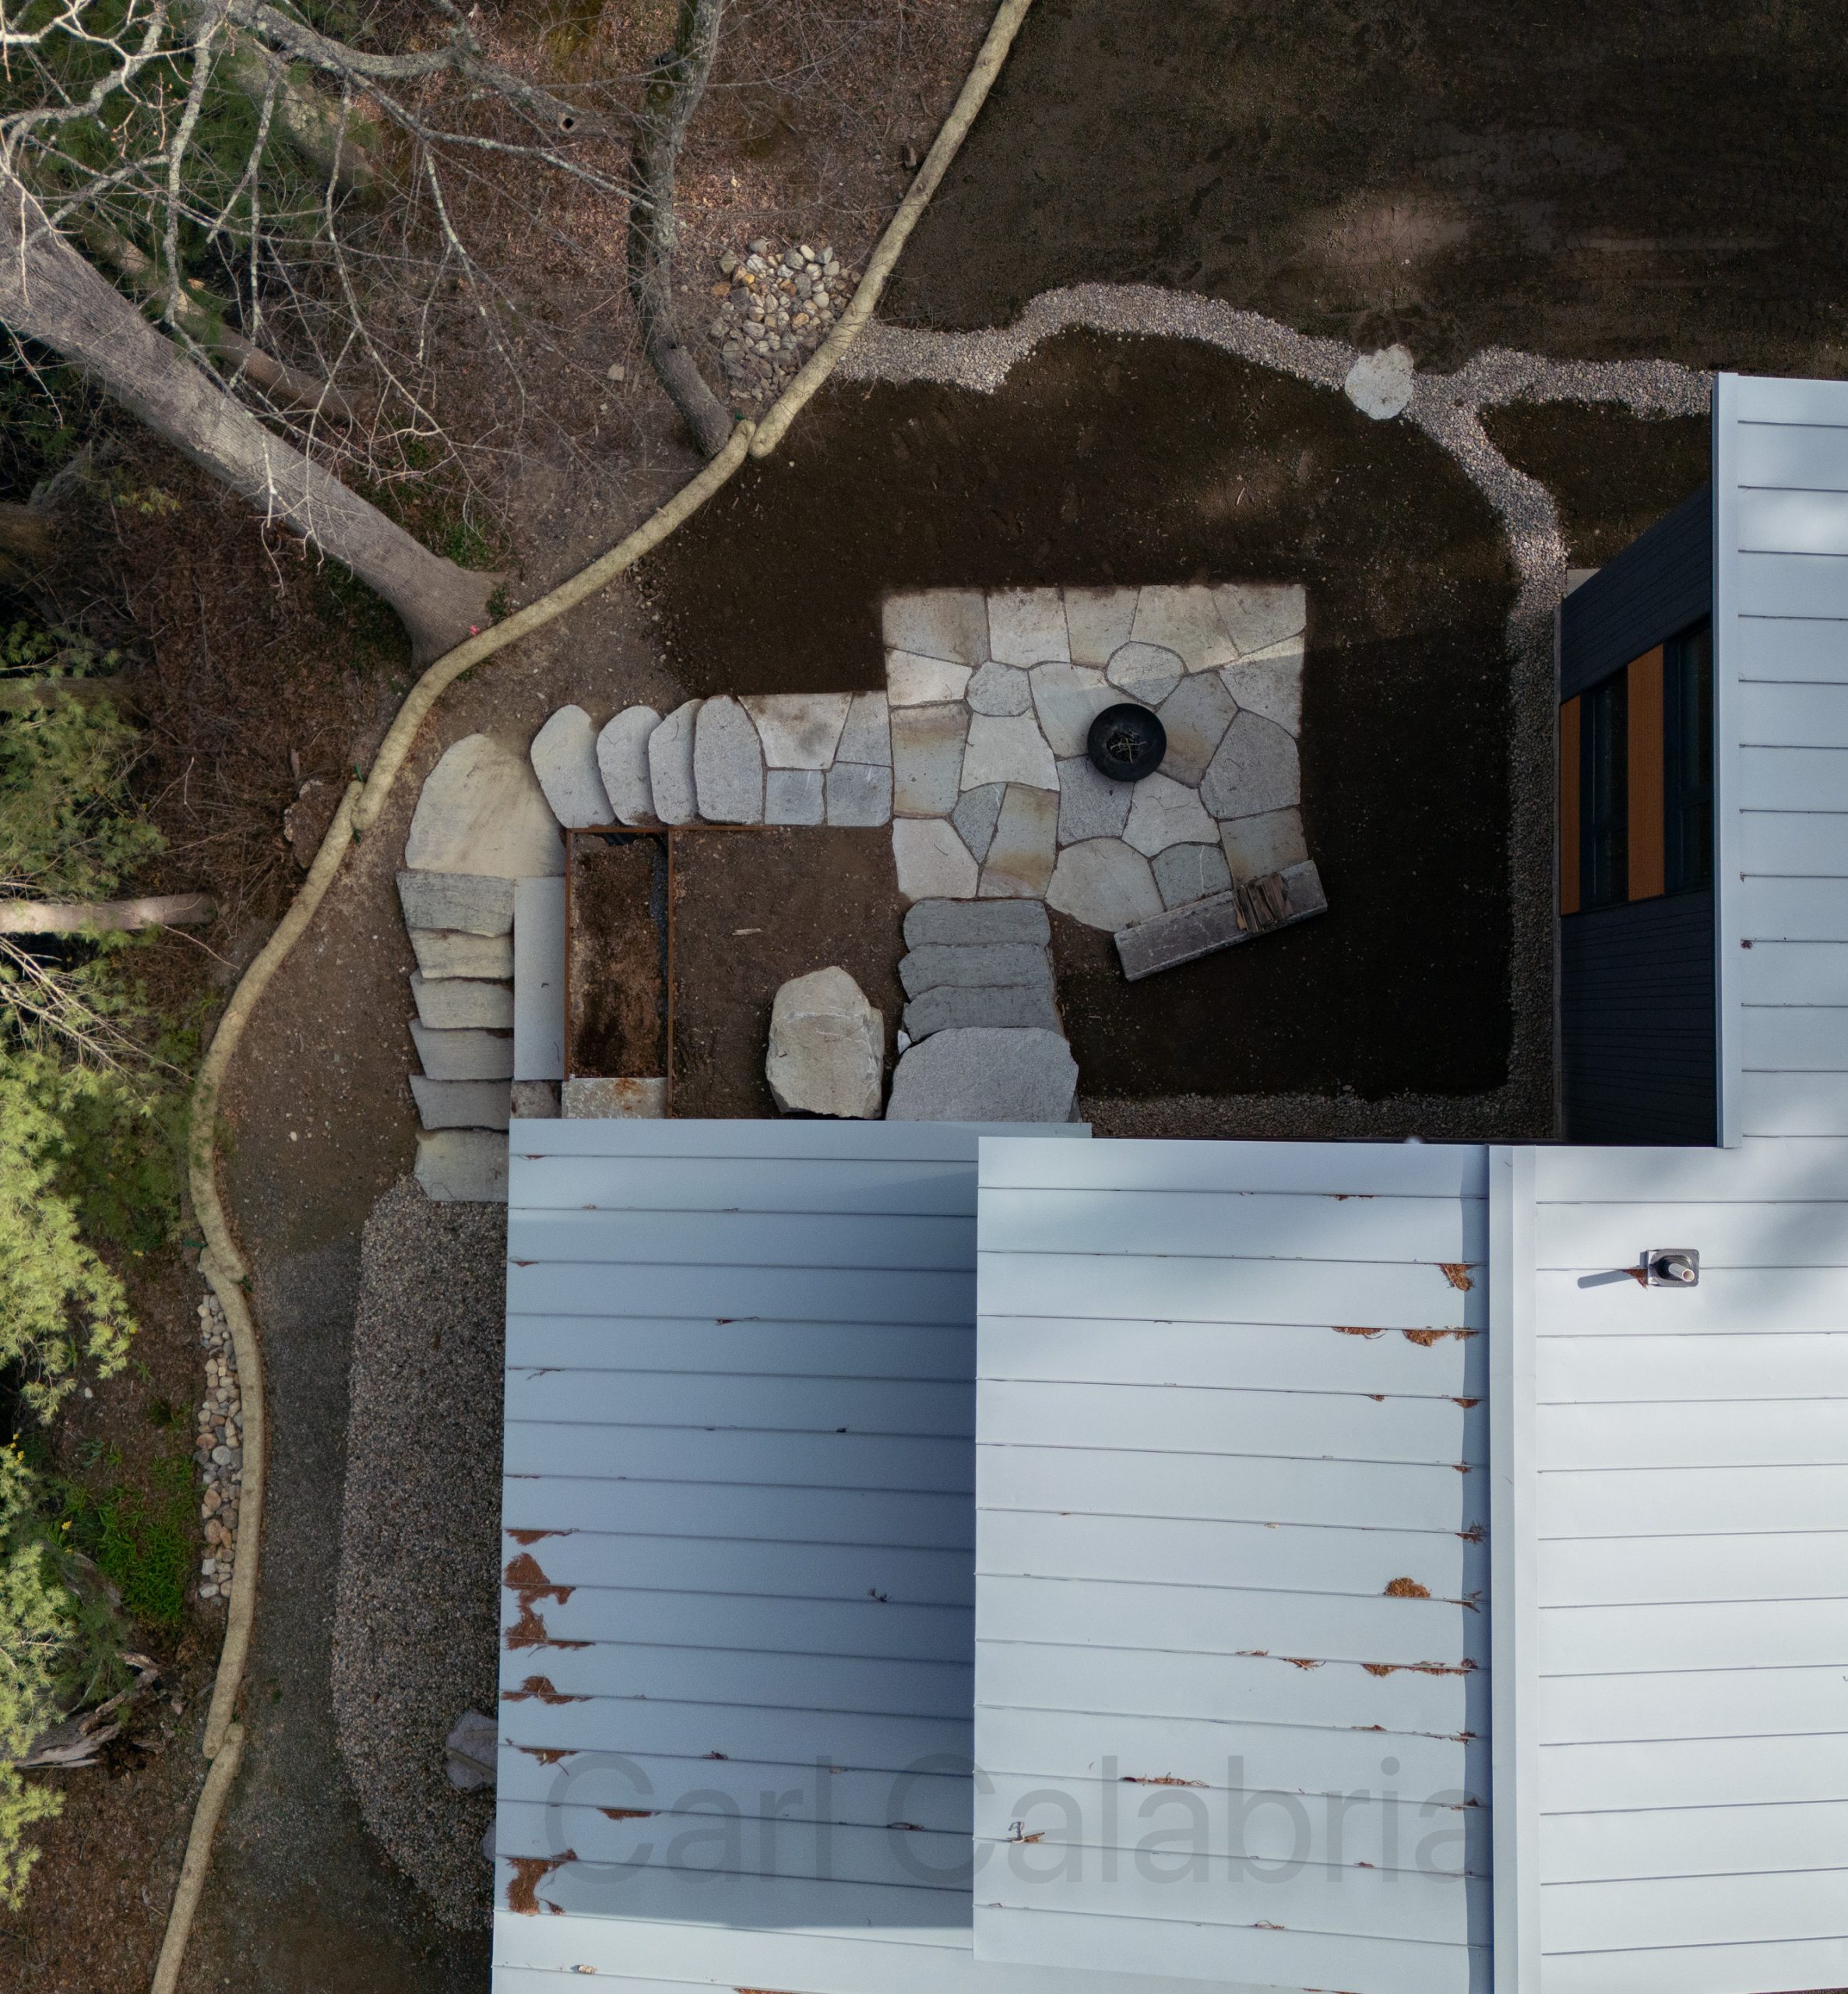
Work has begun on our landscaping plan. Four inches of clay has been replaced with an equal amount of topsoil in areas where we will be planting a no-mow fescue. River rock has been installed to create tiny “streams” where roof and surface water runoff can make their way to the river. New temporary erosion control barriers have replaced the original ones which had started to degrade. Plant material is scheduled to arrive next week.
This website is dedicated to sharing, with family and friends, the day-to-day adventures of the Calabria family.