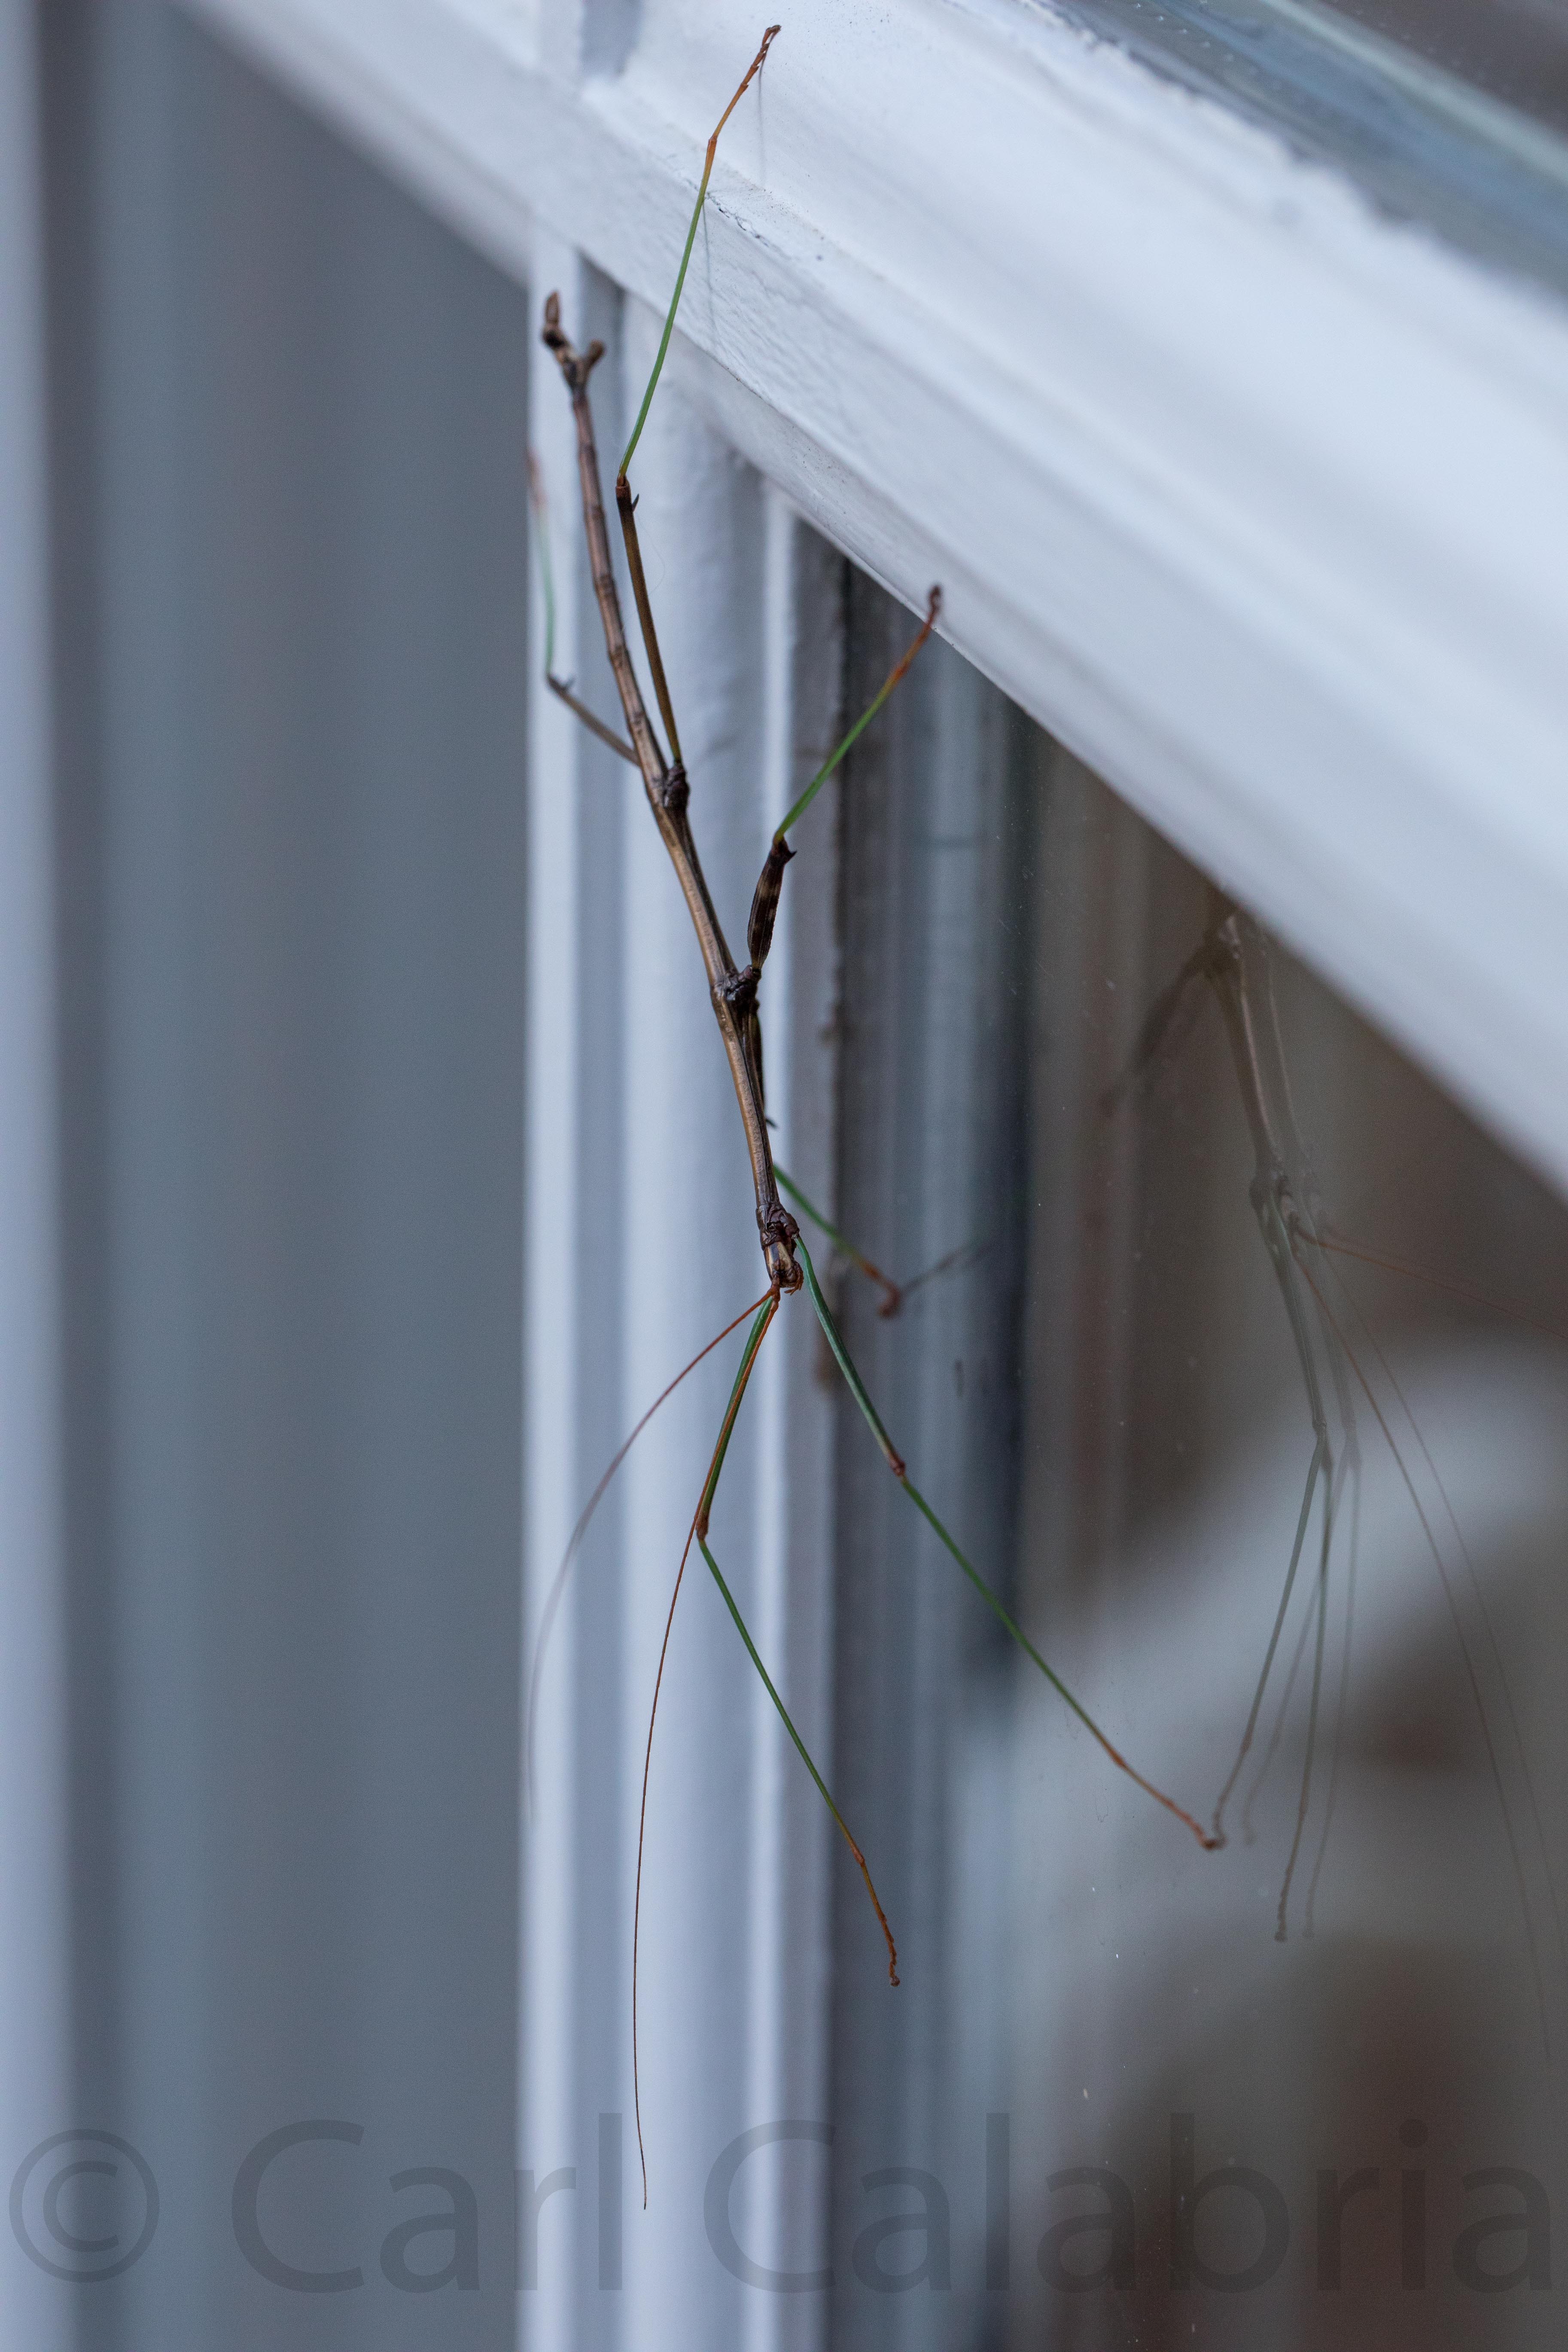
The Phasmatodea are an order of insects, whose members are also known as stick-bugs, walking sticks or bug sticks. They are the longest insects in the world and if viewed from an engineering perspective, are miraculous creations. Imagine trying to construct a 3D model of one. What materials would have the strength-to-weight ratio to hold up? Normally their camouflage makes them virtually impossible to spot in nature. Not so much when this one chose to climb onto our back door where Jeanine alerted me to its presence.
Monthly Archives: August 2017
Simply Red
New Building Partner
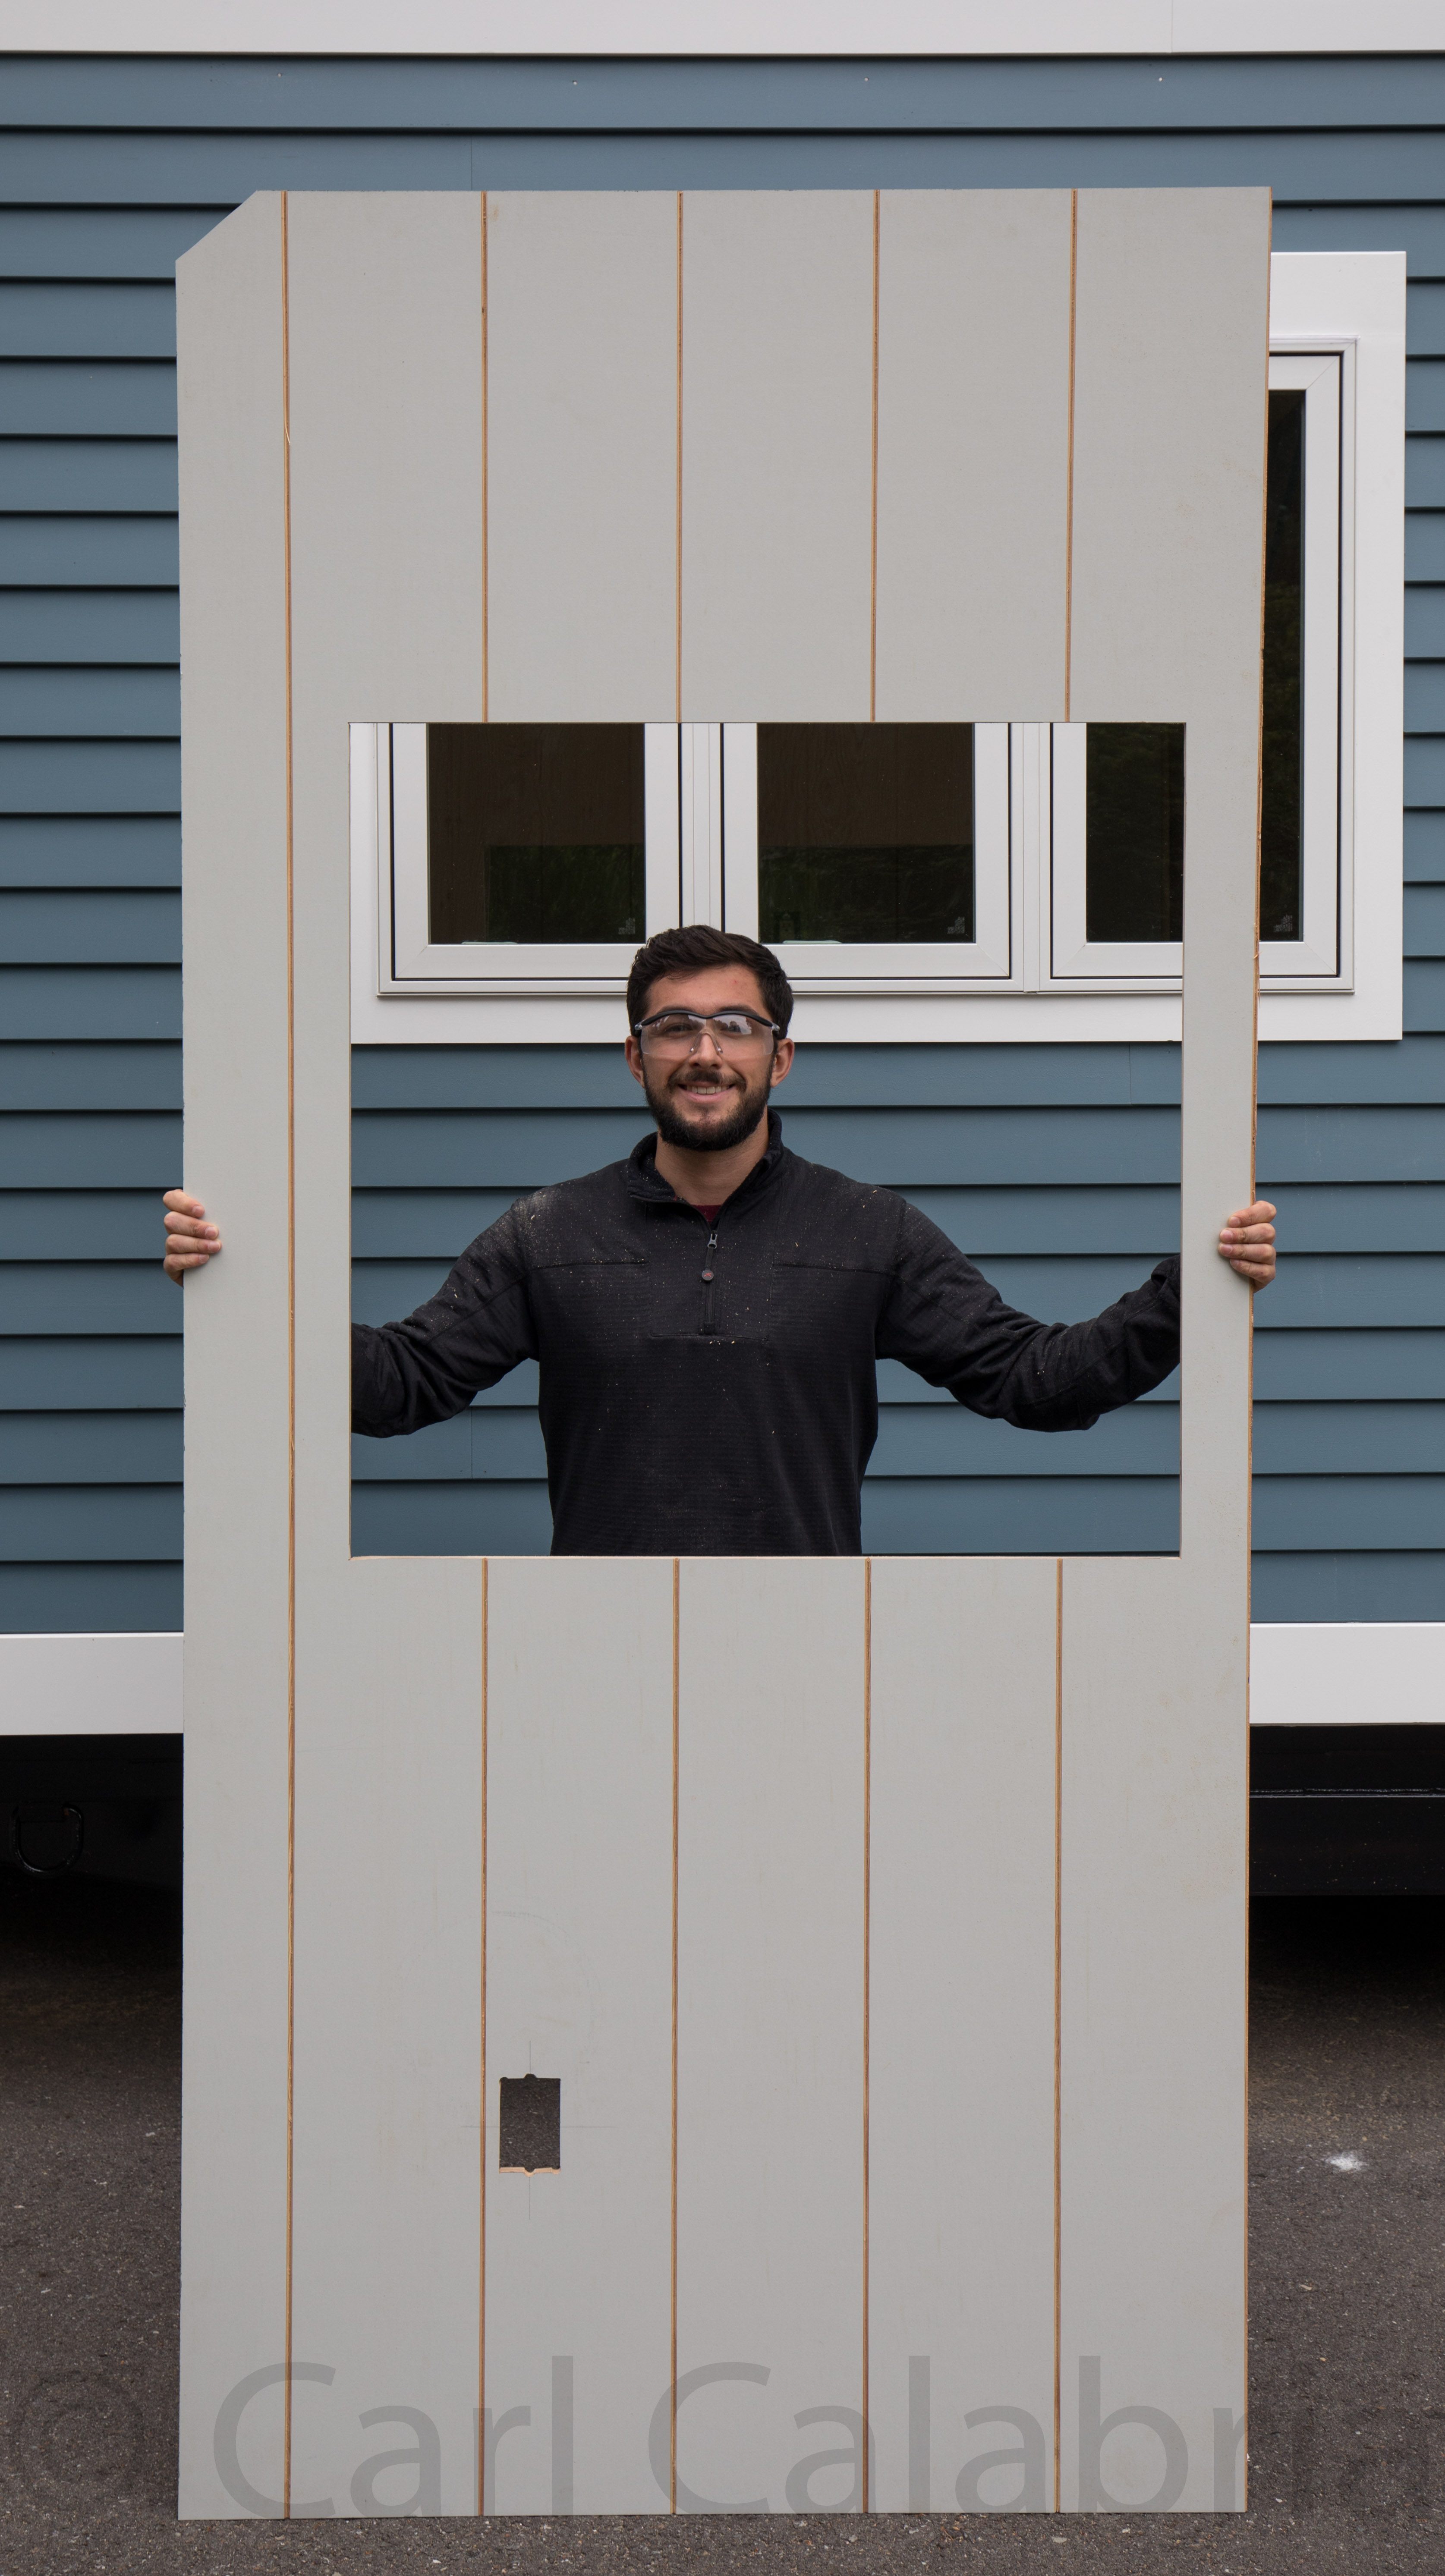
With Maya off to college, Kyle has stepped in to partner with me for the remainder of the tiny house build. He too is interested in learning the construction skills needed to build a house. We started today with interior walls. Normal homes use gypsum board (sheetrock) with joint compound to hide seams. The racking forces on the frame of a trailer during towing would almost certainly produce cracks in such joints over time. We are using 1/2″ thick MDO plywood with flexible caulking between them. To hide the seams we rout vertical V-grooves on 8″ centers and half a V at the edges of each panel. Seams will appear the same as the other grooves. When painted this will look like wide tongue and groove boards. Preparing each 4’x8′ panel is very time-consuming and requires a precise layout for windows, outlets, switches other such features followed by the routing operations to create the grooves. It takes us about 2 hours per panel so this phase of the build is going to proceed slowly, especially in light of the fact that we plan to only work half days.
Odds & Ends
I have replaced Maya as Kyle’s workout partner joining him early this morning for a 90-minute session at the Thoreau Club. For all the strength I have gained while constructing the tiny house, my cardio has not experienced similar improvement and is not where it needs to be for the upcoming soccer season. I focused my workout on the elliptical machine and will do so for the rest of the week before even thinking about weight training.
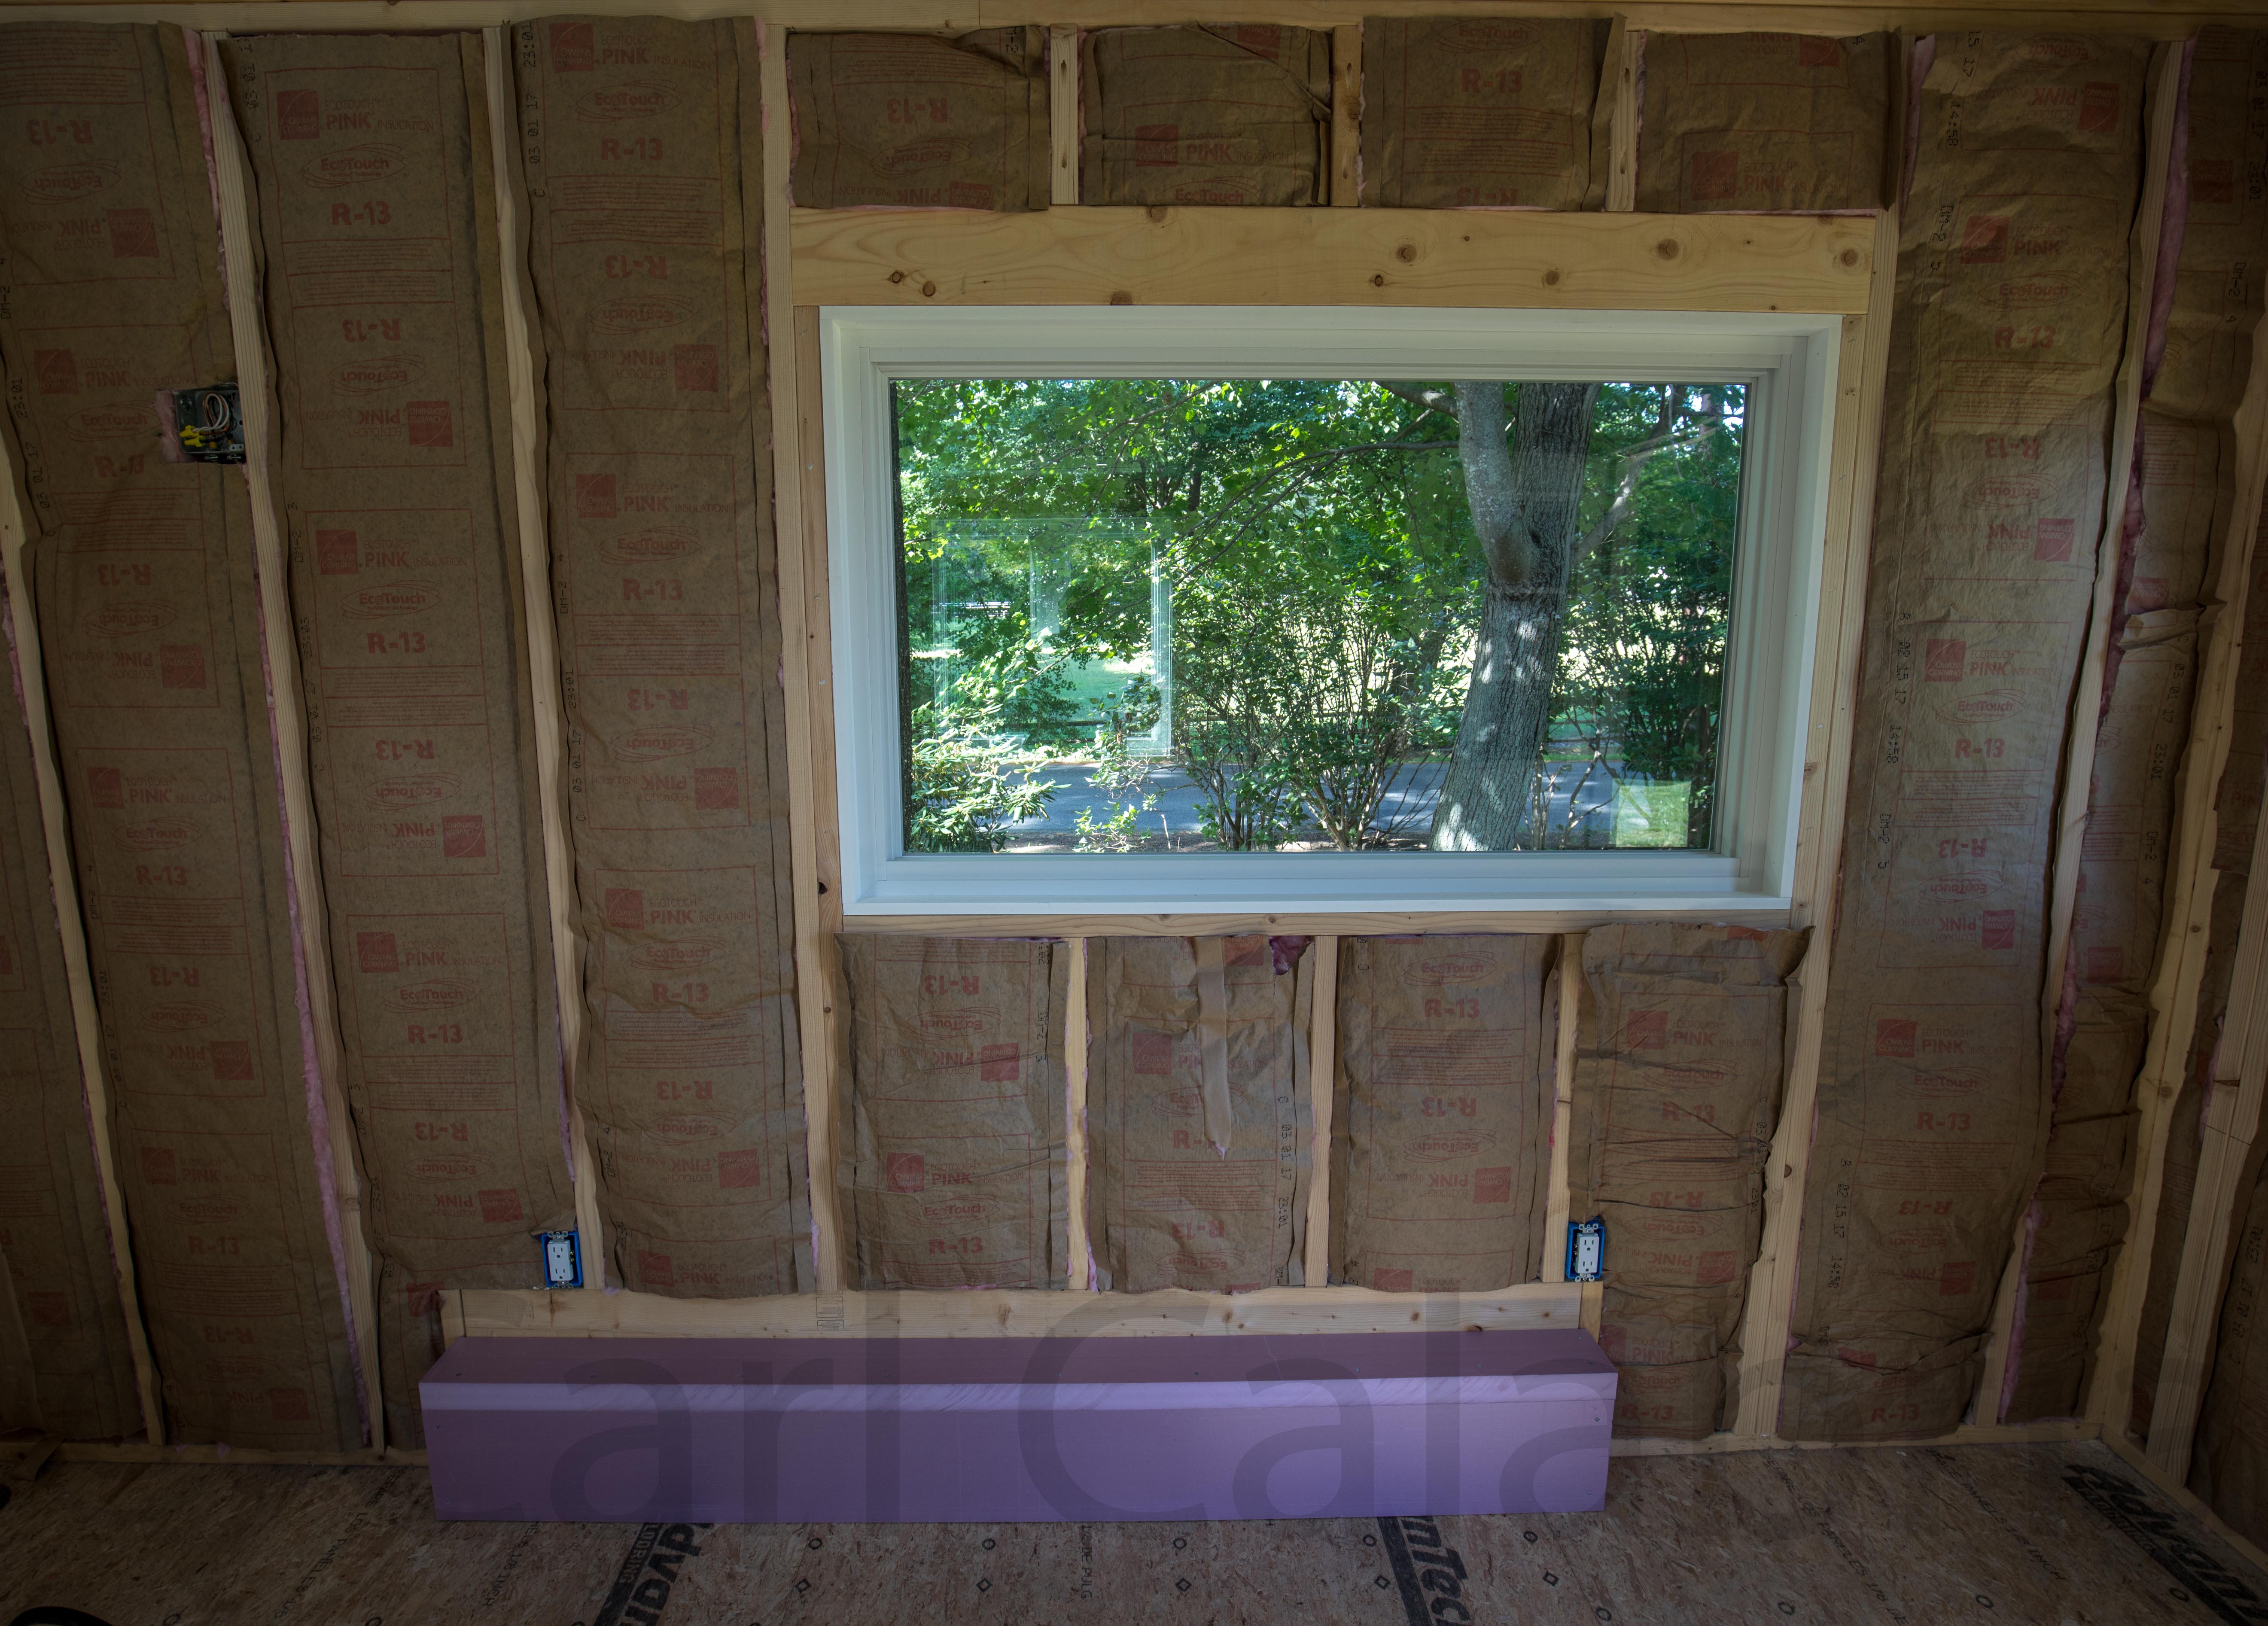
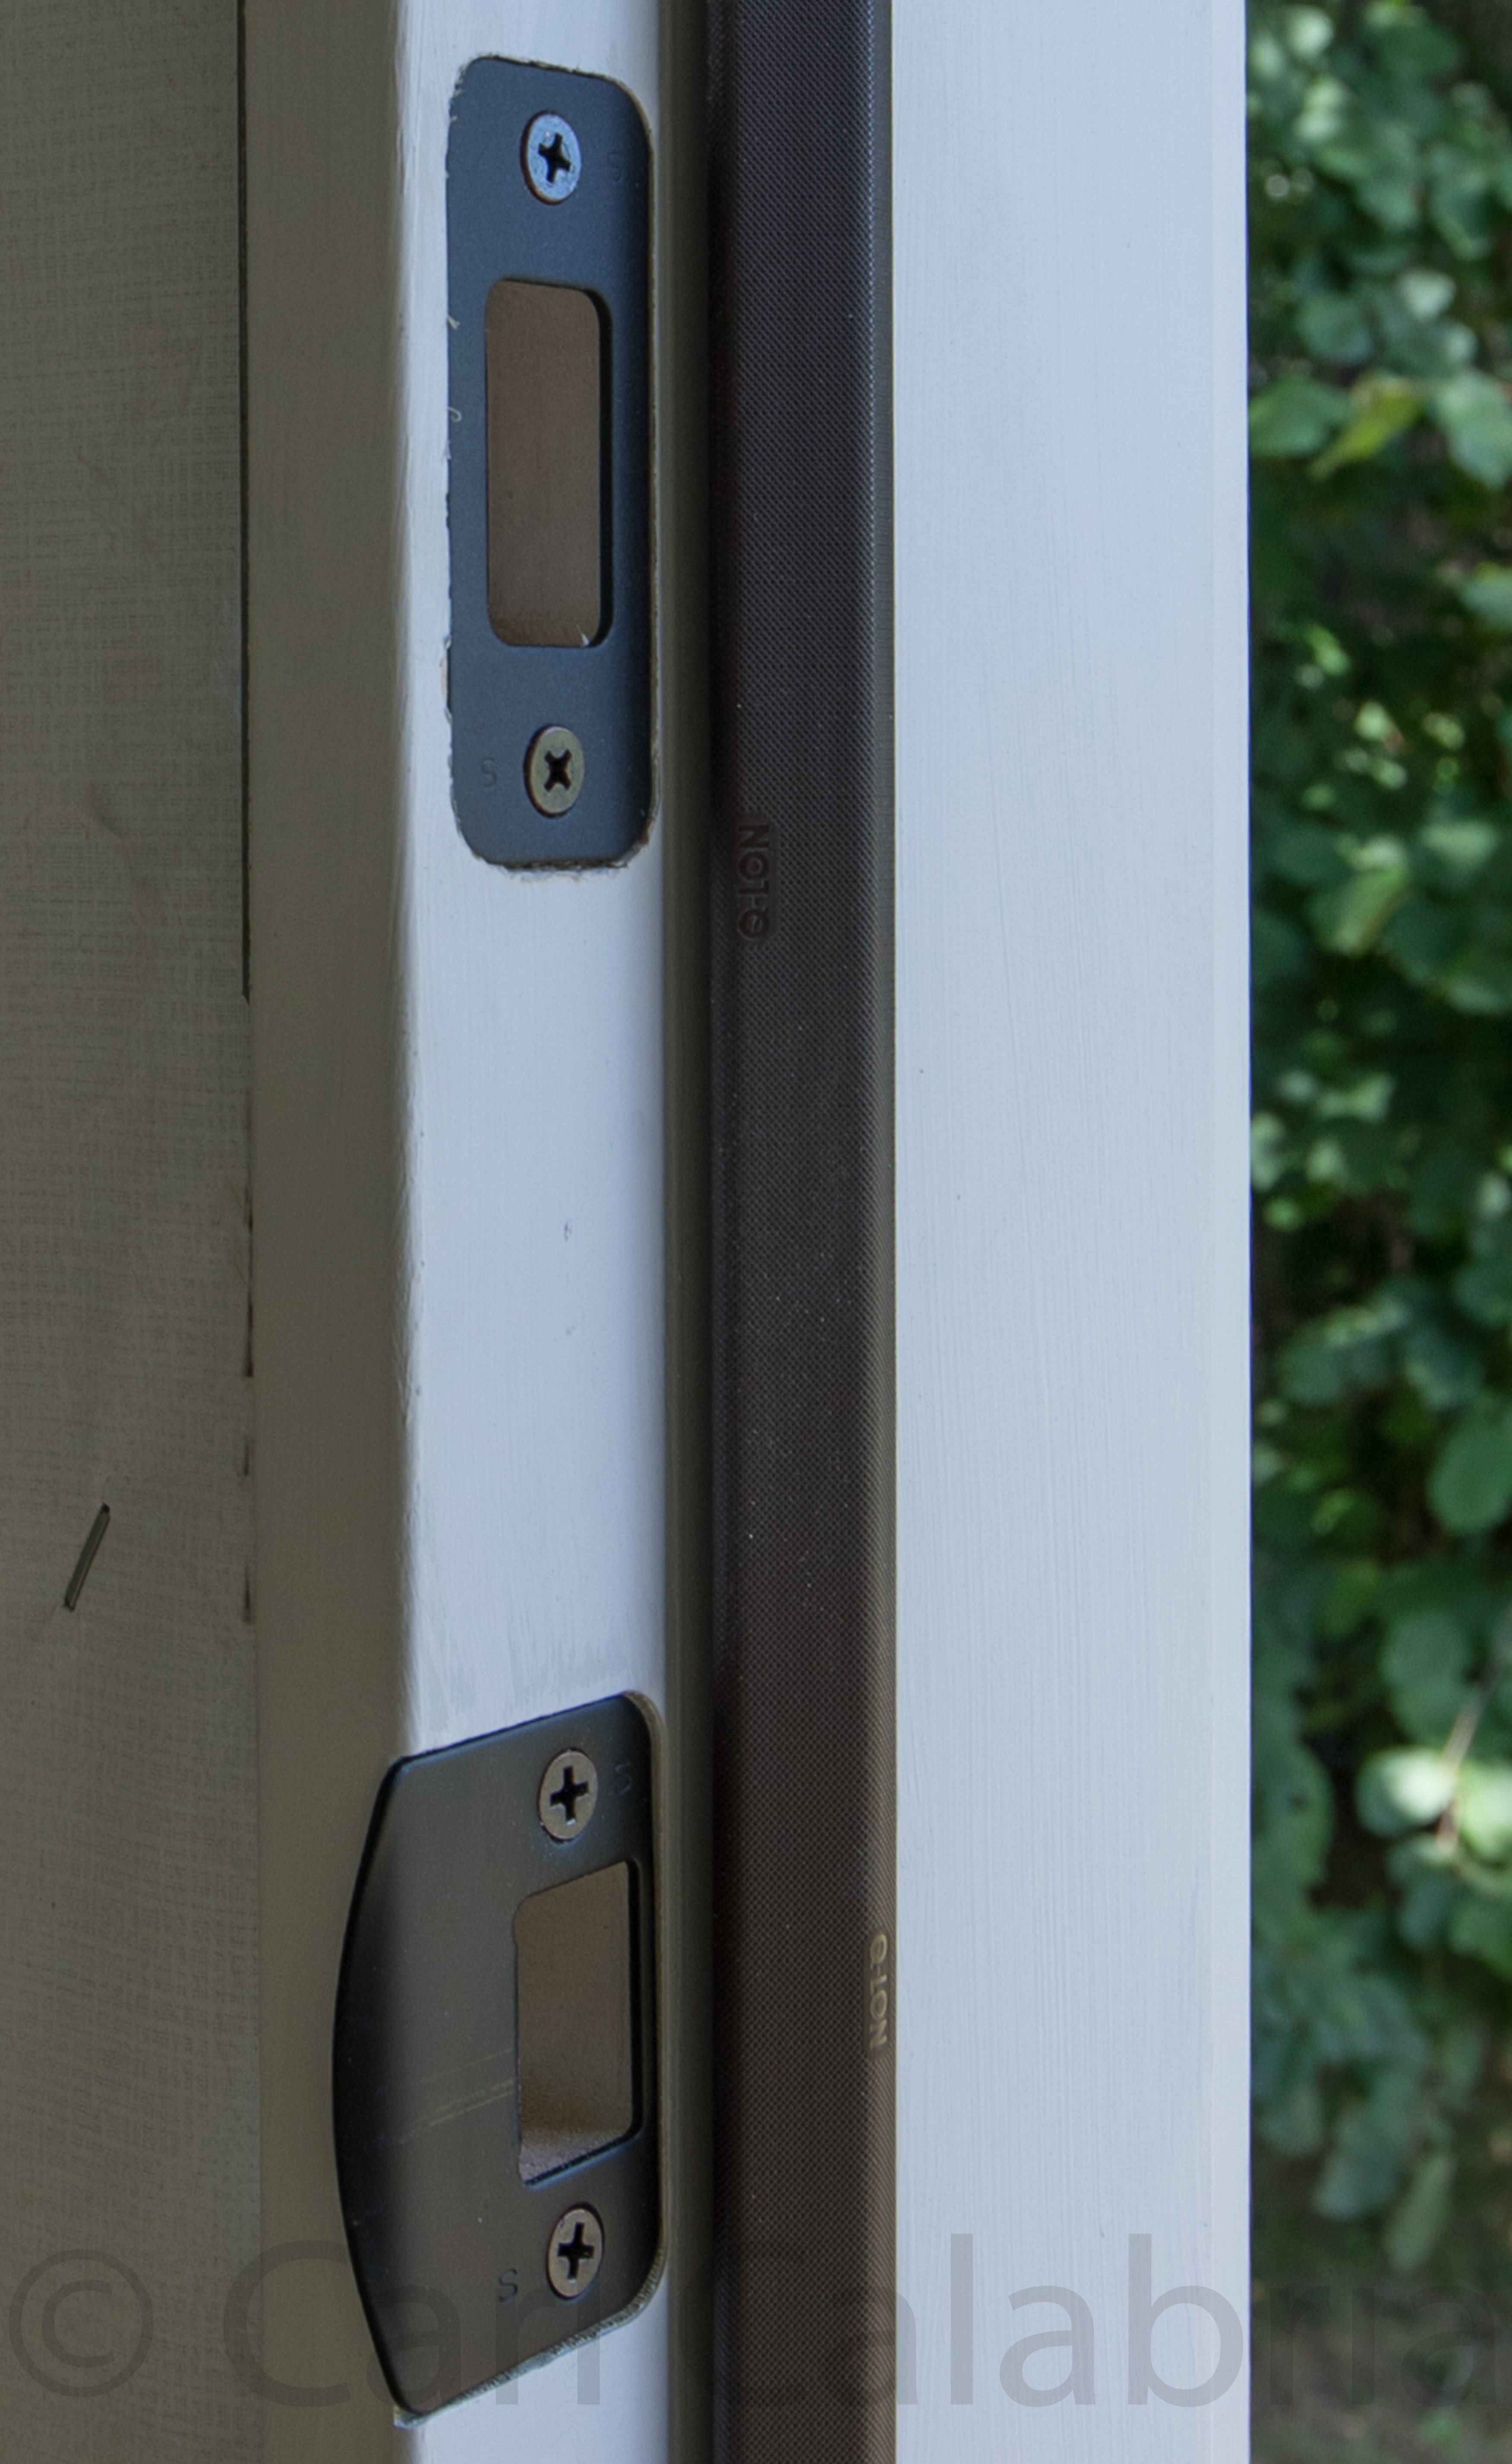
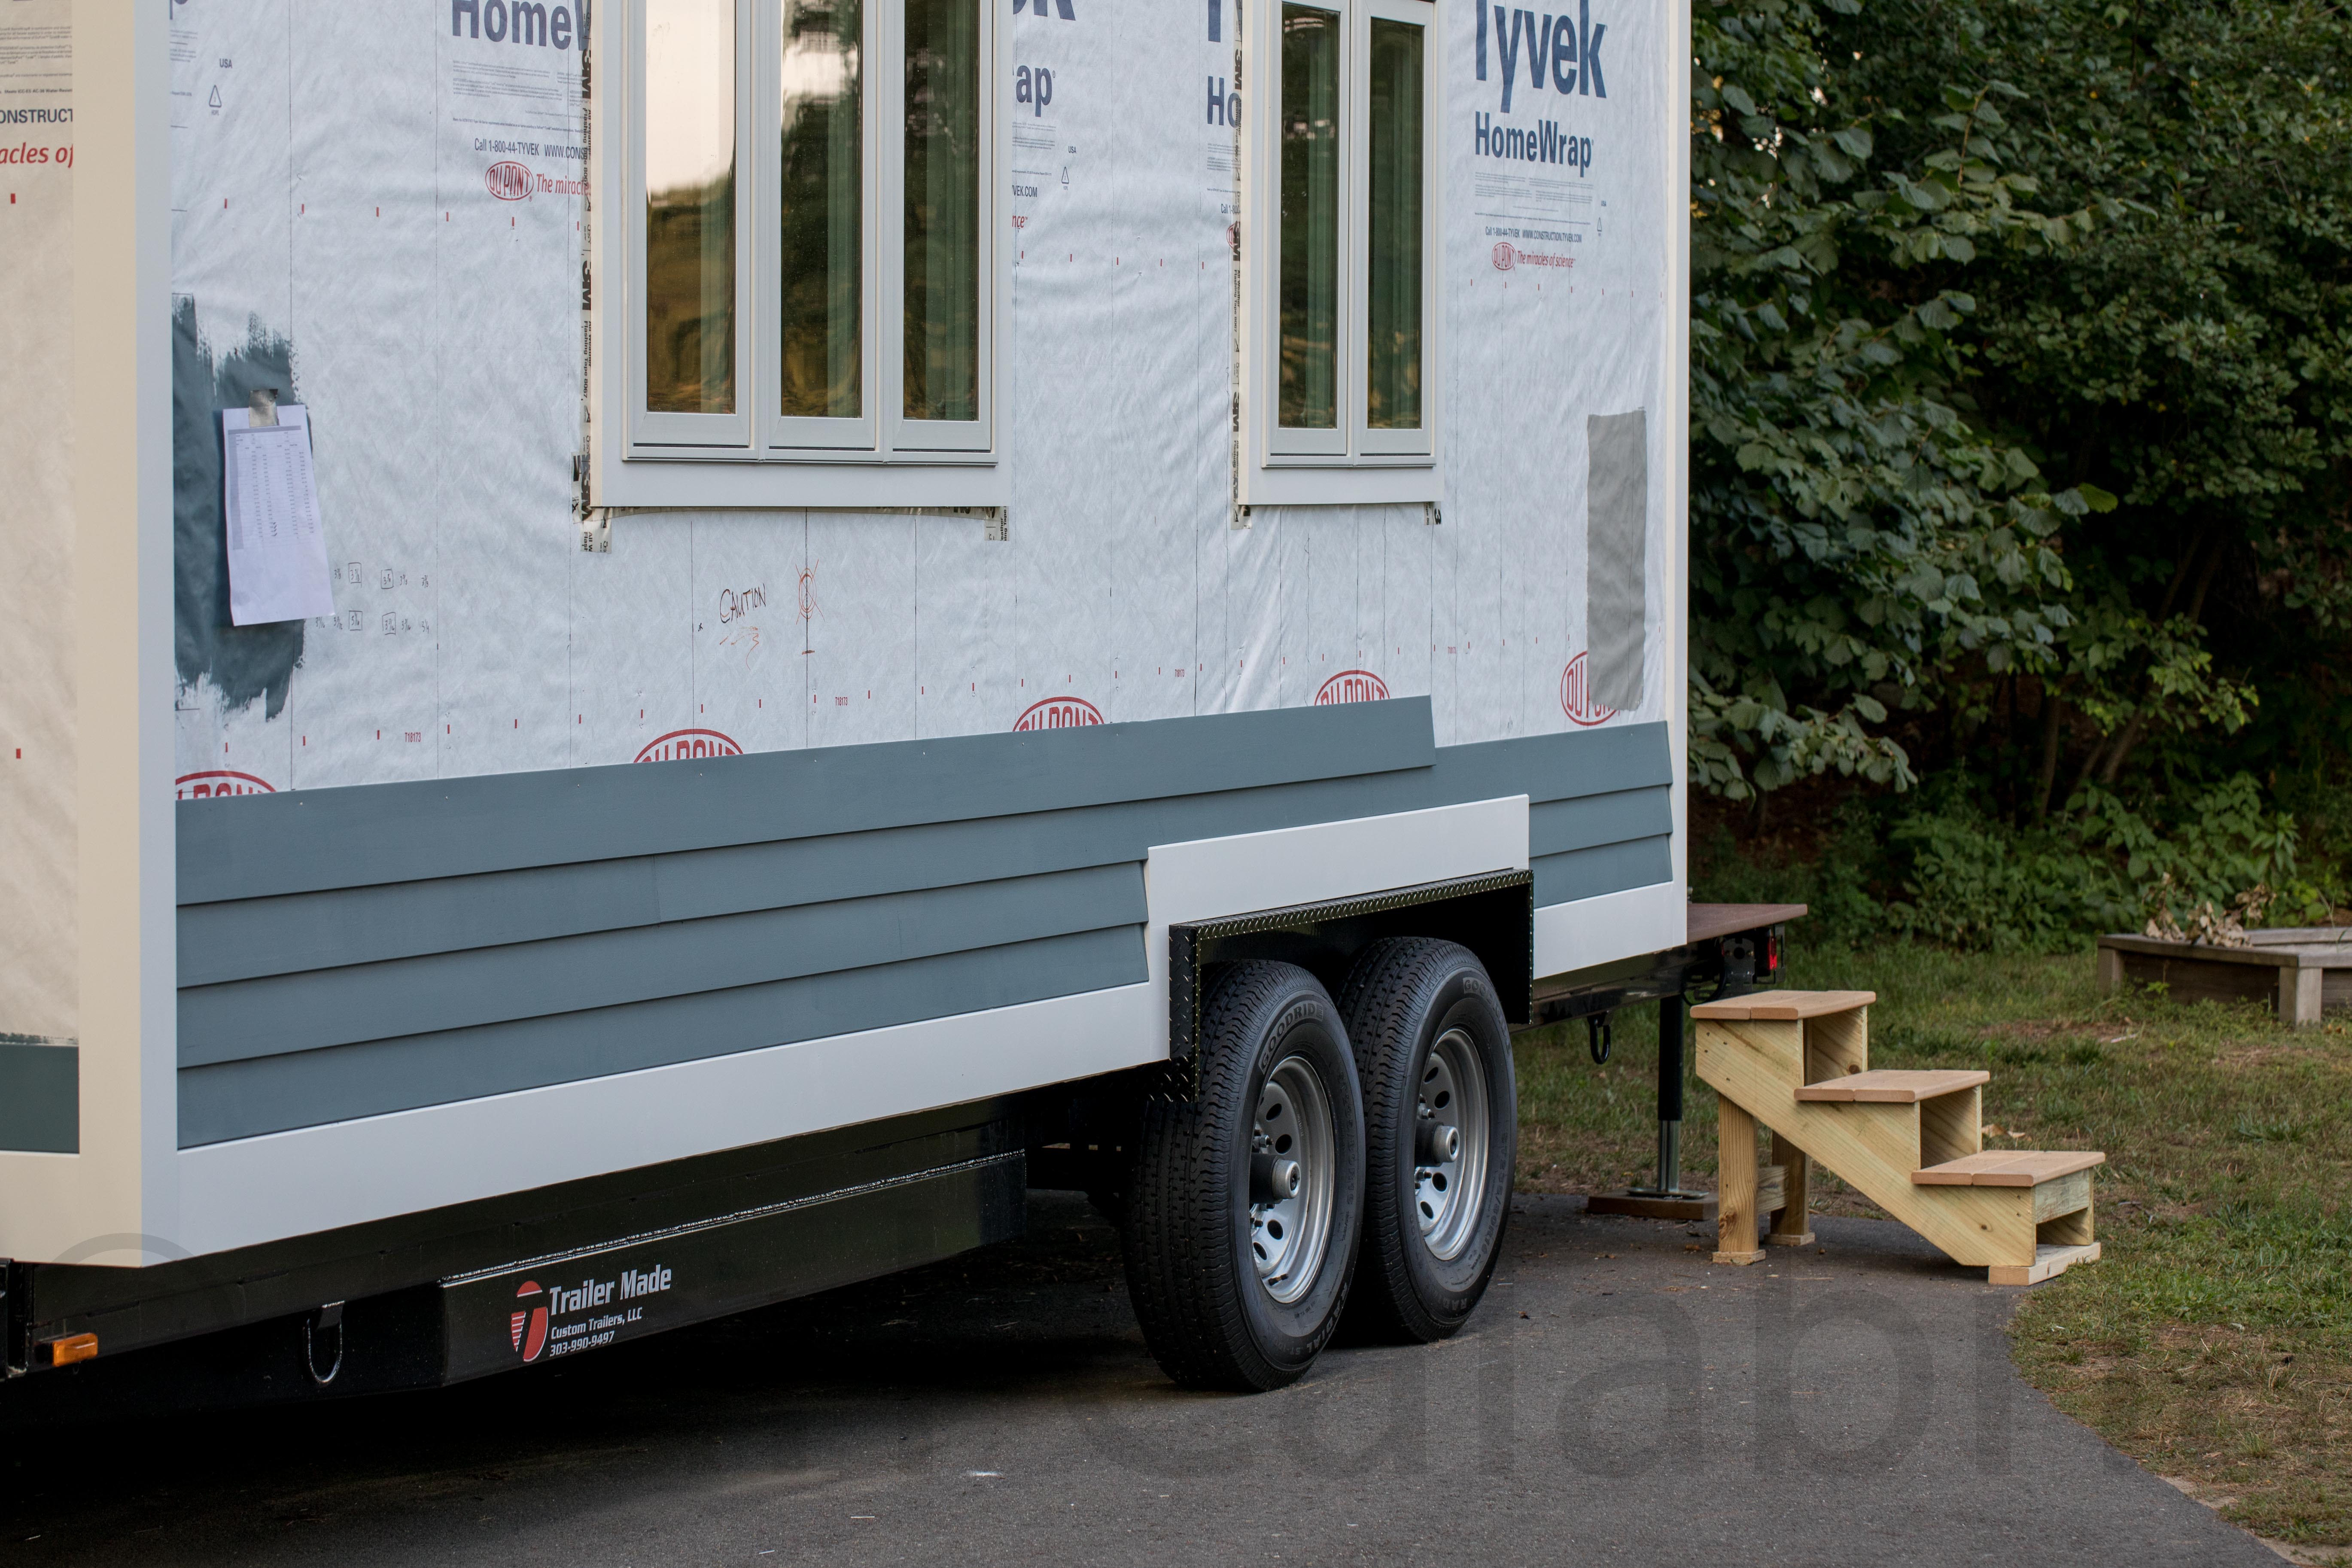
After returning, I insulated the trailer fenders (wrapped in 2″ thick foam core) and installed the strike plates for the front door (the door strike was precut but I had to cut the deadbolt plate recess by hand). I also built a router jig that will be needed for interior wall installation which I hope to start tomorrow.
Protectors of the Egg
Maya’s team was two of nine who successfully completed their first engineering project as part of freshman orientation. The details are not clear as I learned of these exploits by way of texts from Maya to Jeanine. Something about building an enclosure to protect an egg dropped from a great height.
On the home front, Kyle assisted me as we continued work on the interior of the tiny house. Like his sister, he is also interested in learning the skills needed to construct a house. We tackled some of the most difficult remaining tasks (interior triangular walls for the end caps and the flooring for the storage loft behind the sleeping loft including a cutout and access panel for the circuit breaker box).
Olin Freshman
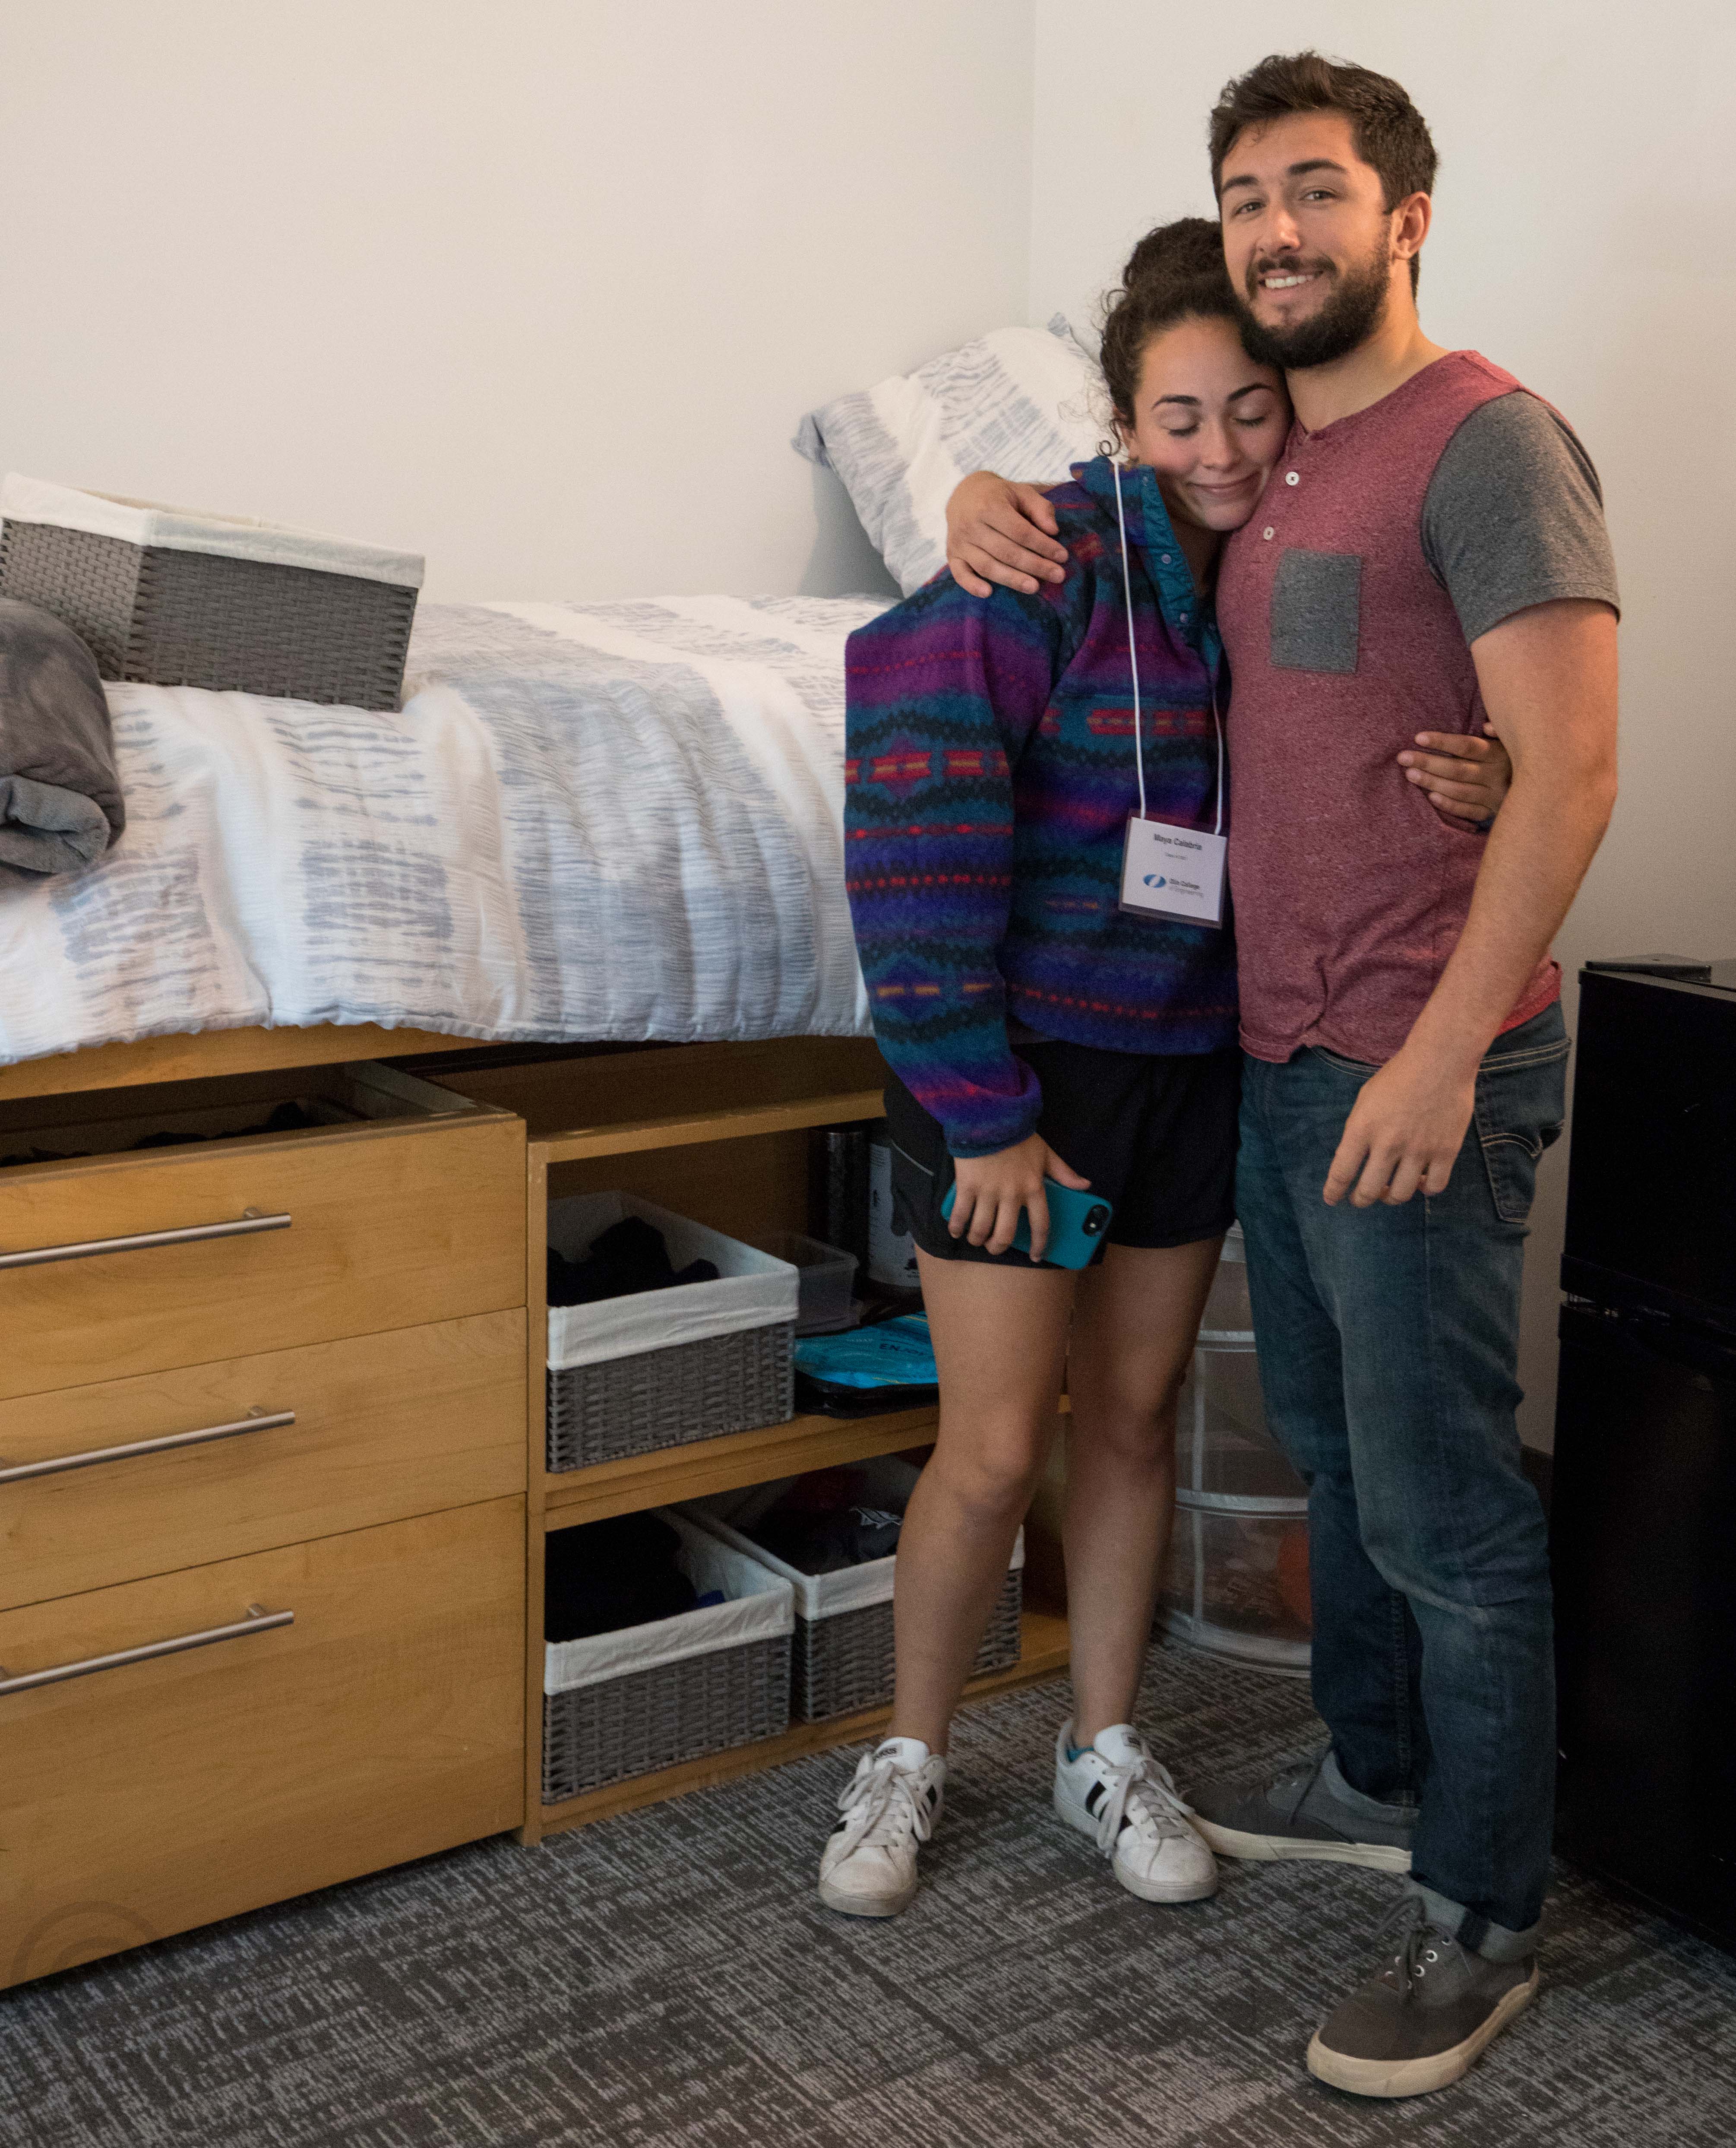
The day has finally arrived. Our youngest child is off to college. Jeanine, Kyle and I helped Maya to move into her dorm at Olin College of Engineering. Somehow, knowing she is only 30 minutes away made the occasion less traumatic than it was for the boys who chose schools half way and all the way across the country. After initial setup, I returned home to build a two-step ladder so Maya could climb into her ridiculously high bed, a 46-inch tall, 5 shelved, night table to augment the limited room storage, 6 drawer dividers, and a perfectly dimensioned piece of lumber to prevent her poorly designed dresser from tipping over with a drawer fully extended. I used up all the leftover plywood from the tiny house project and finished just in time to arrive late for dinner with her roommate and her parents.
Tiny Milestone
It was 7 weeks ago to the day that the trailer for Maya’s tiny house arrived. Maya was a recent high school graduate with no prior construction experience. I weighed 22 pounds more than I do today. This summer has been the most physically demanding and exhausting of my life and I will cherish it like no other. Working side by side with Maya, watching her acquire new skills and confidence every day, and building something of real substance and beauty has been one of the highlights of my life. When Maya leaves for college tomorrow, I will continue work on the interior at a much reduced pace and will plan to finish before winter arrives.
HVAC Done
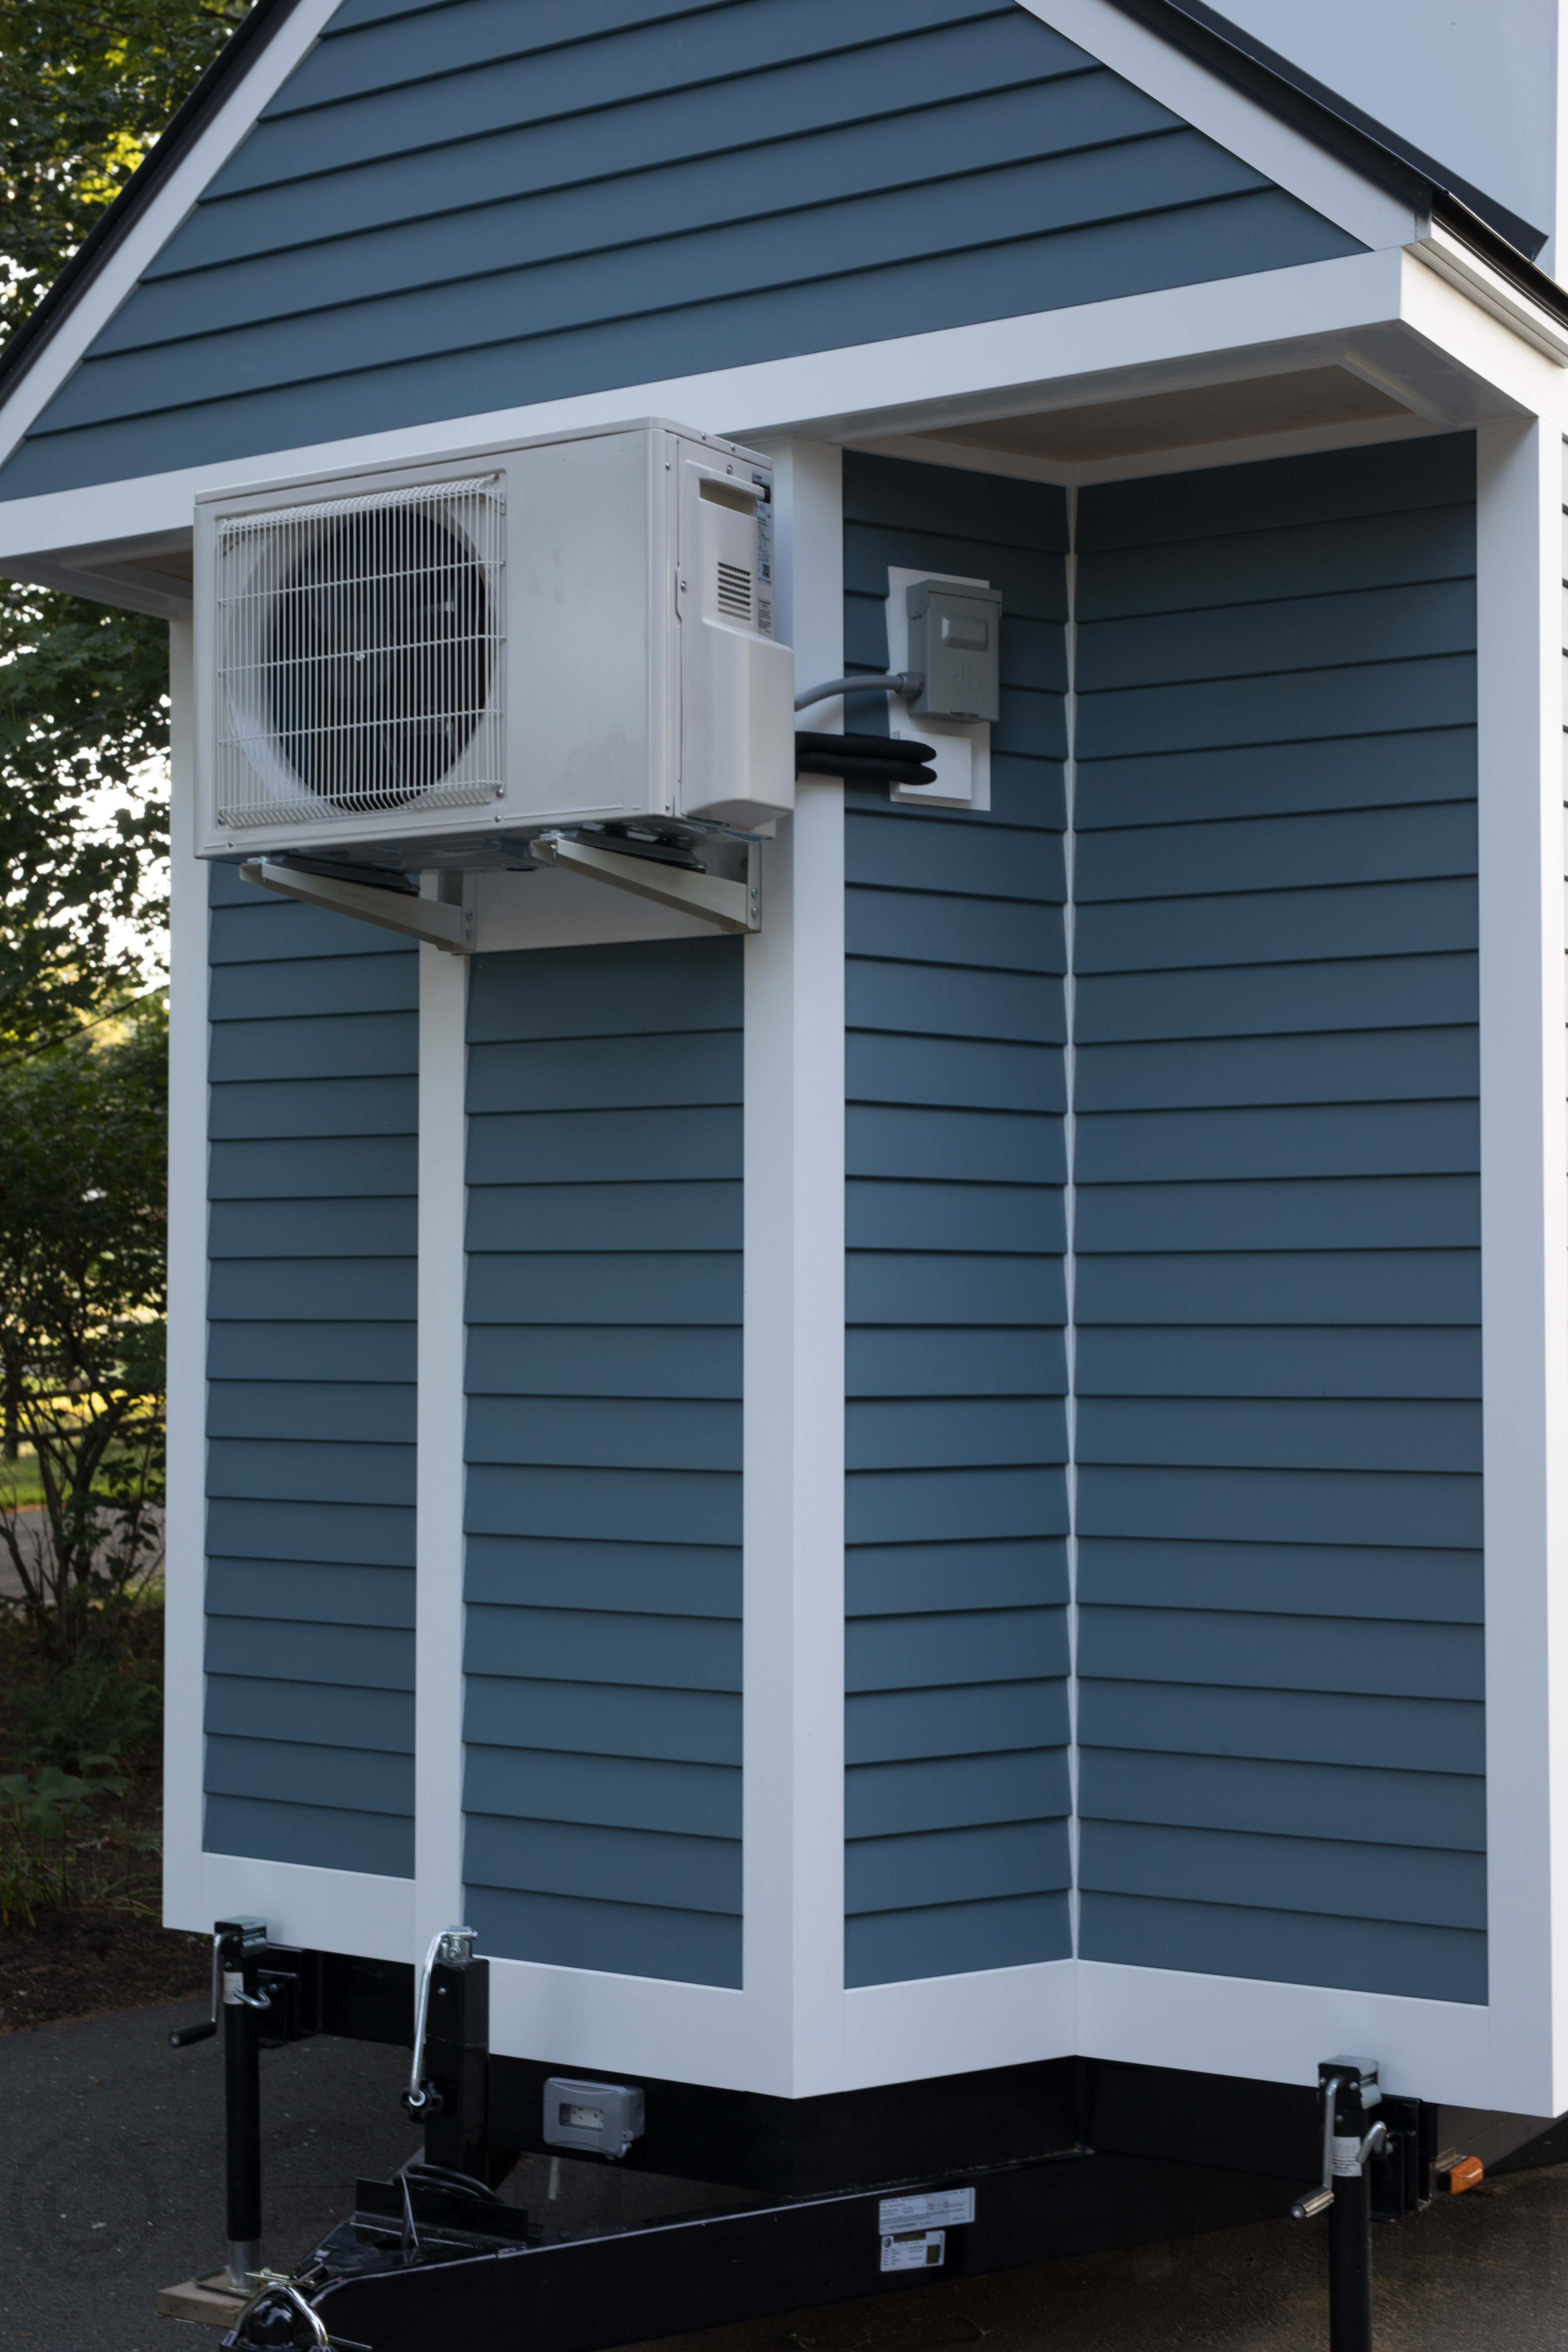
Not the most attractive addition to Maya’s tiny house, an essential component nevertheless, the external half to the mini-split system that will heat and cool the interior. With the addition of a pan heater that I installed, it is rated for operation down to -15F. Mounting it high will protect it from incidental damage and allow for operation with snowfalls up to 6 feet. Although this is the front of the trailer, it is the back of the house and the least objectionable location we could come up with. Today was our last day working on the house together. Maya leaves for college on Saturday and needs the day off tomorrow to pack. Our ambitious goal for the day was to complete the interior ceiling and we managed to do so thanks to the efficiency of my new track saw and Maya’s clever idea for templating the triangular dormer side walls.
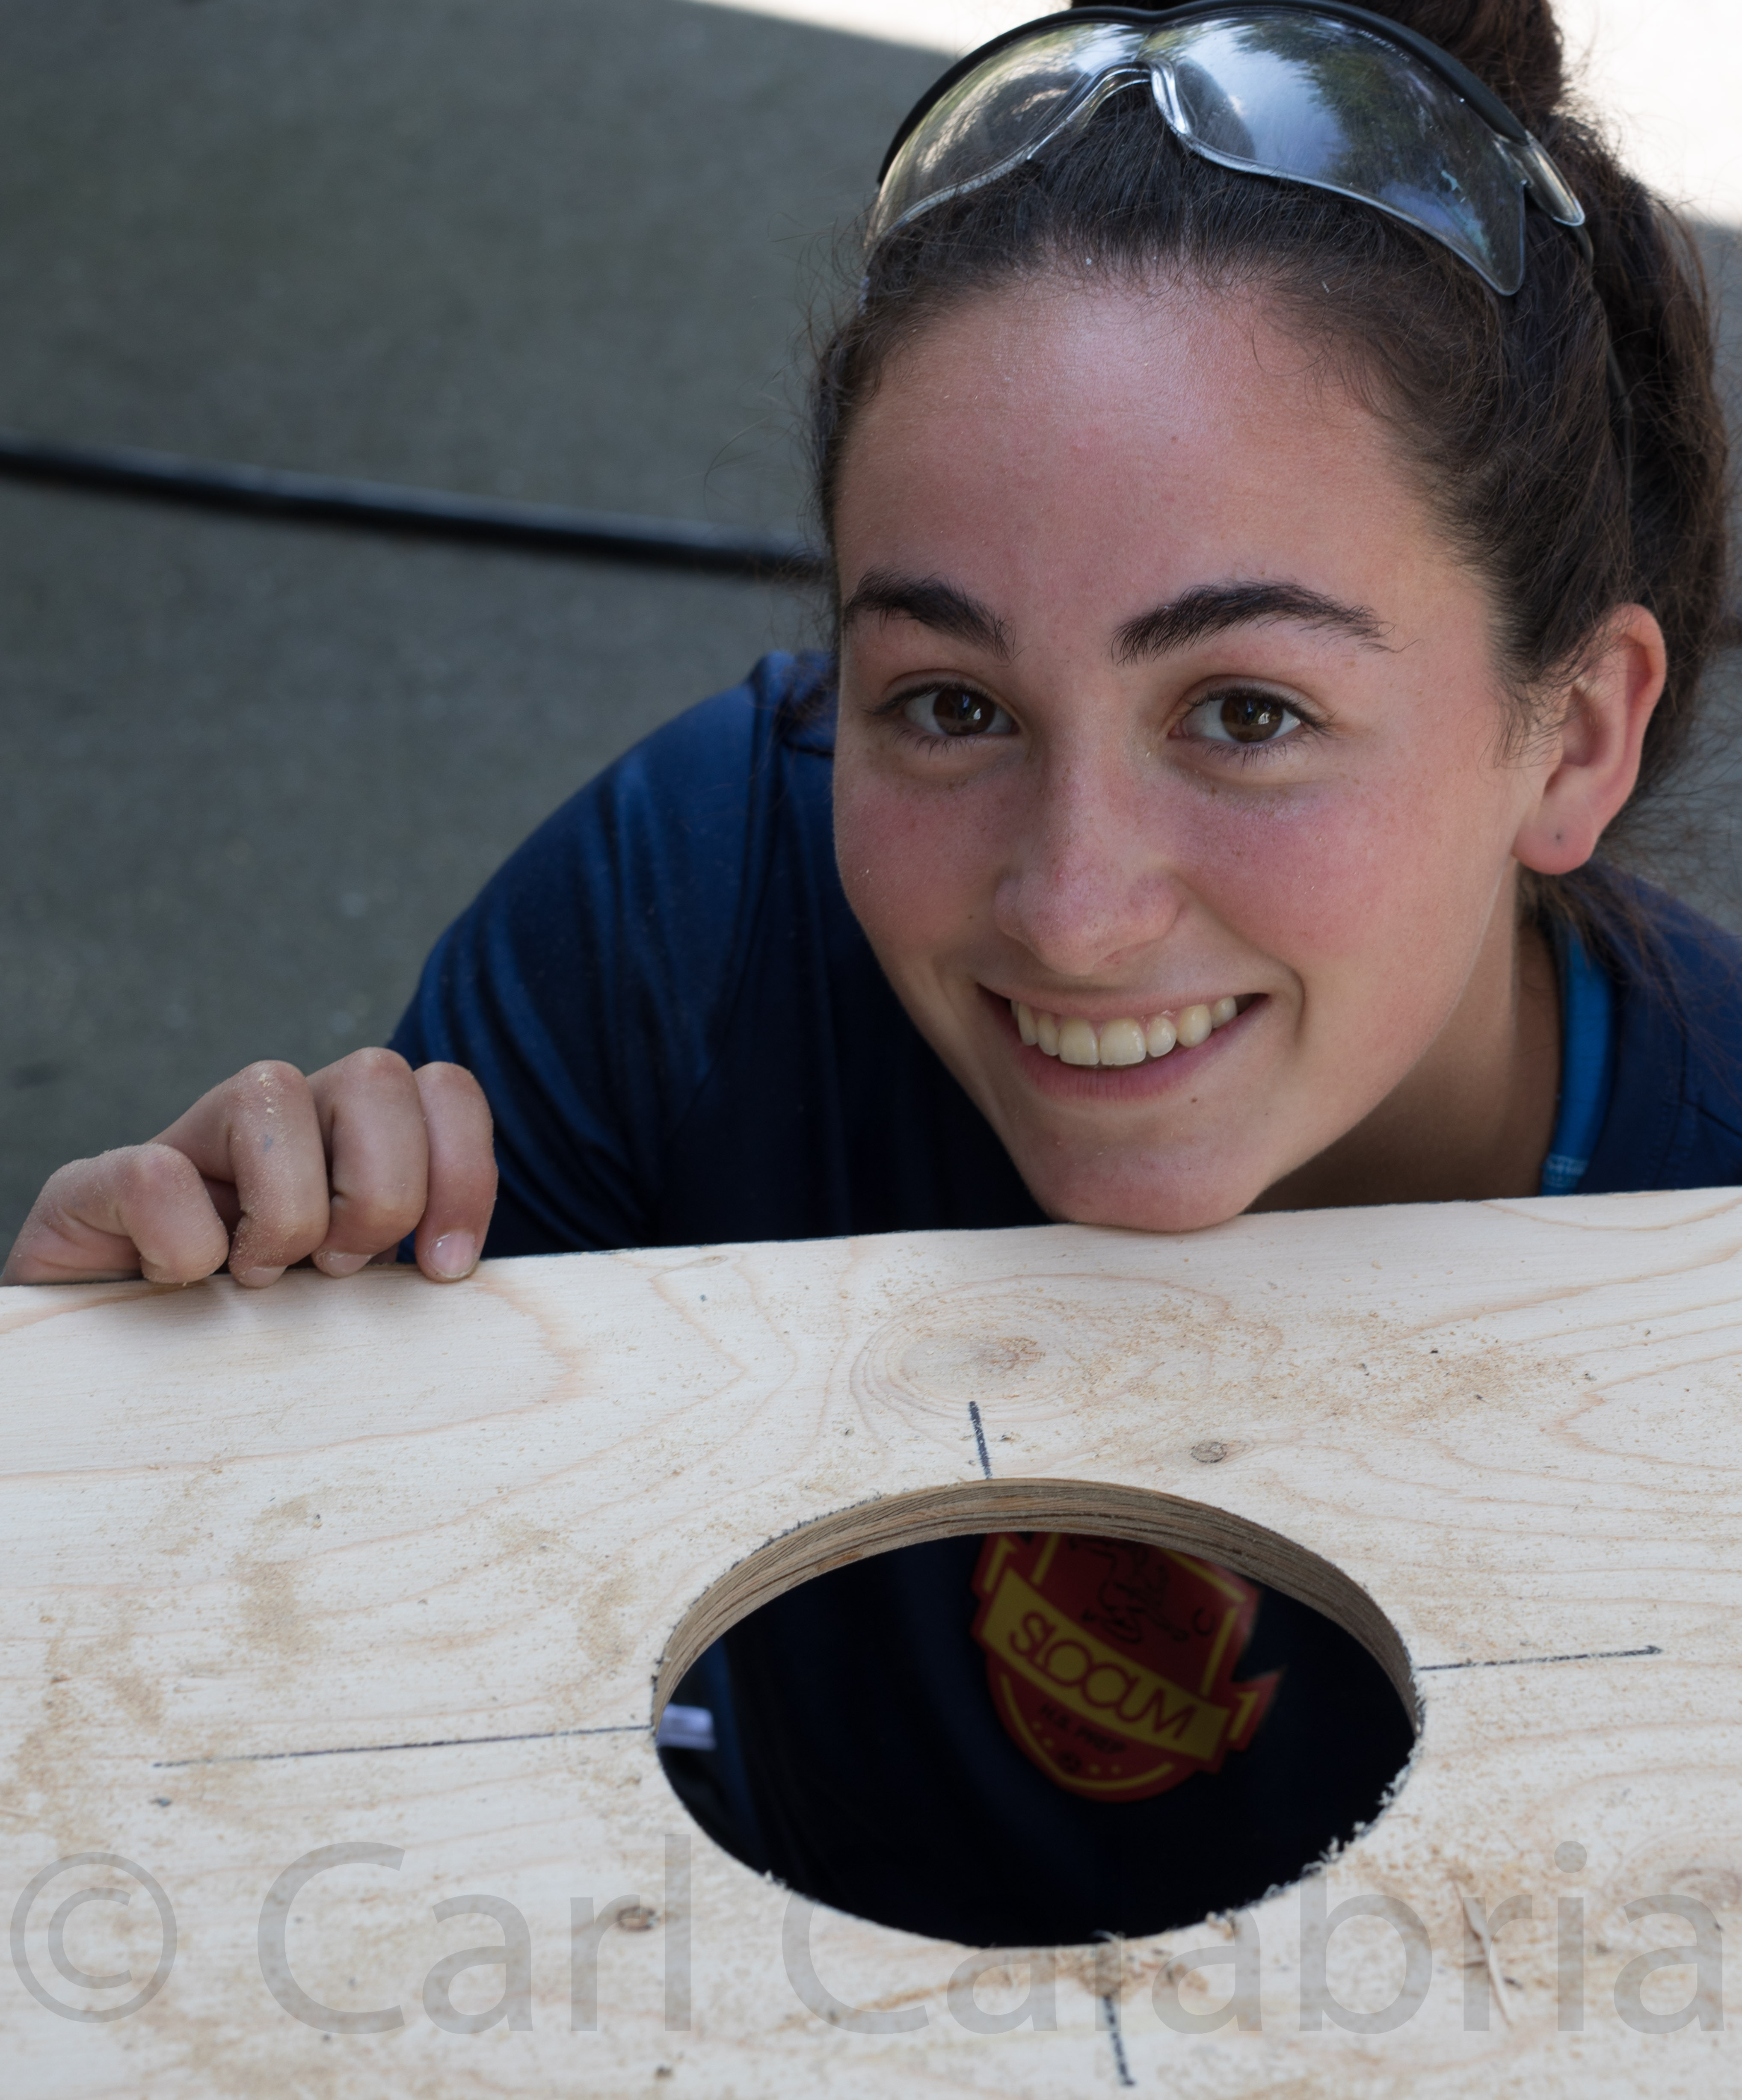
Over the course of the summer, Maya has developed from a good craftsman to an exceptional one. Pictured below she proudly shows off the hand-cut circle she cut in one of the ceiling panels for a light fixture. I don’t think many professional woodworkers or builders could match her precision. She brought this level of craftsmanship to every aspect of her work and I took great pleasure bearing witness to her development.
Exterior Done!
With an early start and late finish to the day, Maya and I reached an important milestone this evening by completing the exterior of the tiny house. Although the interior remains to be finished, the tiny house can now be sold in its current state of completion to a buyer who would like to do the remaining work themselves. Maya has several interested parties already. Kyle helped me to suspend the external half or our HVAC min-split system on the back of the house and I will make the refrigerant line connections tomorrow.
Three Quarters Clad
Solar Eclipse
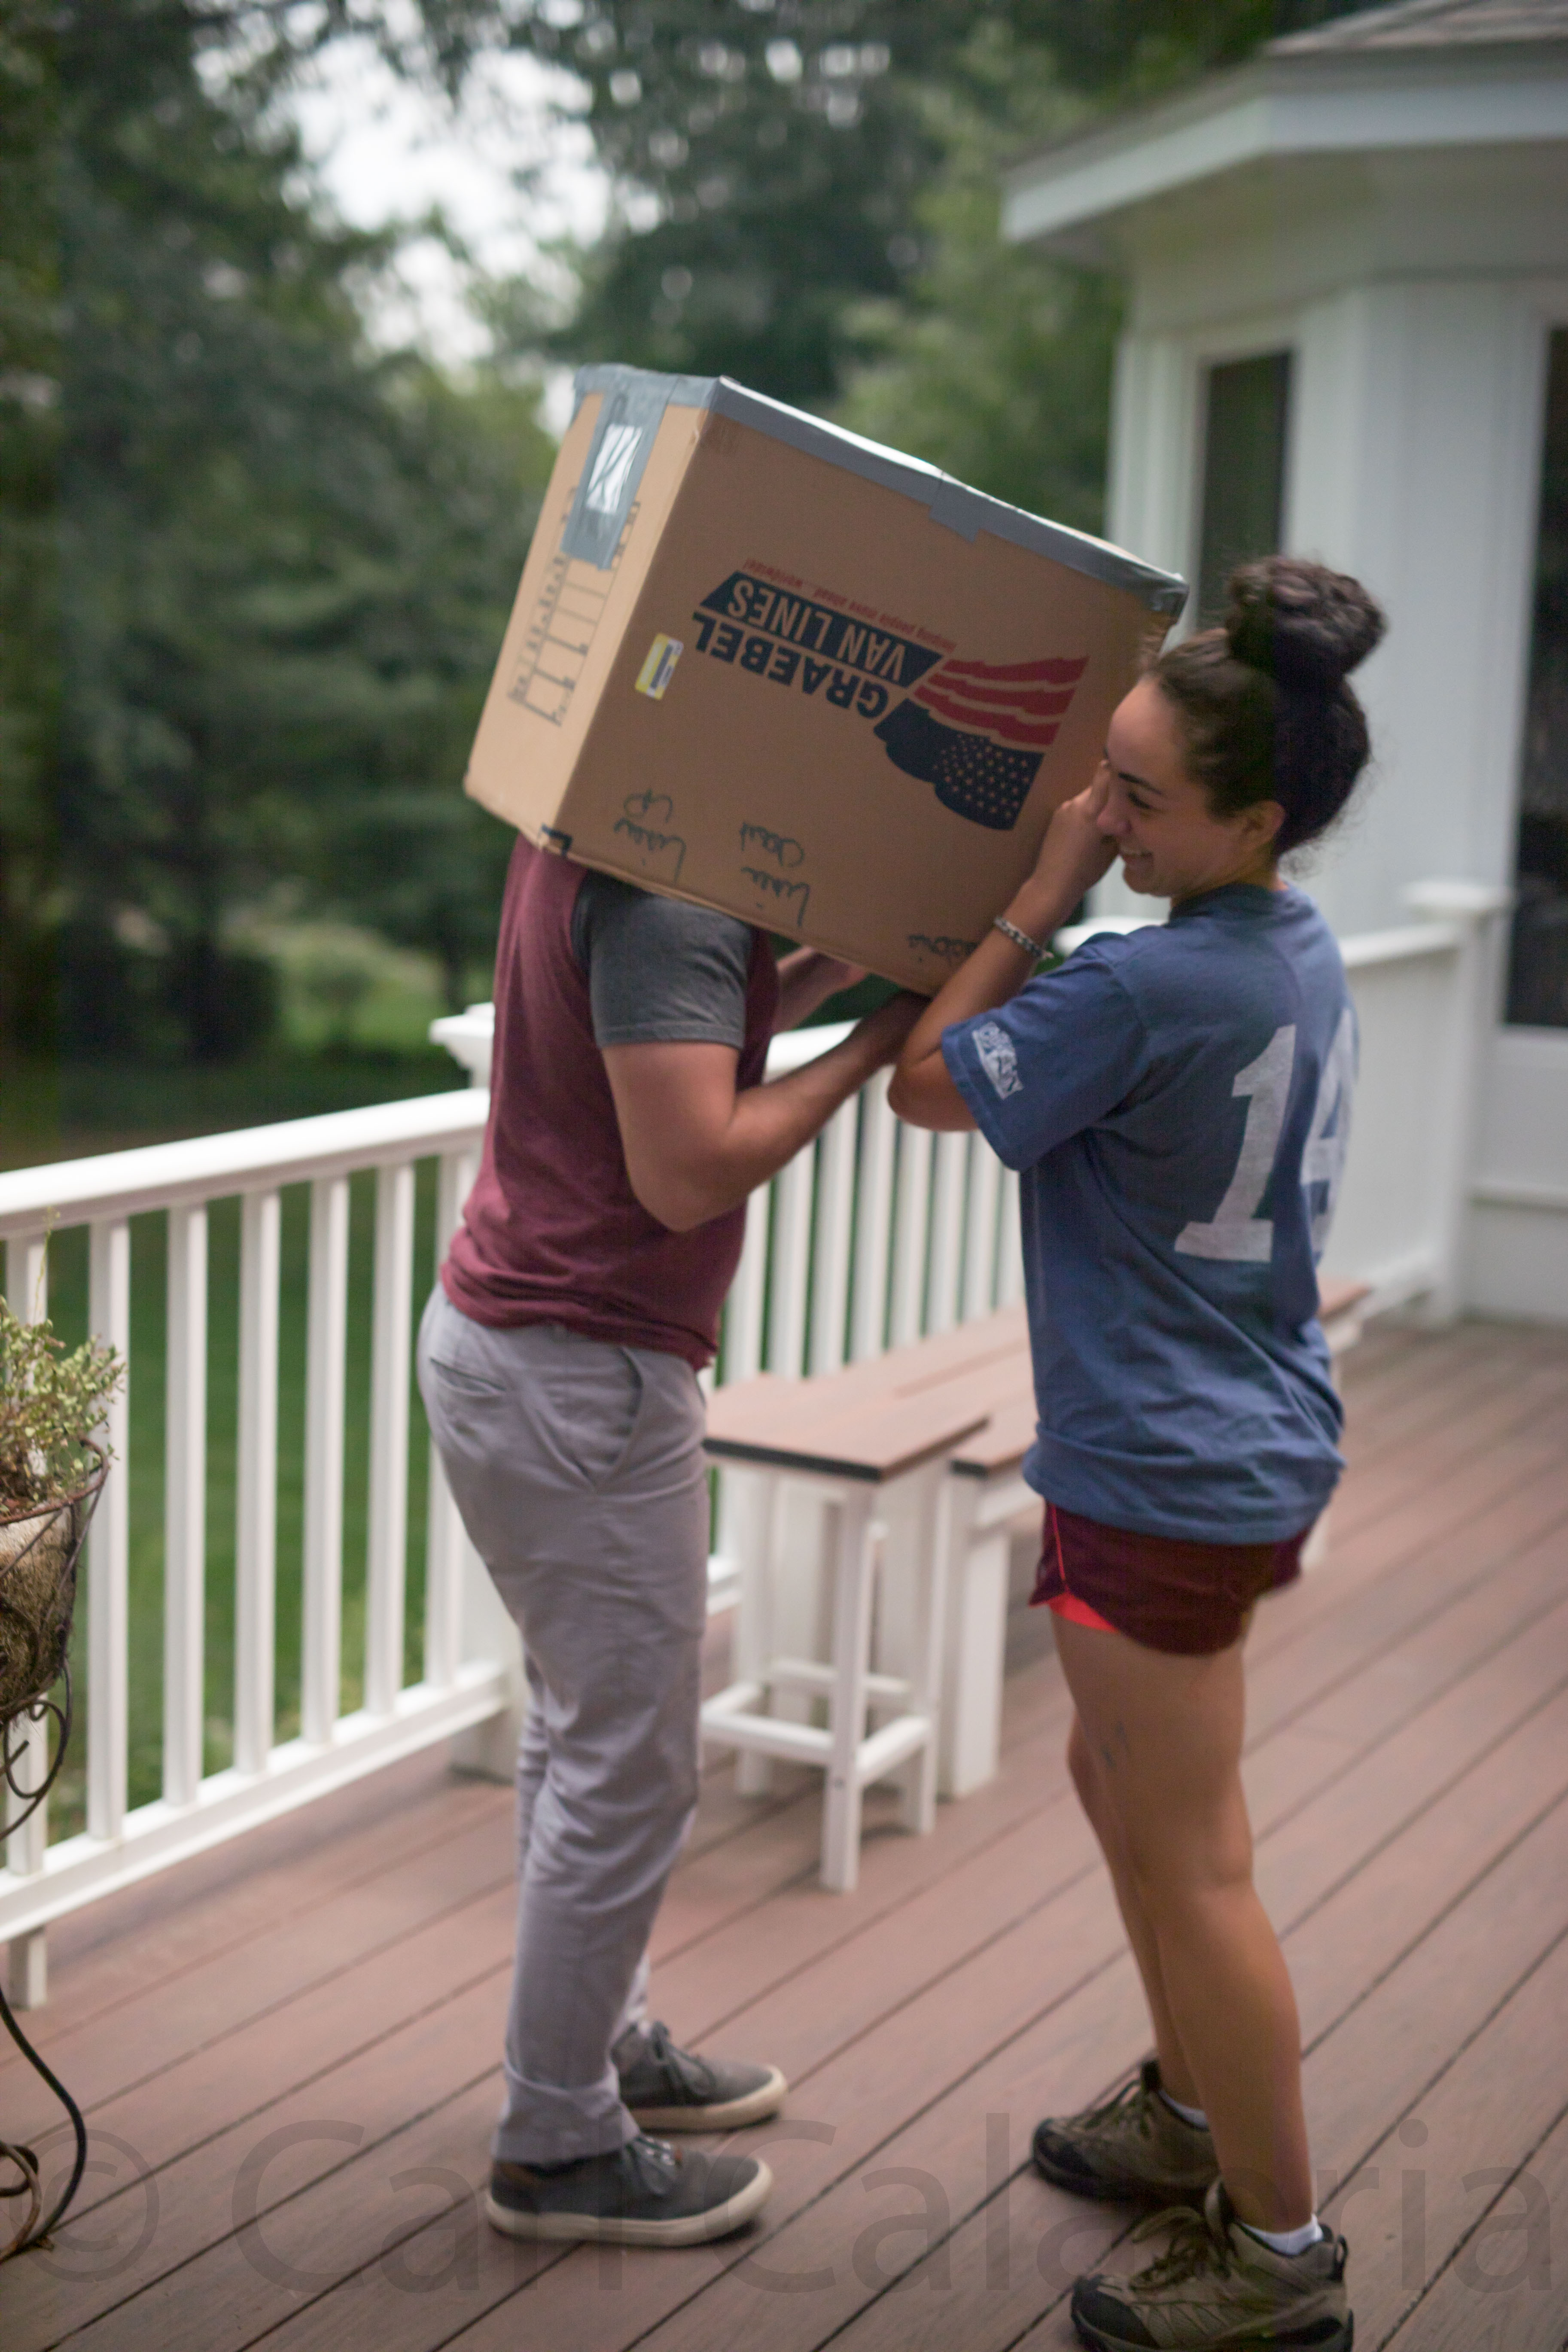
Normally, the opportunity to photograph a solar eclipse would have me preparing for days and traveling to a location in the path of totality. The tiny house project, however, has been all-consuming and when Kyle asked if we had any glasses or a way of safely viewing it, I sadly had to answer no. Determined to see the rare event, Kyle did a bit of internet research and constructed a pinhole camera from a cardboard box and aluminum foil. It worked perfectly despite efforts by his sister to spin him around and point him in the wrong direction. At the last minute, it occurred to me that I could stack several neutral density filters I own to create a 14-stop optical filter (this reduces the intensity of all wavelengths of light passing through it by 16,000 times). We shared this contraption to get a great view of the eclipse as it peaked in and out of the clouds. I then used it on my camera for a couple ofs hand-held snapshots.
Cedar Siding
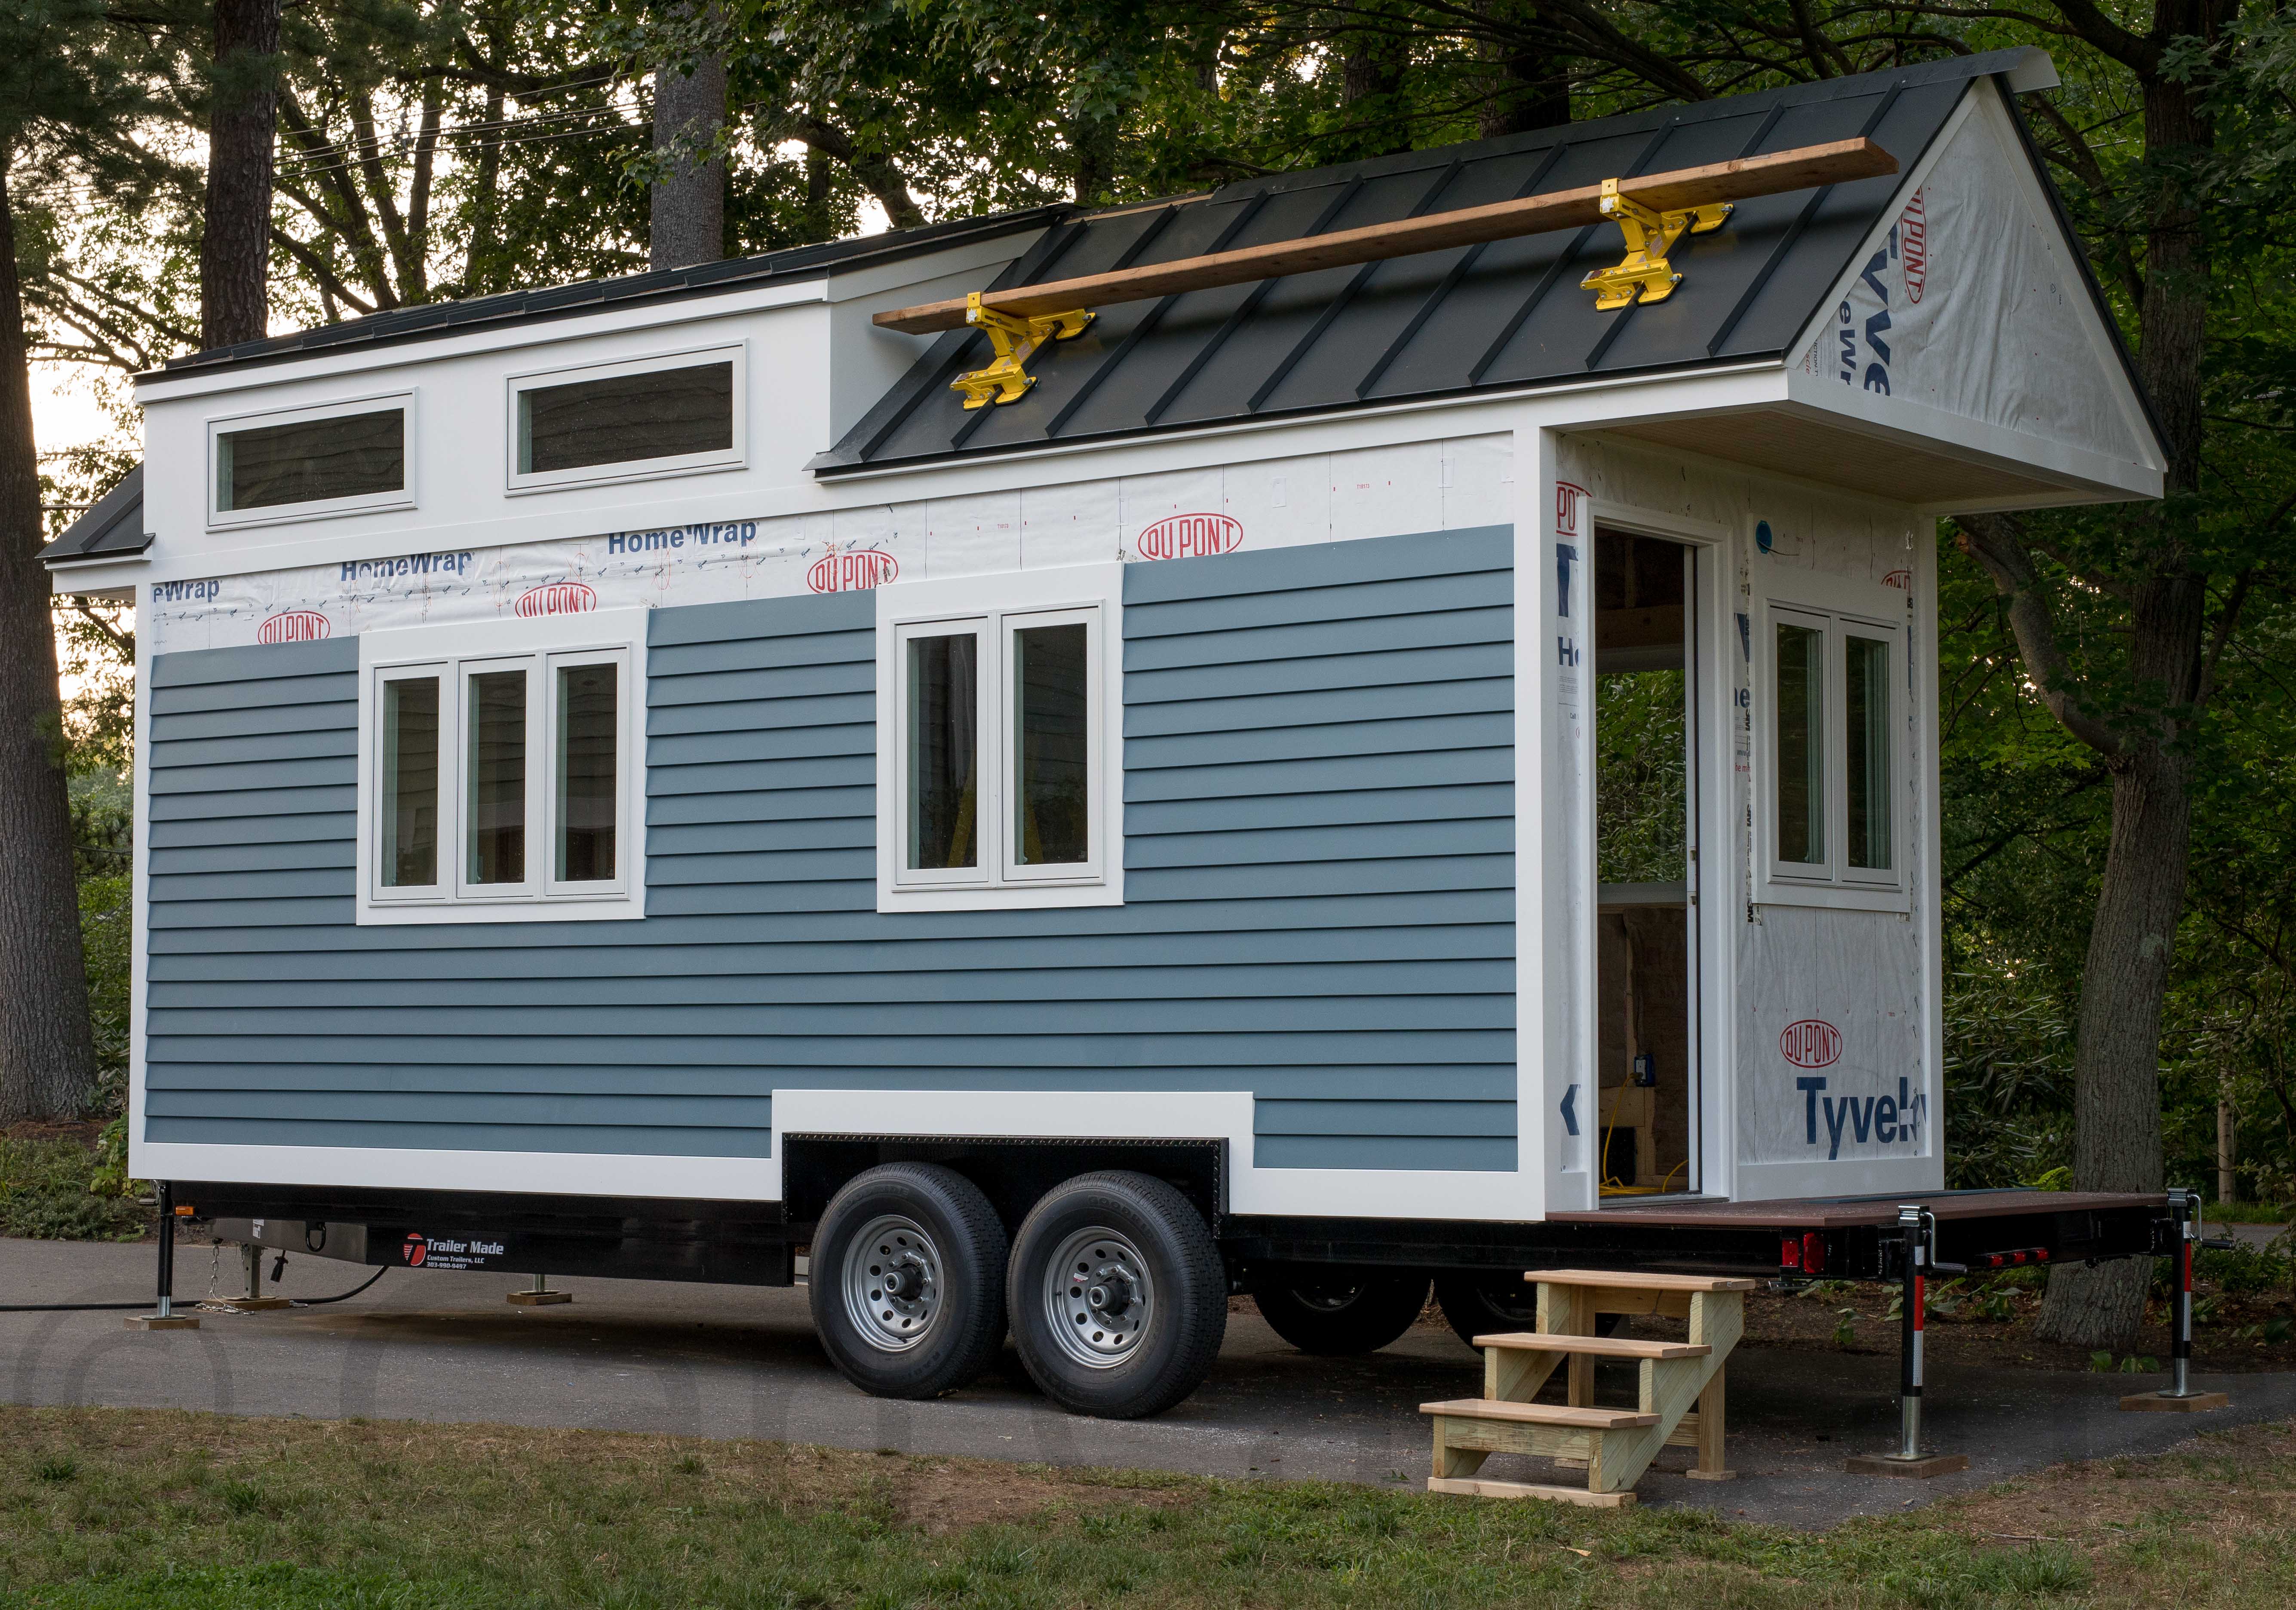
With limited interruptions today, Maya and I made serious progress on hanging the clapboard. If not for the fact that we painted each board end after cutting it to size, we would already have completed the entire house. Waiting for the paint to dry slows the entire process down tremendously. Tedious as this step is, it protects the clapboard from water damage. The end grain absorbs water 250 times more than any other face of the board (think of wood grain as a bunch of straws running parallel to the length of the board). Pretty sure that few commercial builders take the time for this very important step. With one side of the house almost done, Maya is extremely happy with her color choice and glad we took the time to change it from her first selection.
Tiny Details
Painting was the main accomplishment for the day. Maya finished painting the uninstalled clapboard while I started on the trim. By late afternoon we were back to hanging clapboard which should keep us busy for the next few days. I don’t care so much for the repetitive tasks on our tiny house project and much prefer the one-off precision work. After Maya left for an evening party, I fashioned an exit cover for the refrigerant lines to cover the expanding foam insulation used to seal the opening. It required two overlapping 1-1/4 inch holes drilled at an acute angle. Once I built a jig to hold the workpiece the rest was fairly easy. These are the kinds of details I enjoy working on and I am very pleased with the way this one turned out. The electrical wires from the code-required circuit disconnect box will be run through a liquid-tight tube when the HVAC unit is installed.
New Track Saw
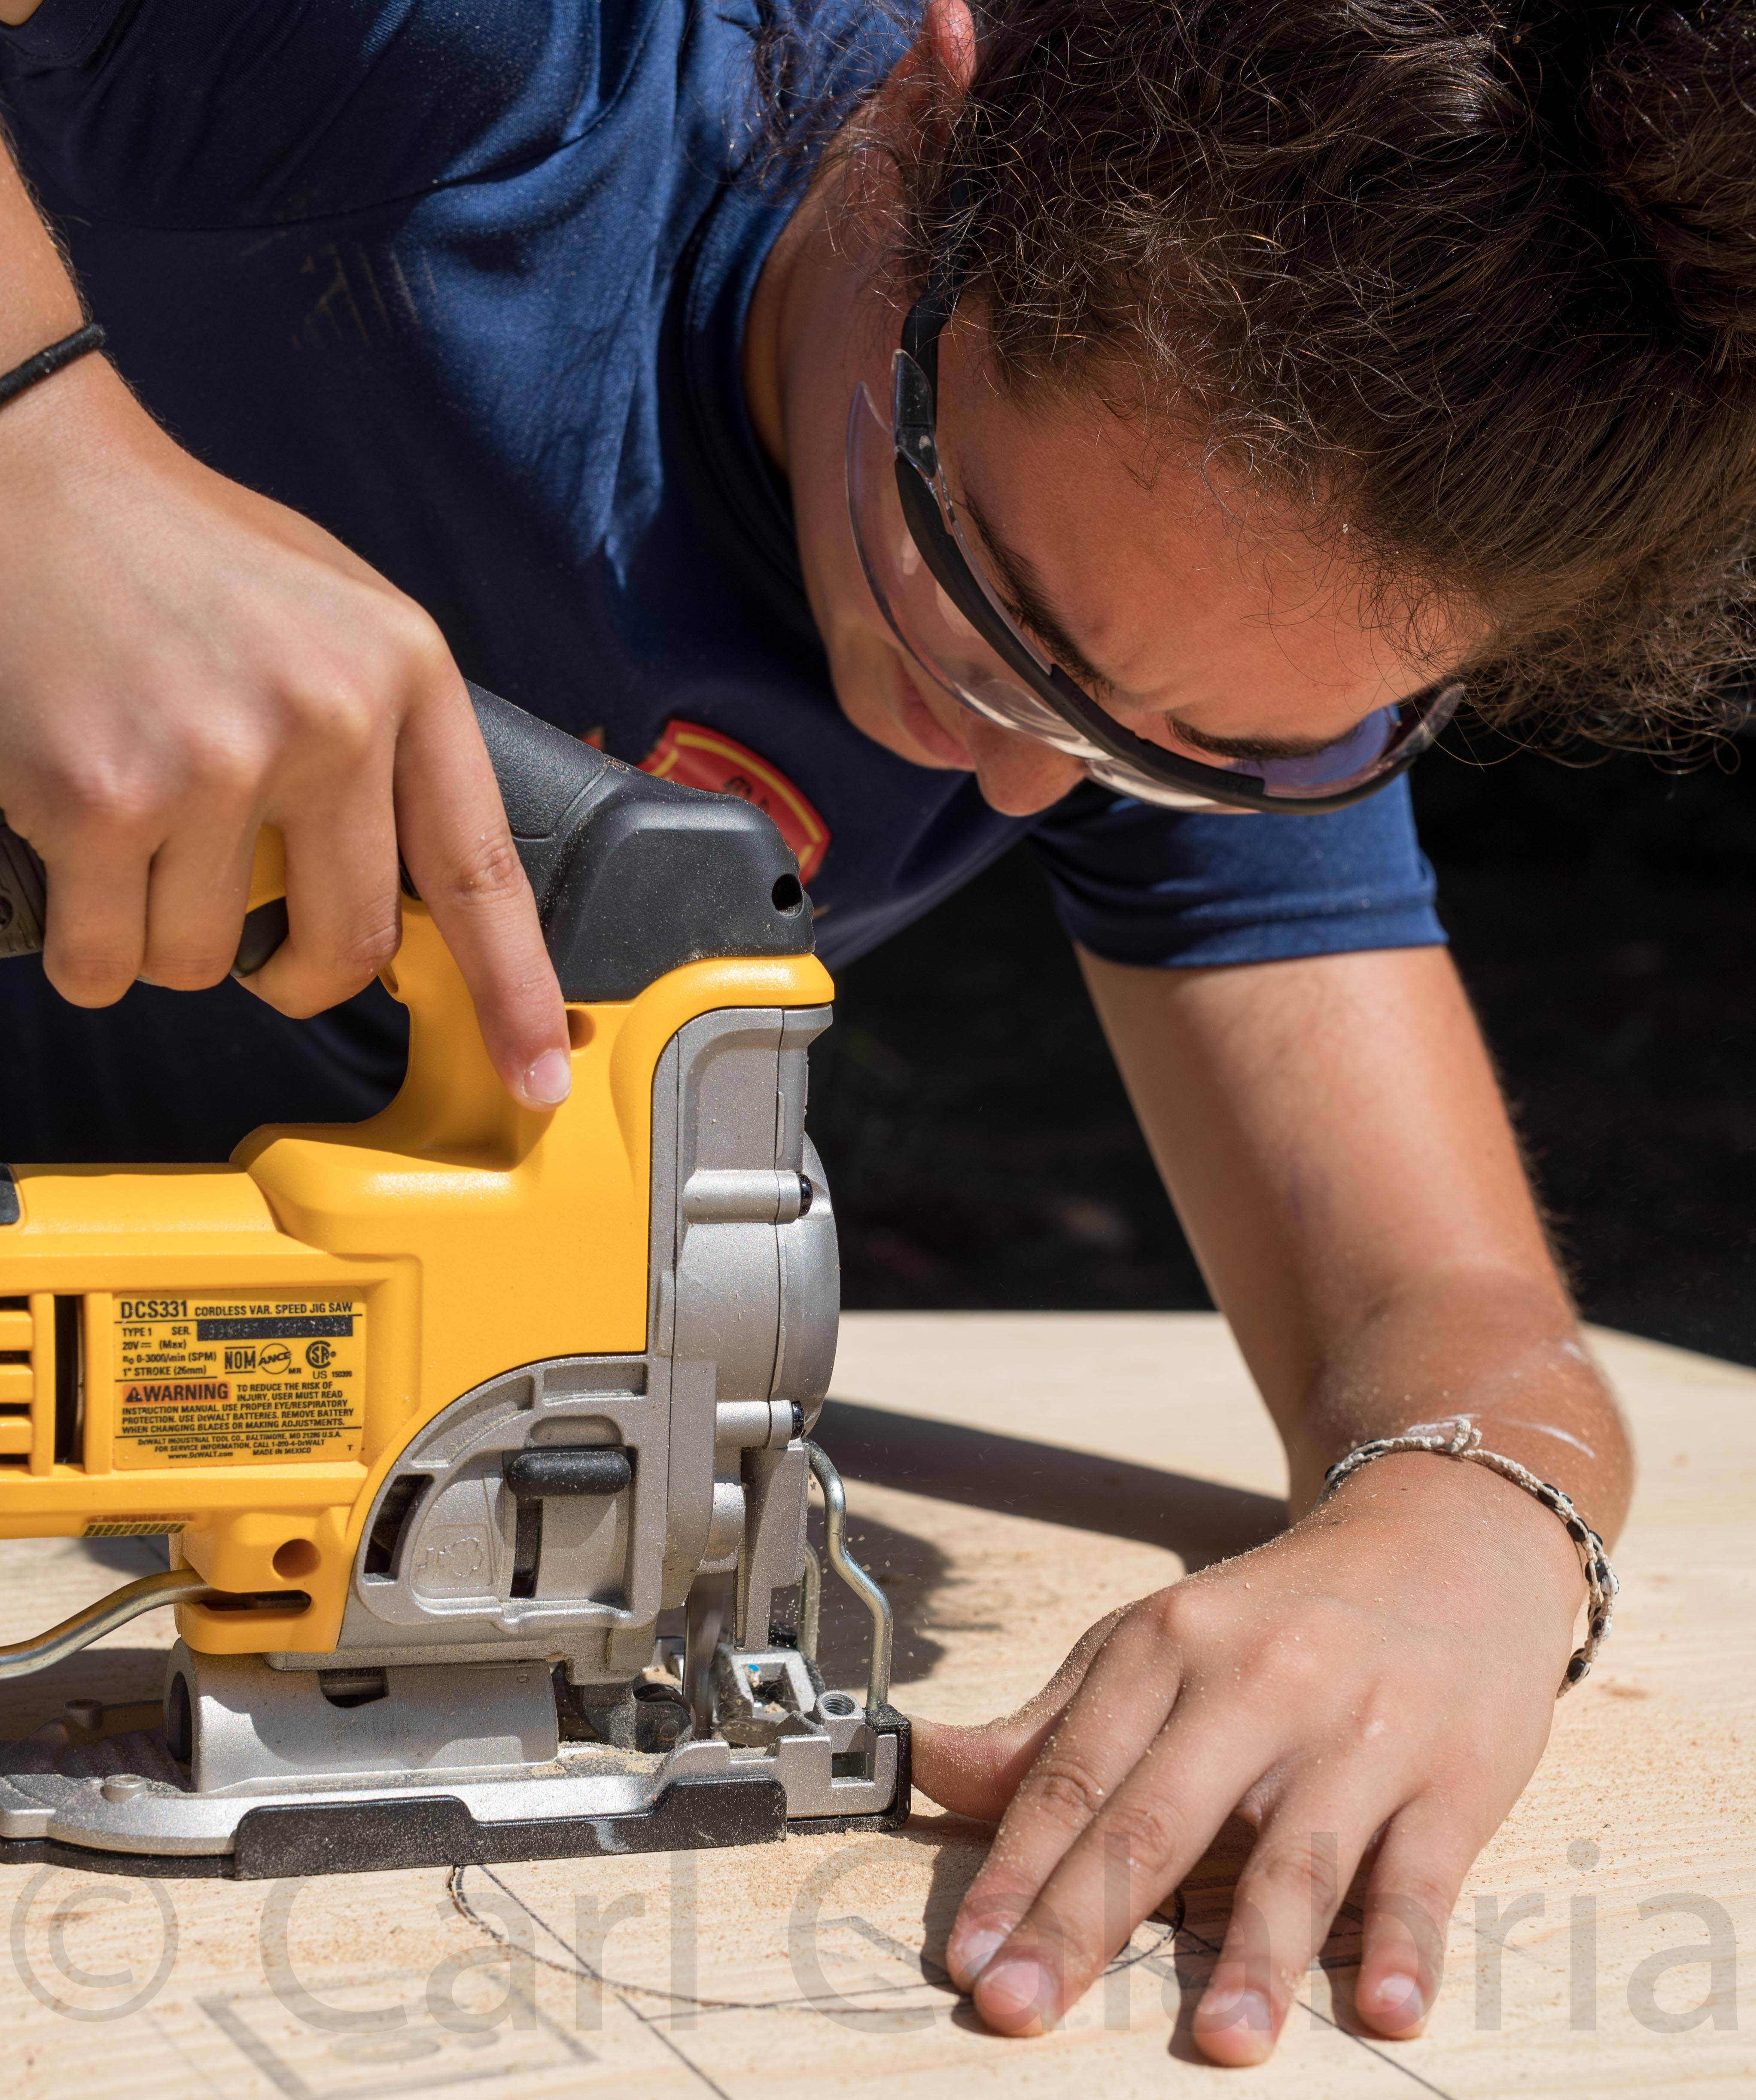
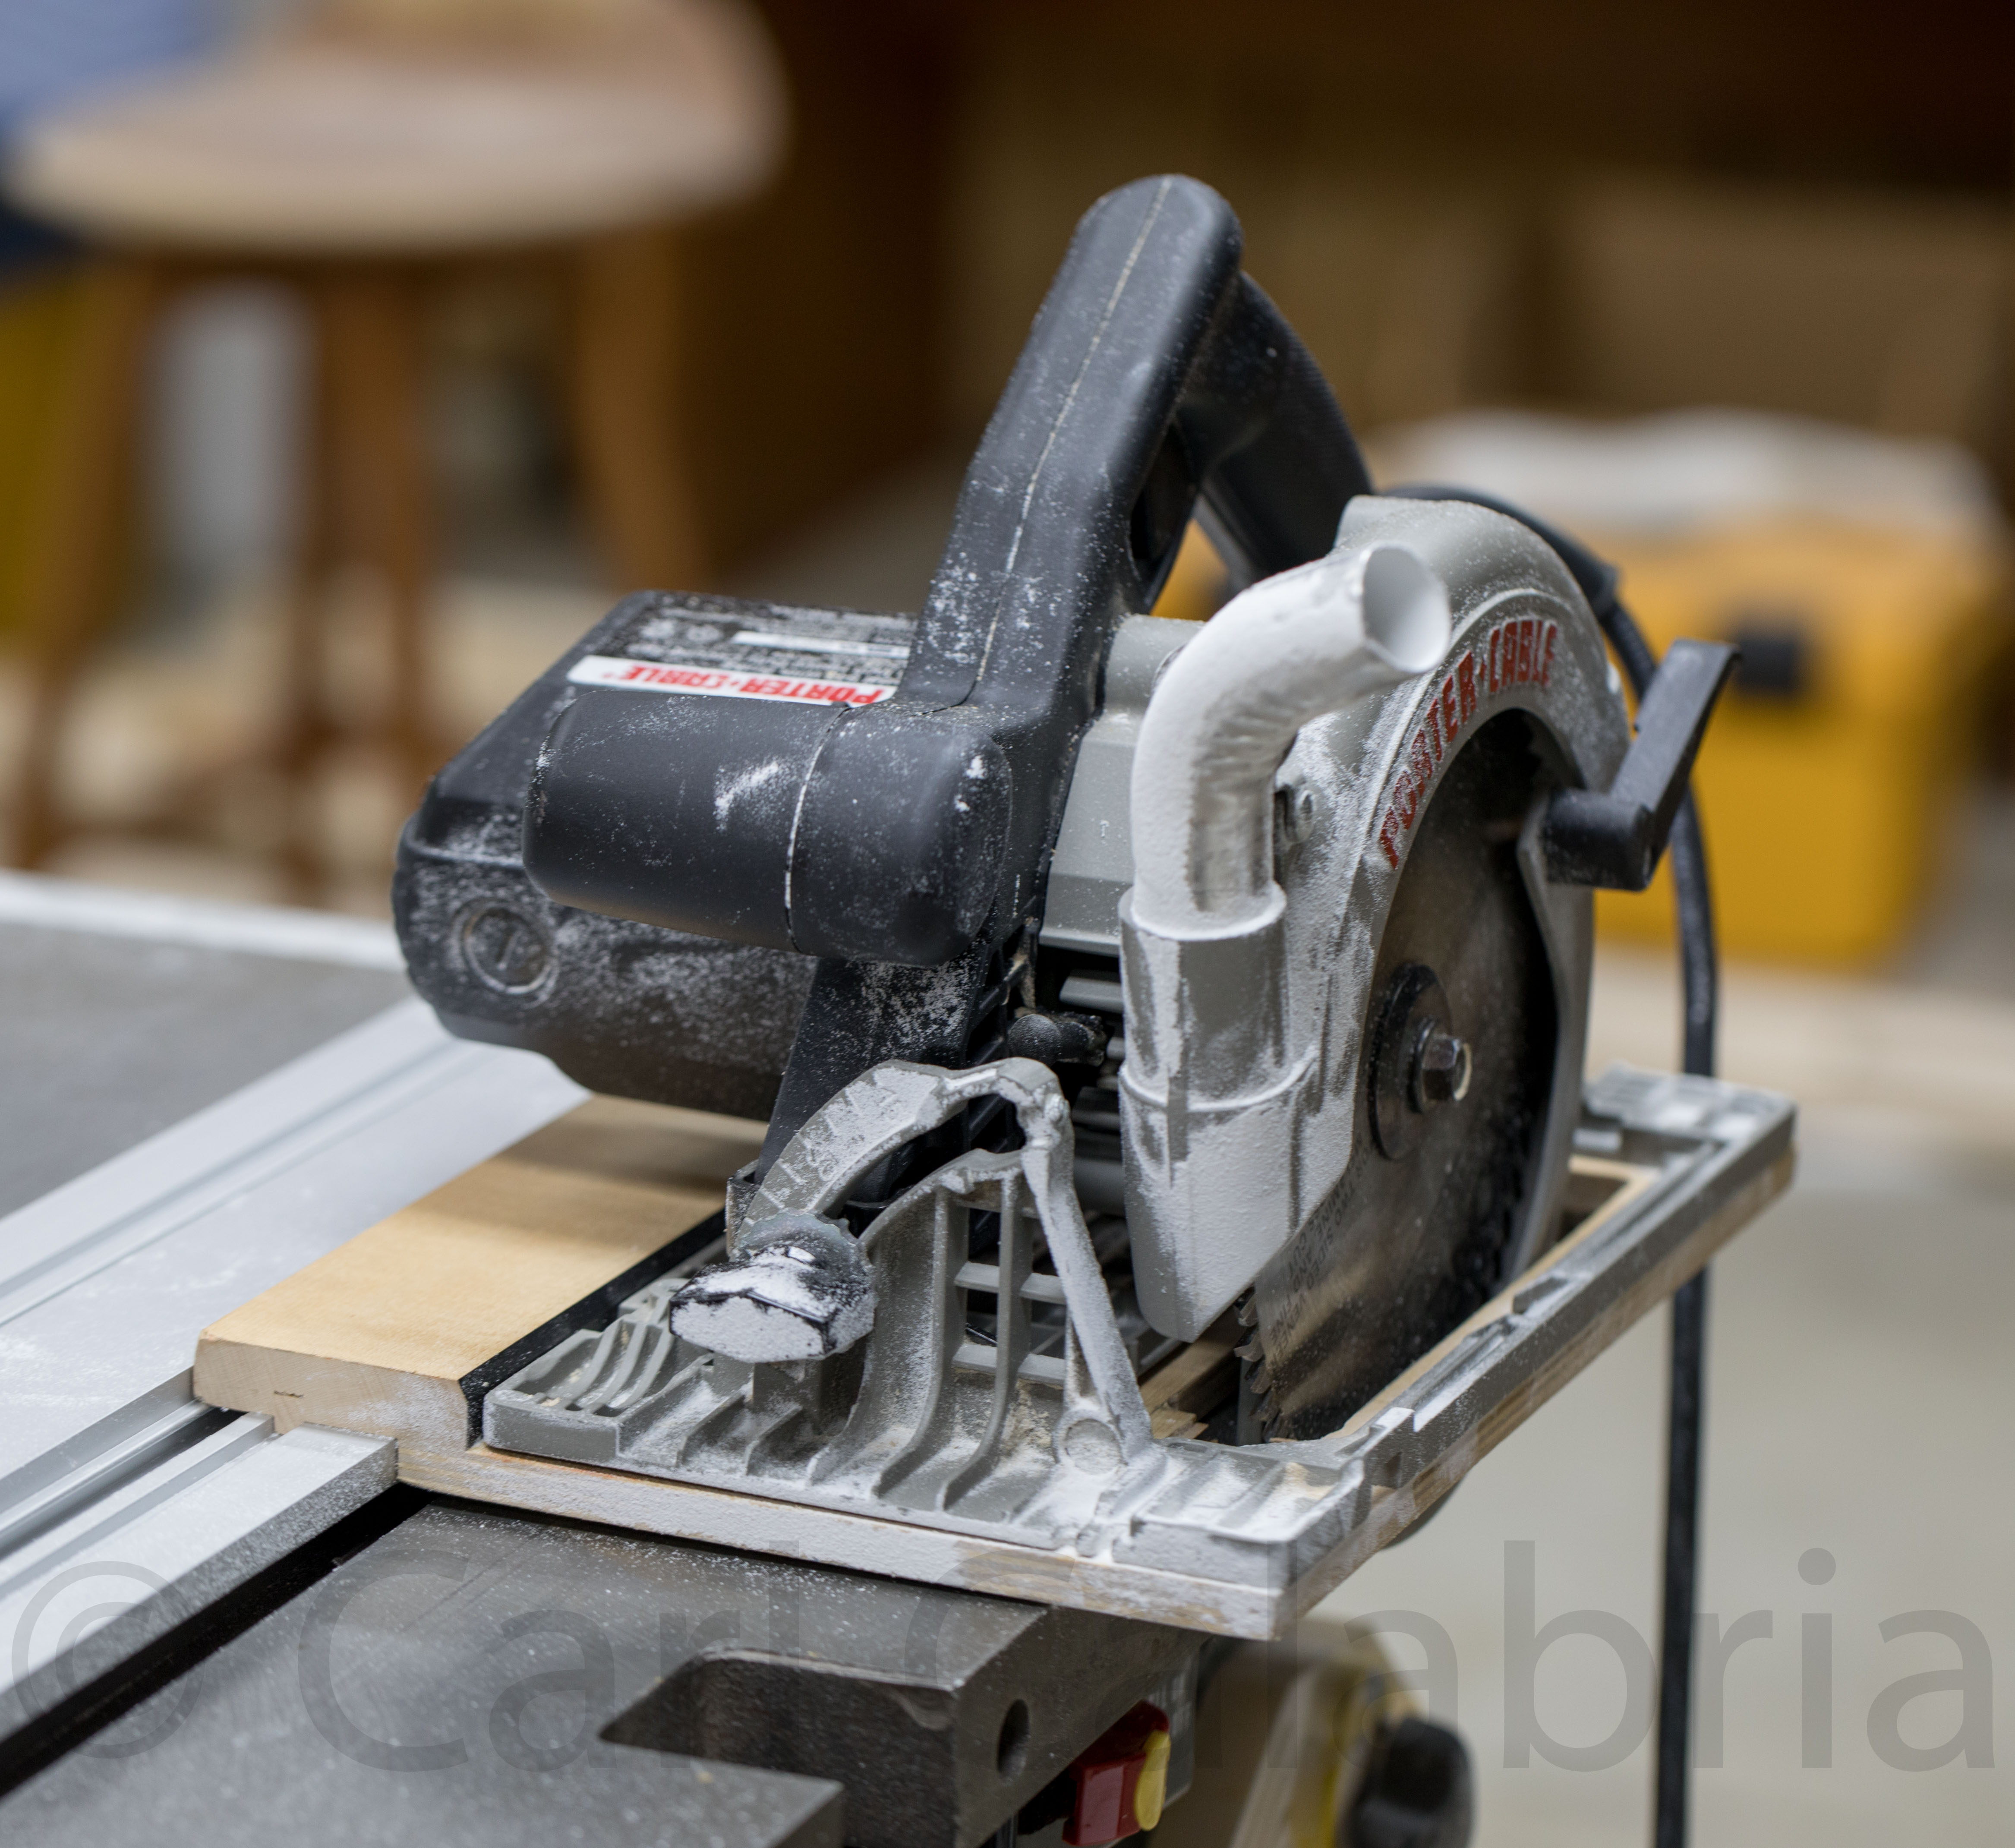
Thus far into our tiny house project, we have had all the tools needed for our work. Today I invested in a new track saw to replace a home-built version I made more than a decade ago. My version (pictured below) continues to work just fine and has been used to cut all the sheet goods we have used thus far. It is, however, time-consuming to set up for each cut and cannot be used safely to make plunge cuts. With at least 40 more 4’x8′ sheets to machine, including many requiring plunge cuts, I decided to invest in a new tool purpose-built for the job. I decided on a cordless Dewalt for its capacity, power, and compatibility with my other cordless tools.
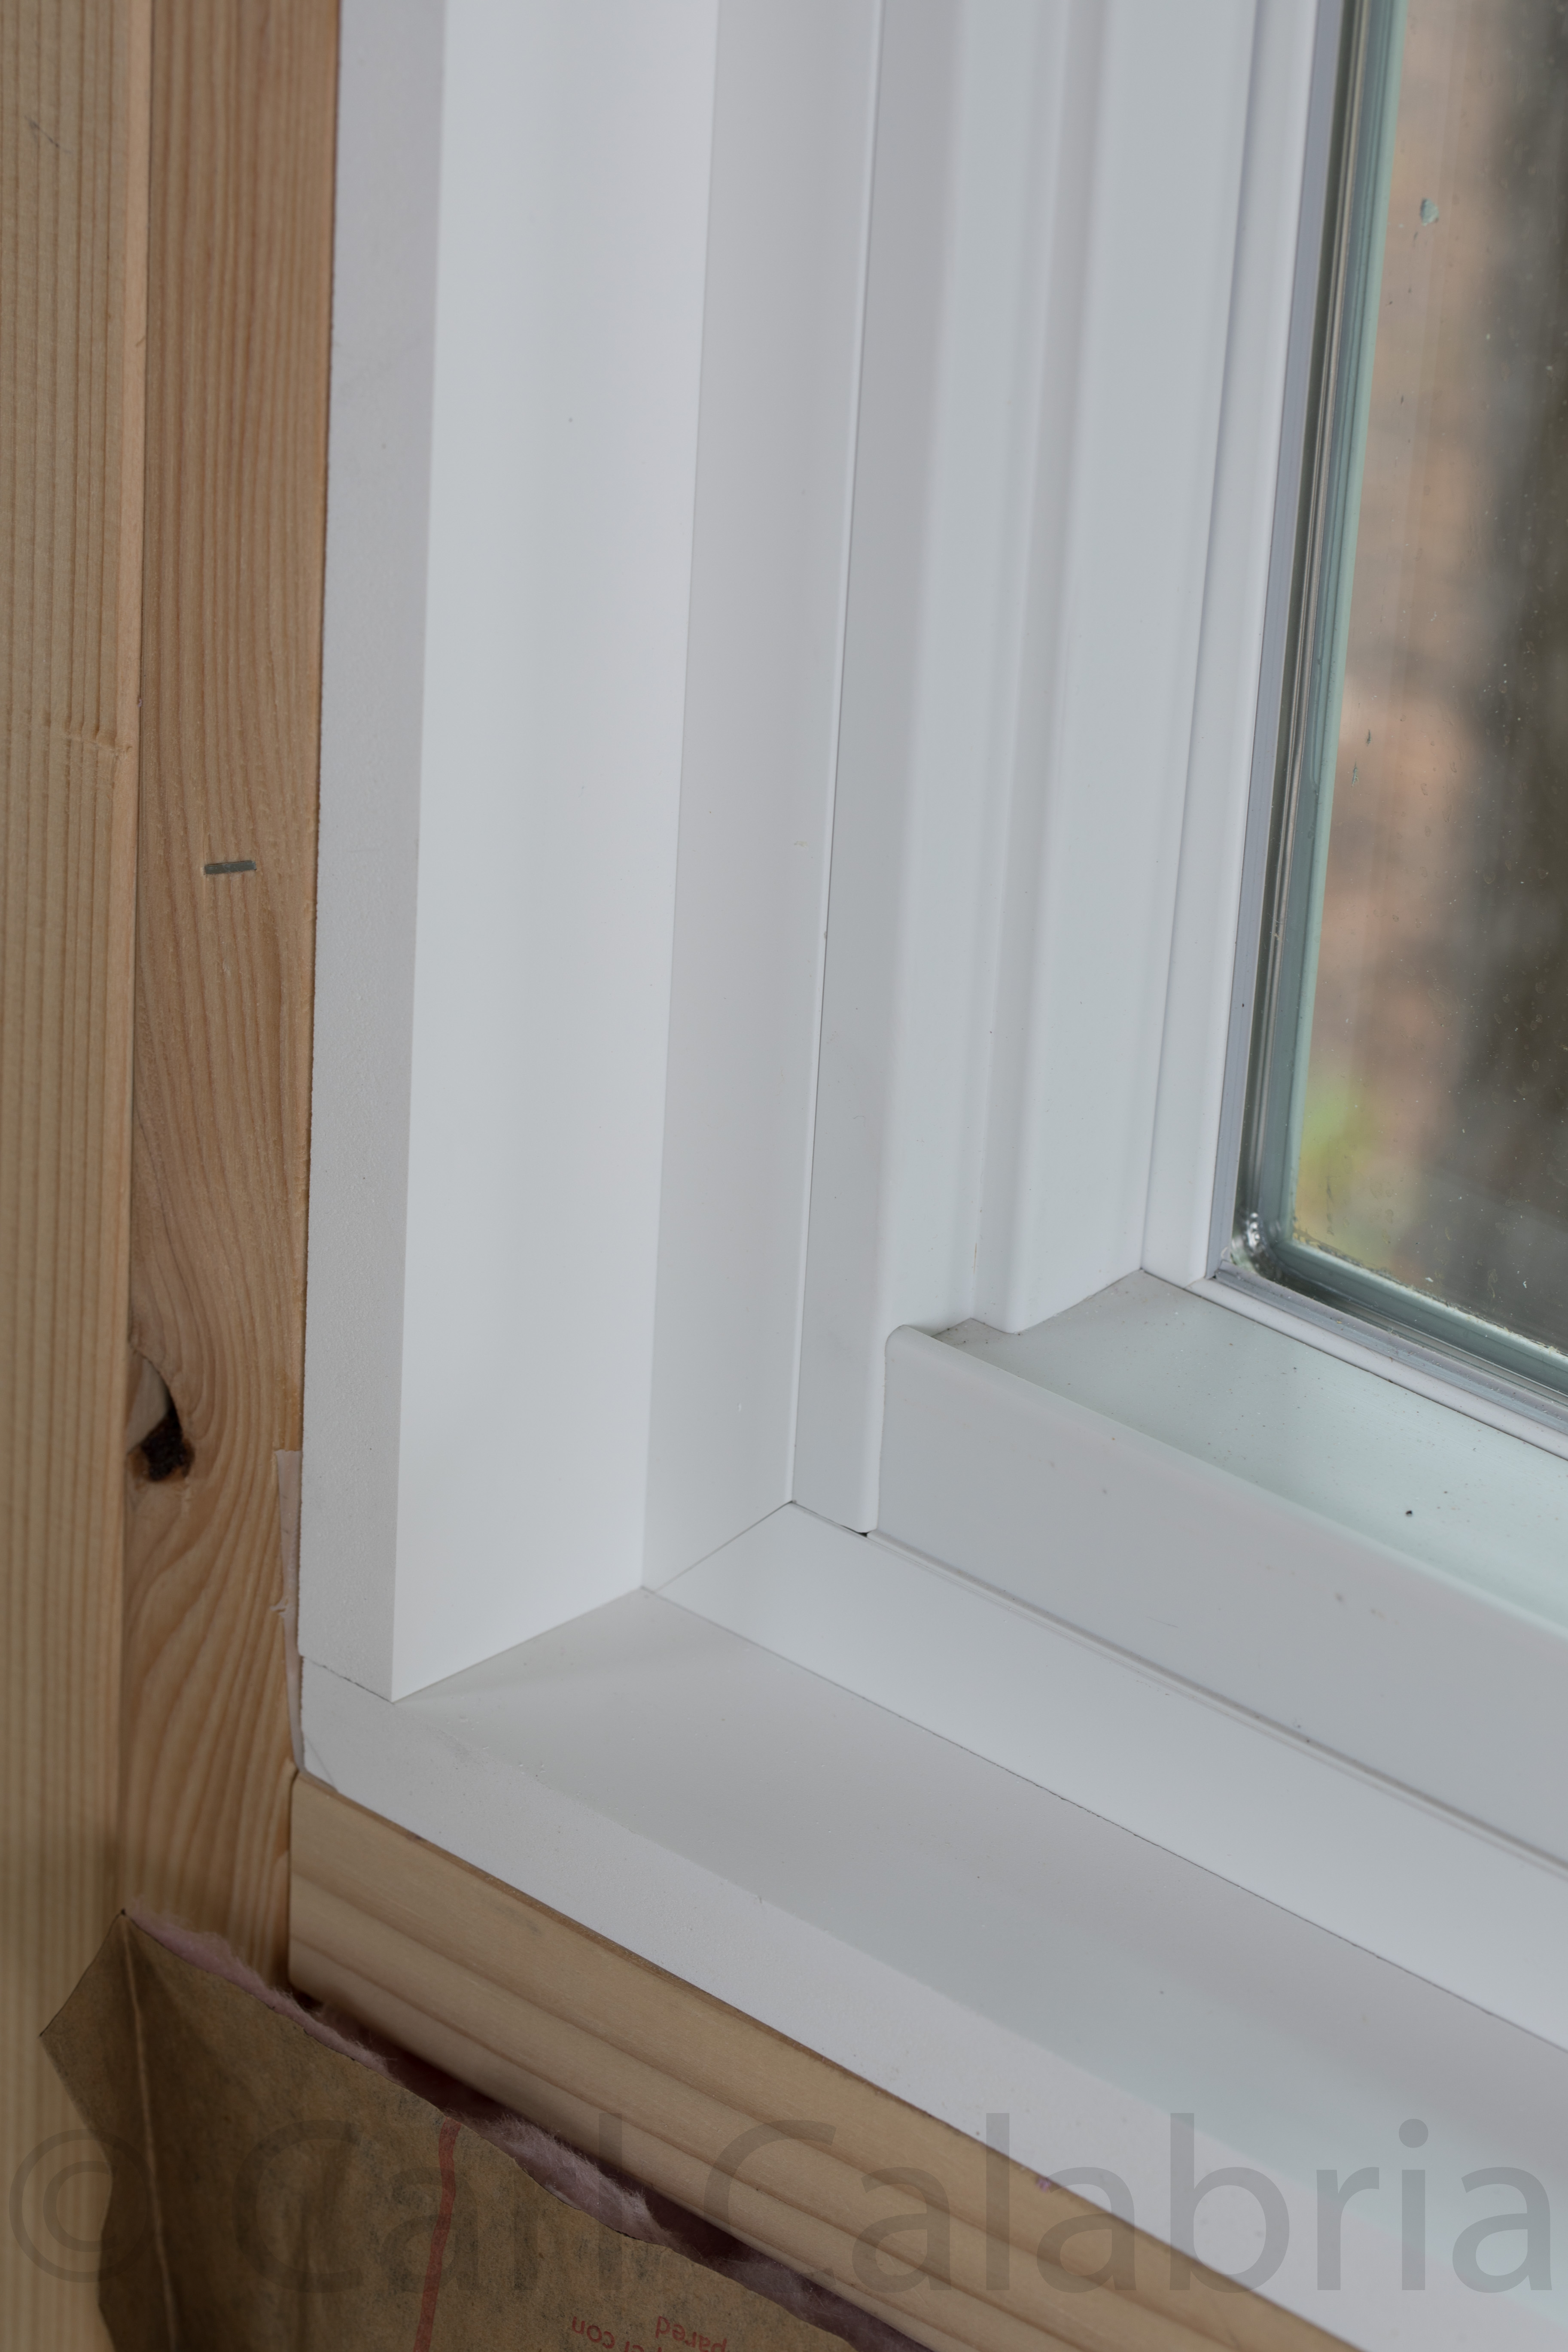
Rain forced Maya and I to work inside the house for most of the day. Maya installed all of the electrical outlets and inside window trim on the four loft windows. I did the first-floor inside window trim, hung the front door that Maya painted yesterday, and built a set of temporary stairs to the front porch.
Color Change
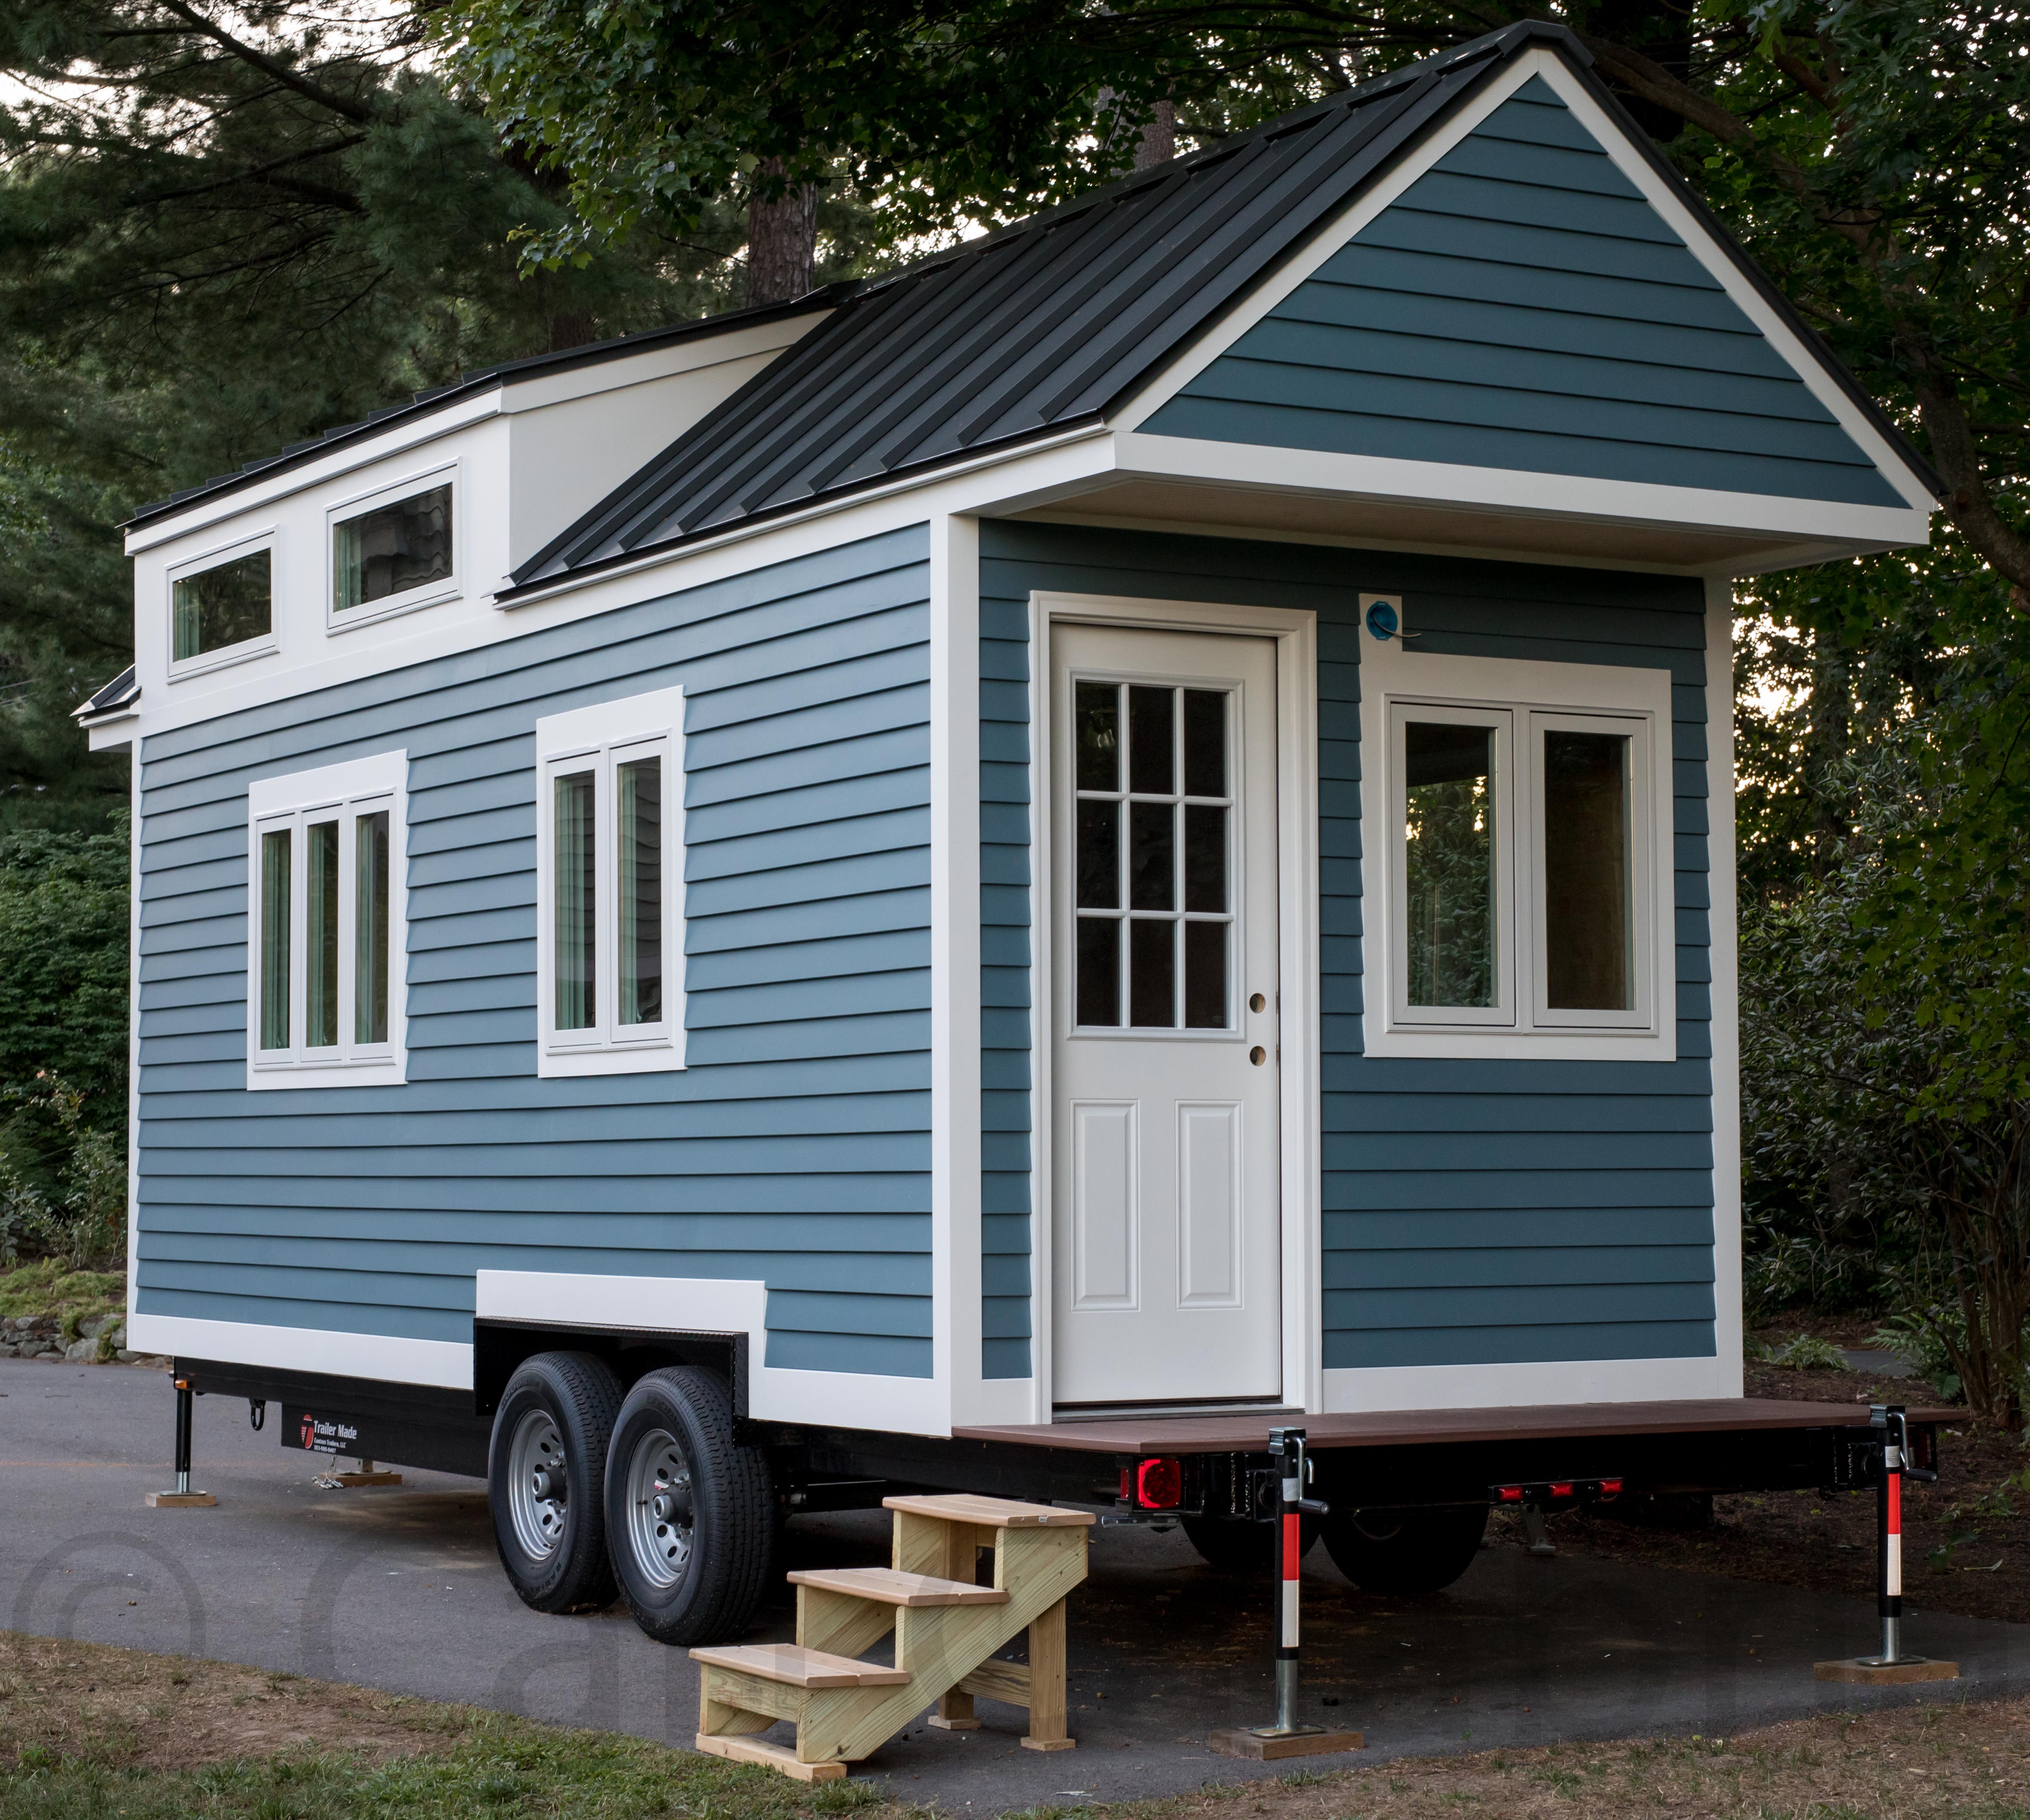
You will recall that Kyle and I spent the better part of a day painting all the siding last week. After seeing the clapboard next to the charcoal-colored roof, Maya decided that there was not enough contrast. She invited Sarinnagh, Fiona, Ben, and Caleb over to help repaint all the clapboard to a new color which I would describe as gray with a hint of blue. The group finished about two-thirds of the boards while I finished caulking all of the windows and trim. Maya also painted the front door and frame which we installed yesterday. If the weather cooperates we should be finished with the exterior by early next week and ready to start work inside.
Roof Truck
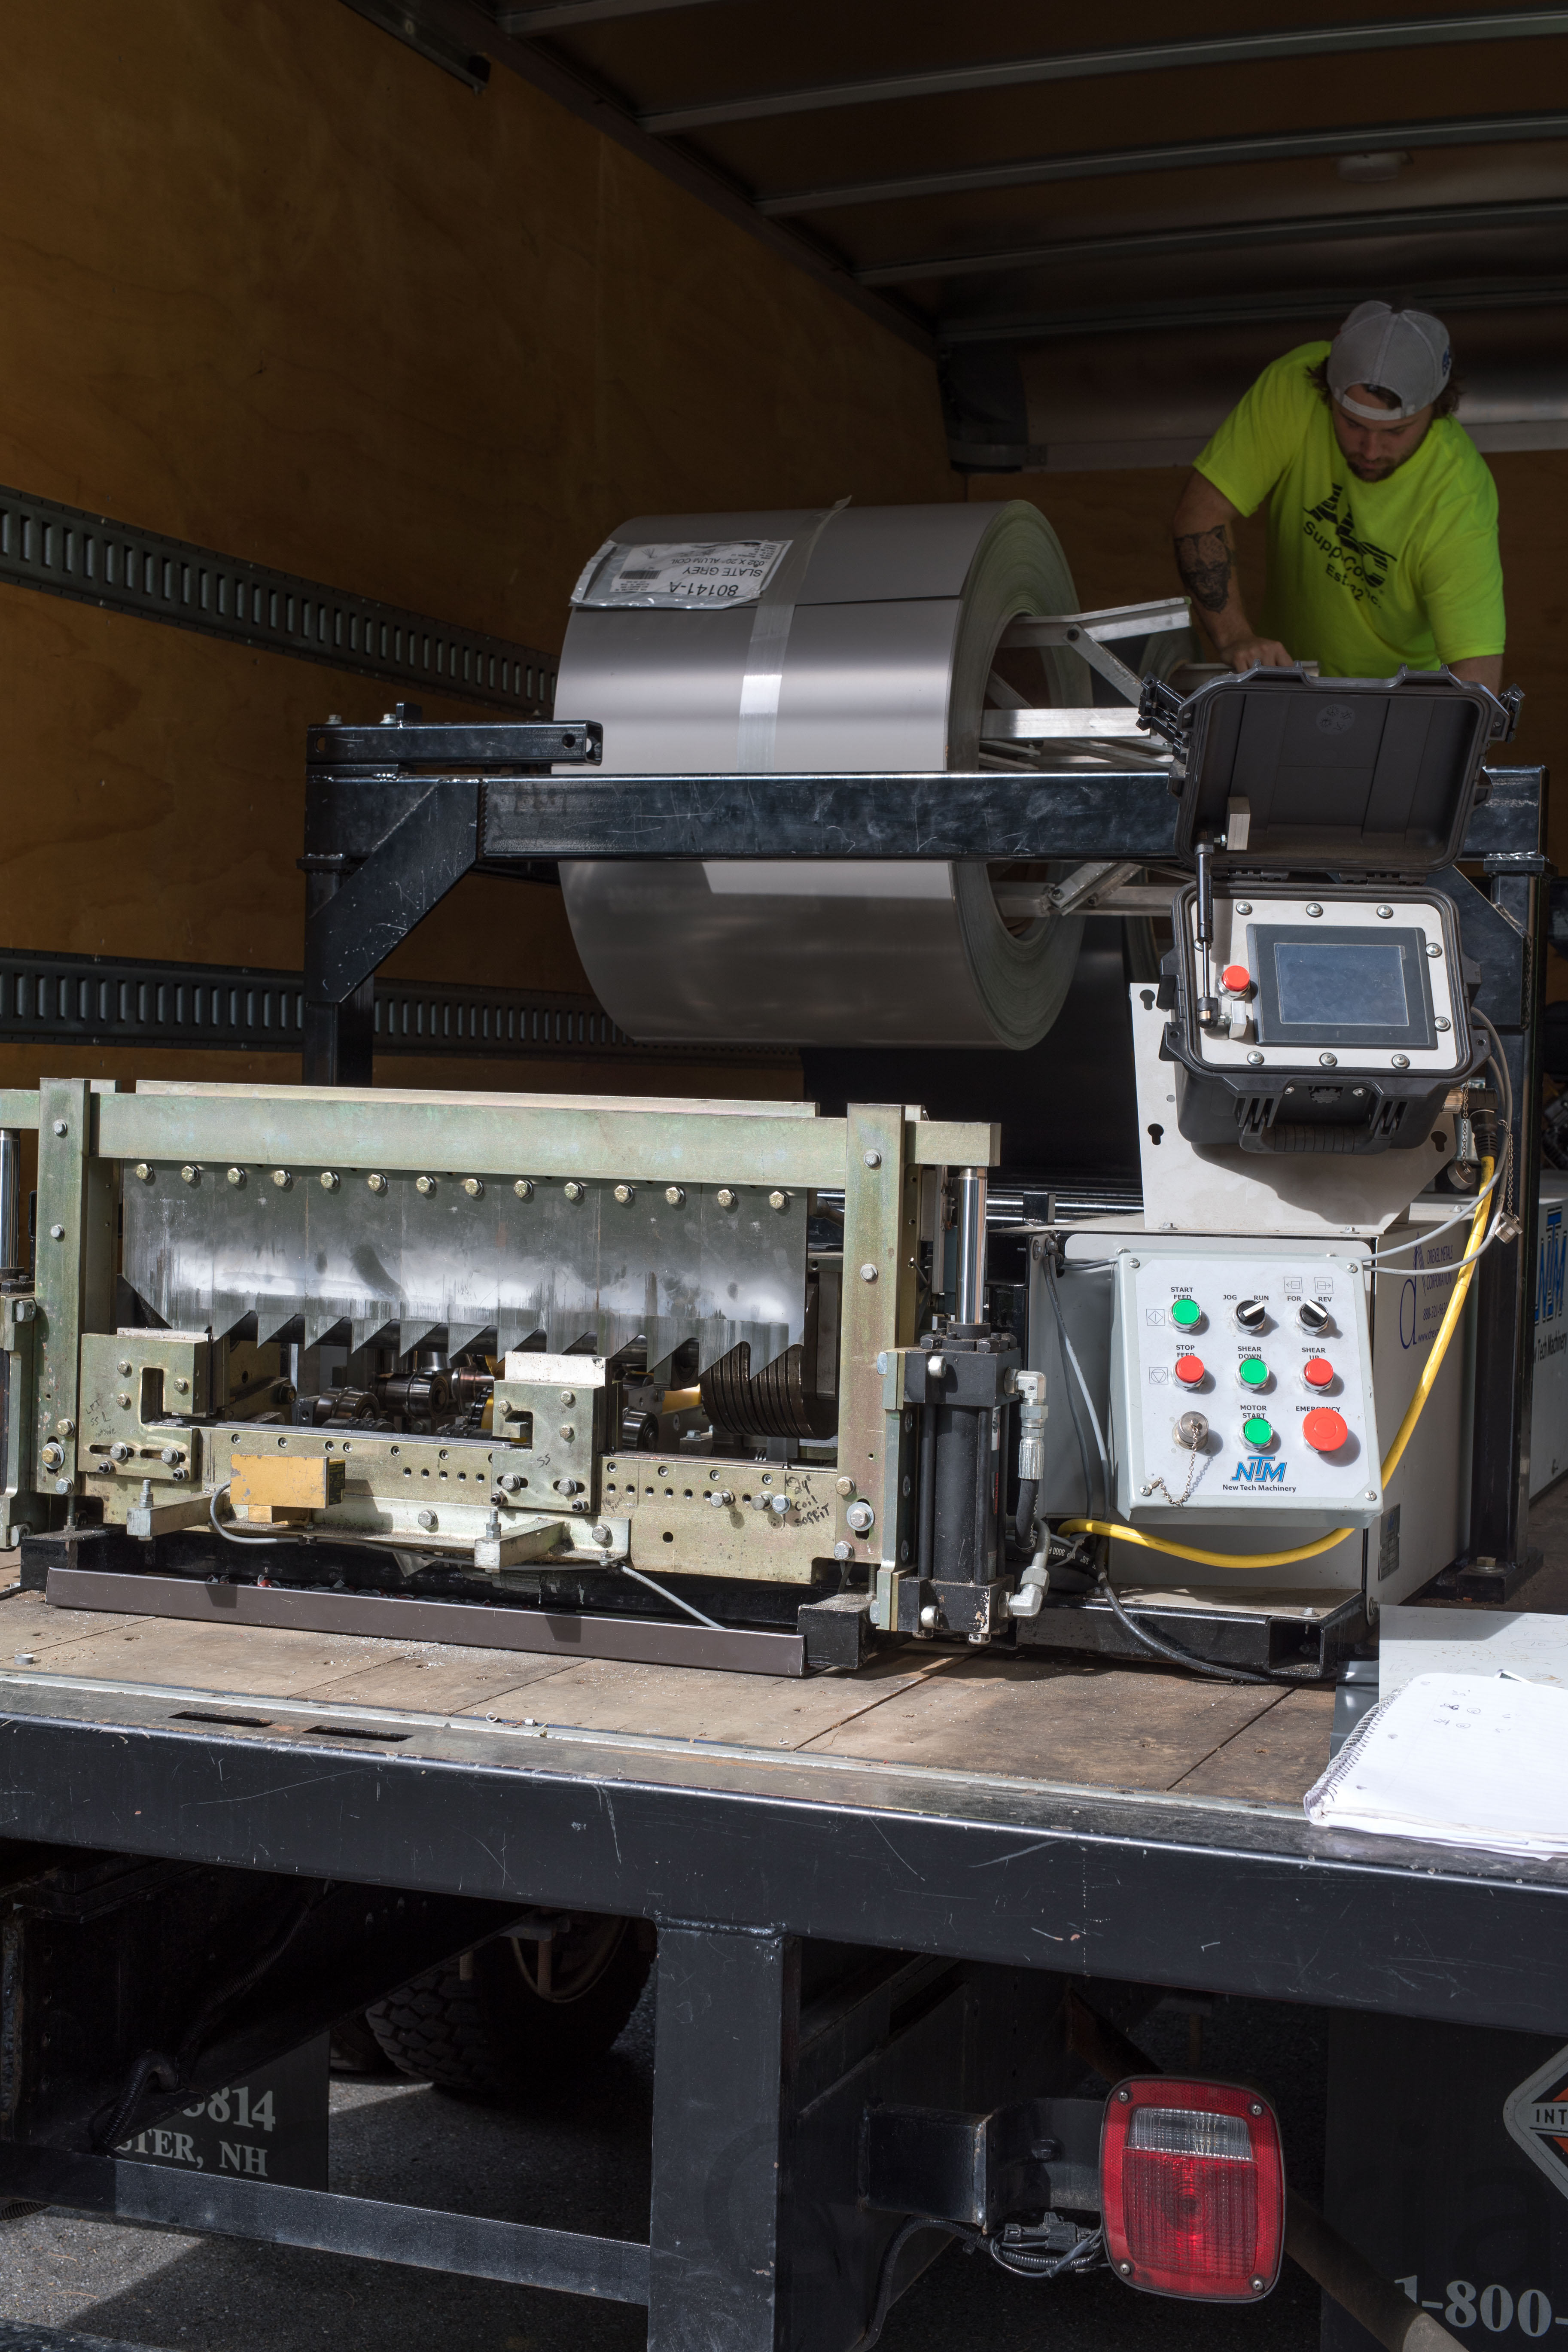
In retrospect, installing the metal roof ourselves would have been a massive undertaking. Pictured above is the machine that spits out perfectly sized panels one after another. We would have had to purchase panels longer than needed and cut them all by hand. This is but one of the specialized metal forming tools that the crew used in addition to their arsenal of properly sized ladders. The roof would have been completed yesterday but for an incorrectly dimensioned ridge cap. The temporary one that is installed now is quite ugly and I will wait until it is has been replaced before posting a photo of the finished installation. Other than this small delay, we are extremely pleased with the outcome. We spent the day finishing the trim and installing the front door.
Cathleen Asch
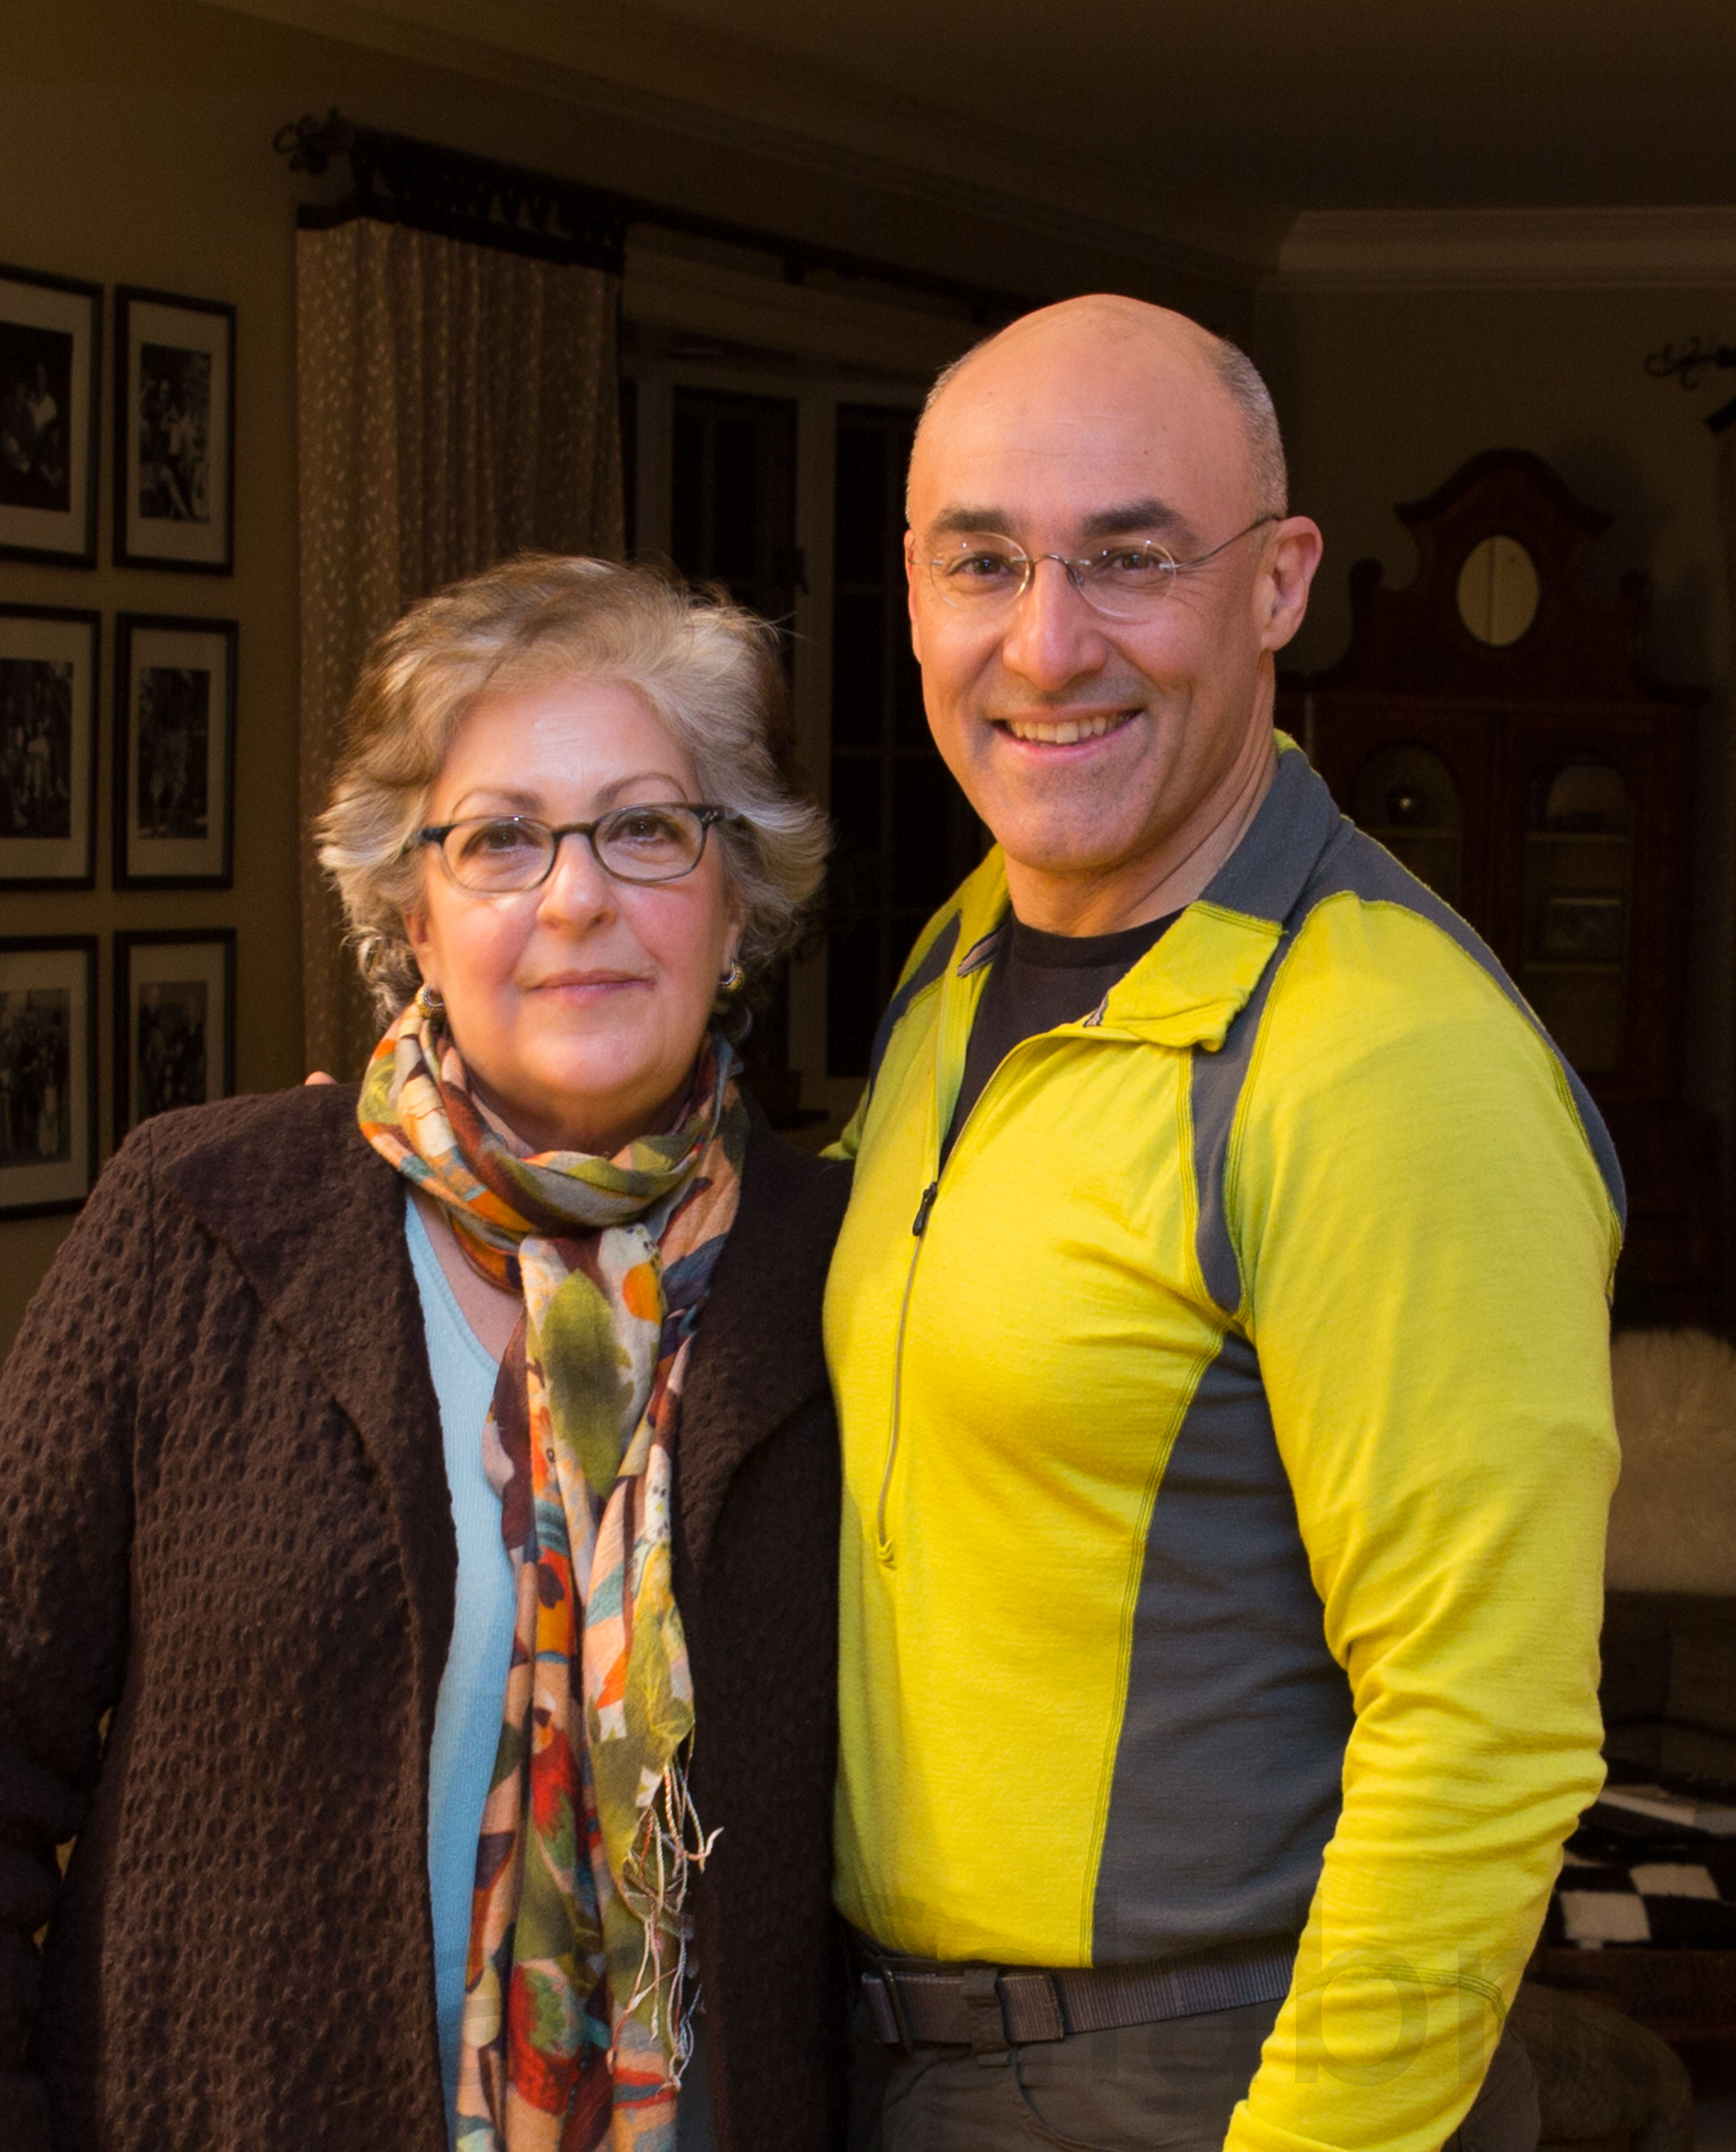
I was shocked and deeply saddened today to learn that my close friend and former colleague , Cathleen Asch, passed away two weeks ago. Cathleen, Joseph Haaf, and I were co-CEOs of Truevision, a company we co-founded nearly thirty years ago. My time at Truevision remains the most exciting and satisfying of my professional career. We were on a mission to change the world; and we did! Cathleen was a keen financial and business strategist with a gift for identifying and building critical relationships. She eventually became the sole CEO of Truevision and was the best boss I have ever worked for. She was a generous mentor and true friend who I will dearly miss.
It was only two months ago that she e-mailed me to coordinate plans for a 30 Year Truevision Reunion in Indianapolis. I was traveling in Ecuador at the time and we agreed to connect after I returned. Last week I reached out to her and thought it odd that she did not reply. This evening I received a call from her son, Zander, who shared the tragic news with me. Cathleen died from an adverse reaction to the immunotherapy treatment she was receiving to treat cancer. Within a week she was totally paralyzed and no longer able to breathe on her own. Her son accelerated his wedding date and traveled from London with his fiancé so she could witness their marriage. She died three days later.
Cathleen lived a rich and fulfilling life. I look forward to sharing my fond memories of her when the family celebrates her life at a memorial gathering planned formid-Octoberr.
Roof Prayers Answered
The biggest obstacle to the completion of Maya’s tiny house has been the roof. Our plans call for a 24 gauge standing-seem metal roof. It offers light weight, incredible life span, and high resistance to wind damage (a critical characteristic for a house that can be towed on a highway). Originally, we had planned to do the work ourselves but could not find a local supplier willing to sell us the components (they don’t want their product’s reputation compromised by an amateur installation). The professional installers to whom they refer you, on the other hand, are generally not interested in a 250 square foot project. Rock and hard place. I finally thought to contact one of my soccer buddies, a former president of Harvey Industries, who hooked us up with Twin Metals last Friday. They had a two man crew on site by 7AM this morning and should have the job done by tomorrow. Maya, doing some networking of her own, obtained the exact same pointer to Twin Metals and there is sure to be future debate over who deserves credit for extricated us from our roofing impass.
Damn Nail Holes
Maya returned from Martha’s Vineyard early in the day and spent the rest of it on top of a ladder. She filled and sanded nail holes in the trim and helped me to finish all the roofing trim. We are both tired of looking at the white Tyvek and are anxious to start putting up the clapboard.If we can stay on schedule that should start by mid-next week. We are quickly running out of summer which has us working from first light to dusk.
Vineyard Dining
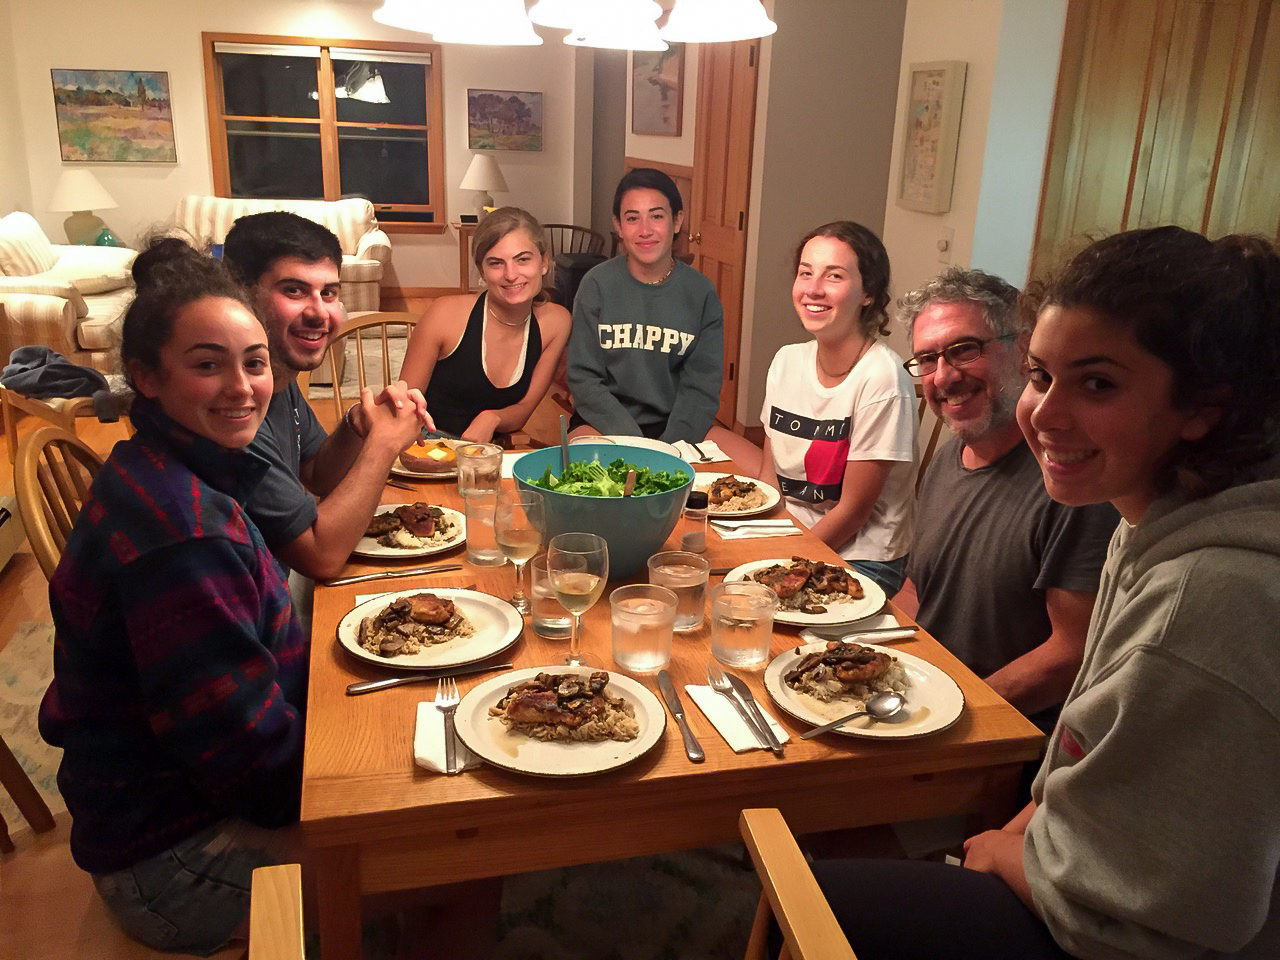
There is little doubt that Maya is enjoying her time with Caleb’s family on Martha’s Vineyard. This photo, courtesy of his mother, includes his father, both sisters and two of their friends. Back on the mainland, Kyle, Jeanine and I enjoyed a very nice dinner at Thai Chilli after another long day of work on the tiny house. Kyle worked with me for a couple of hours to install all the soffits. I spent the balance of the day shopping for materials and refining some of the trim work that was not up to snuff.
Plugging Away
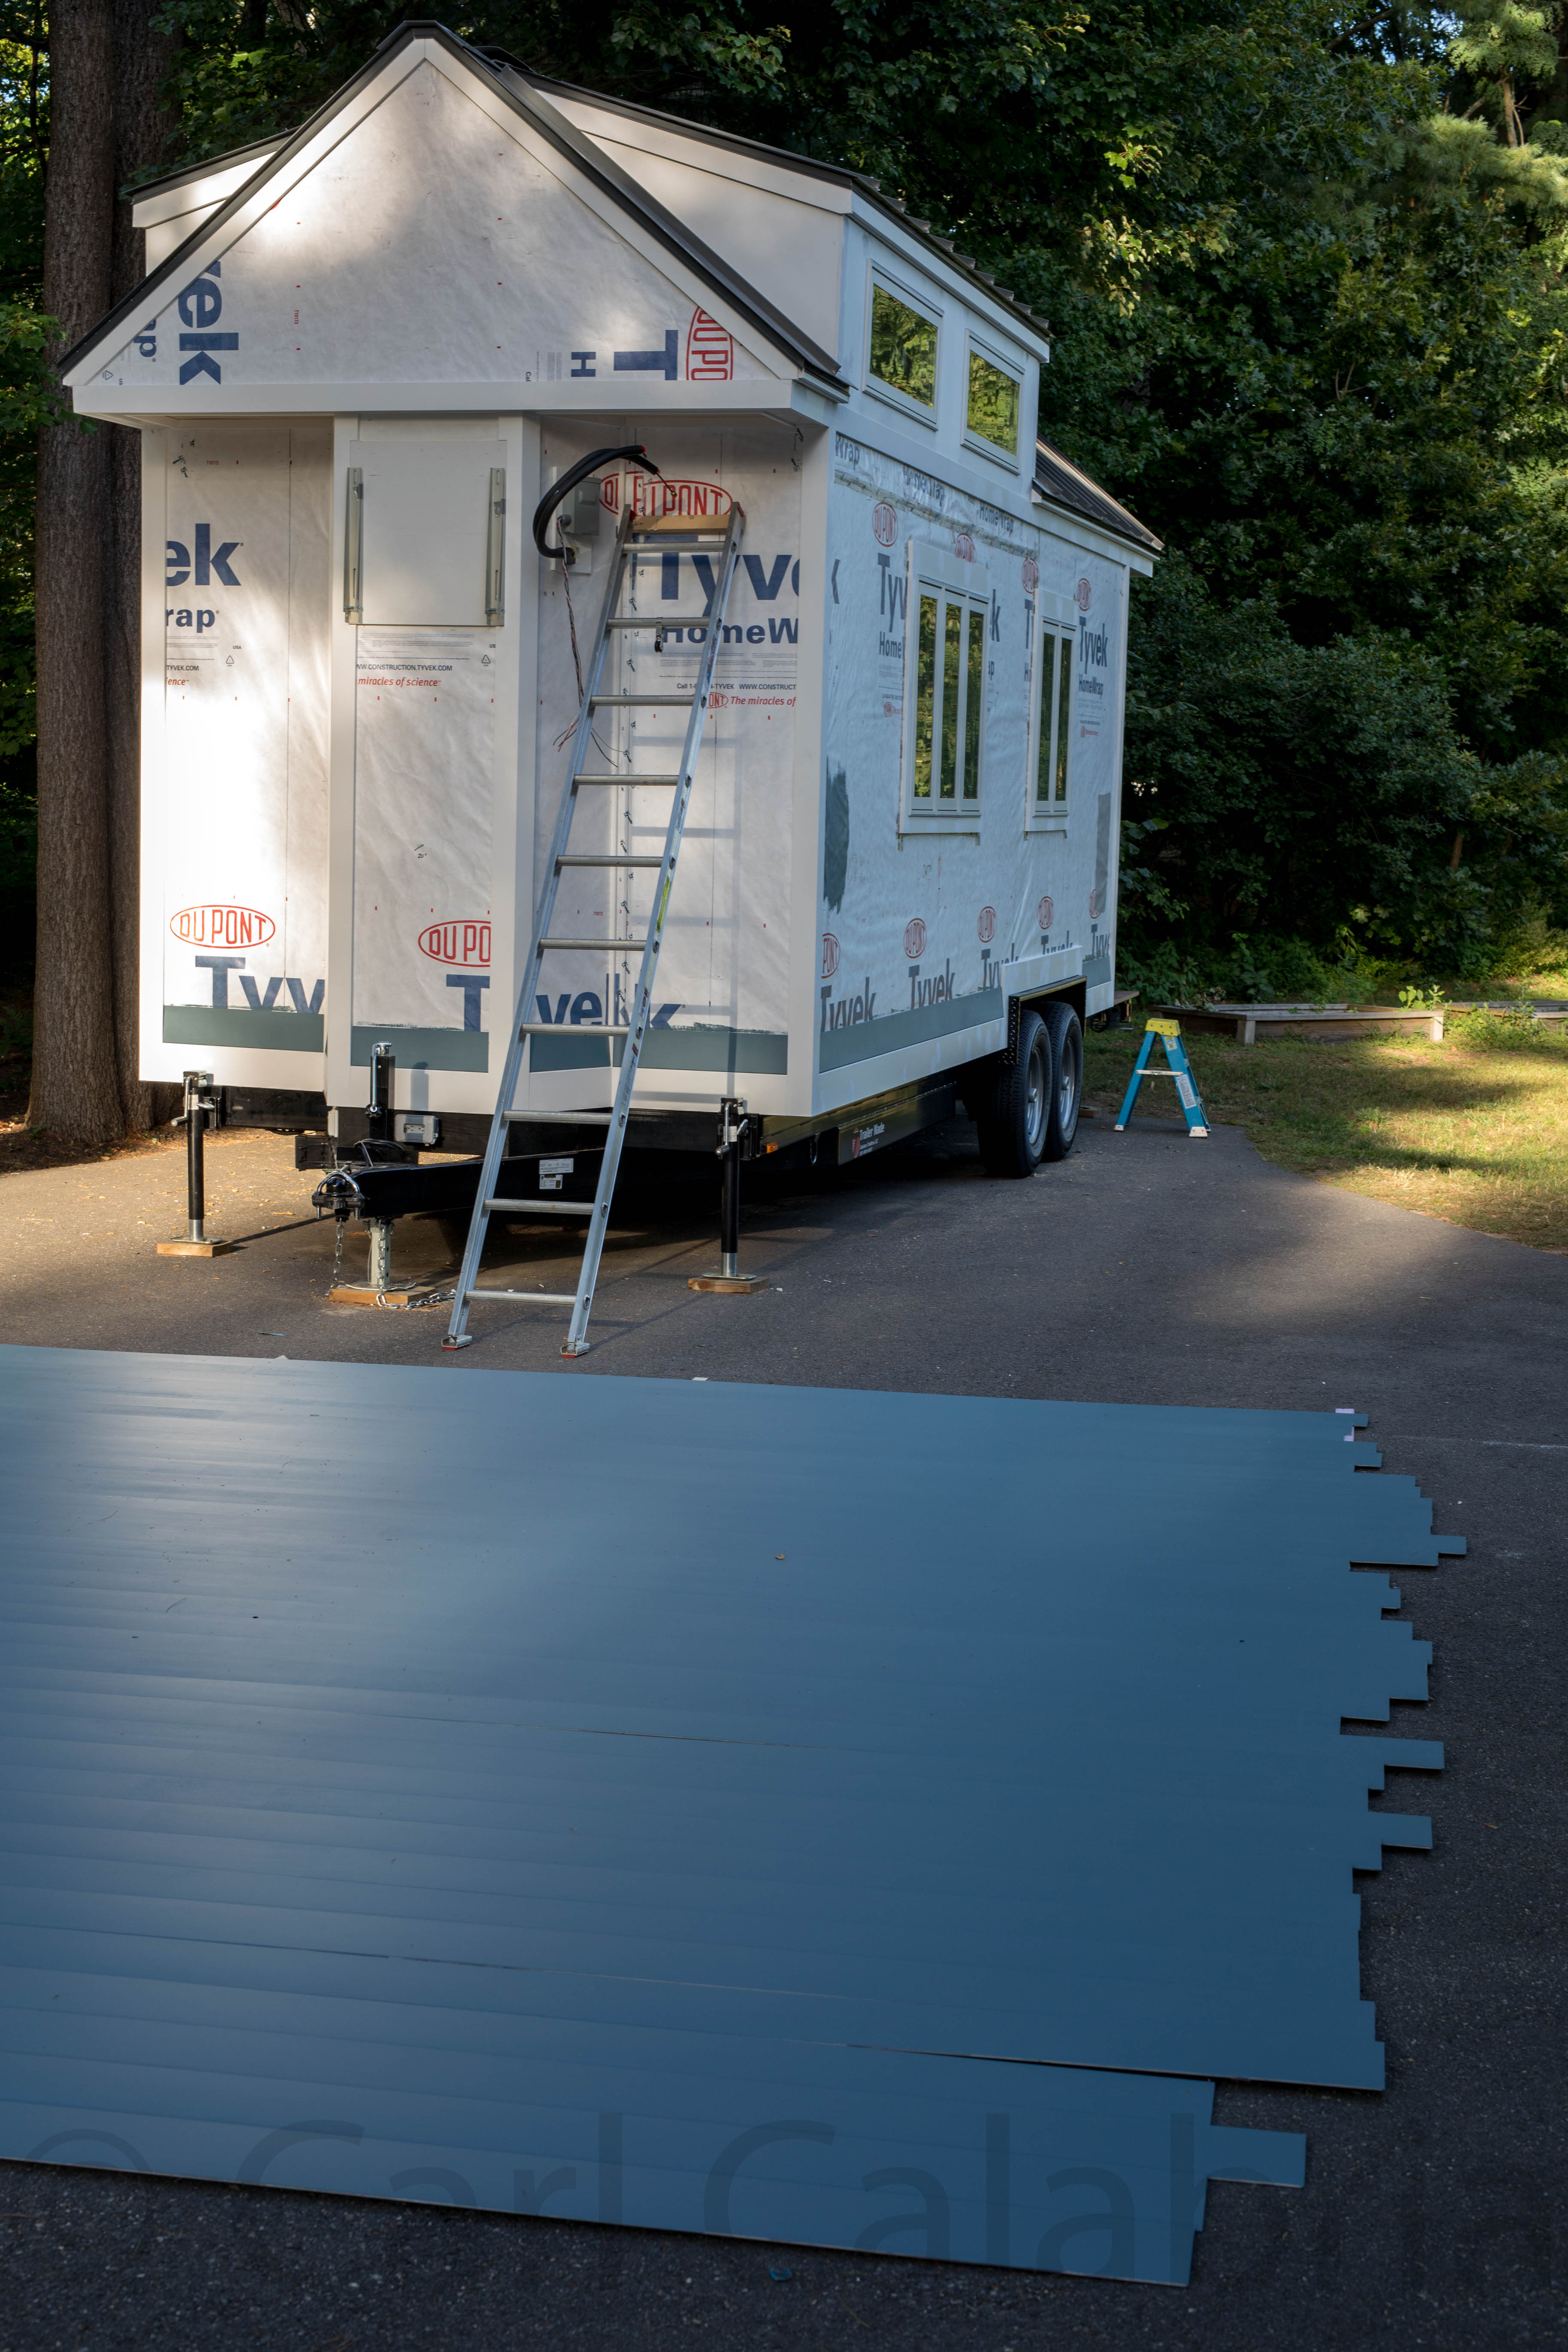
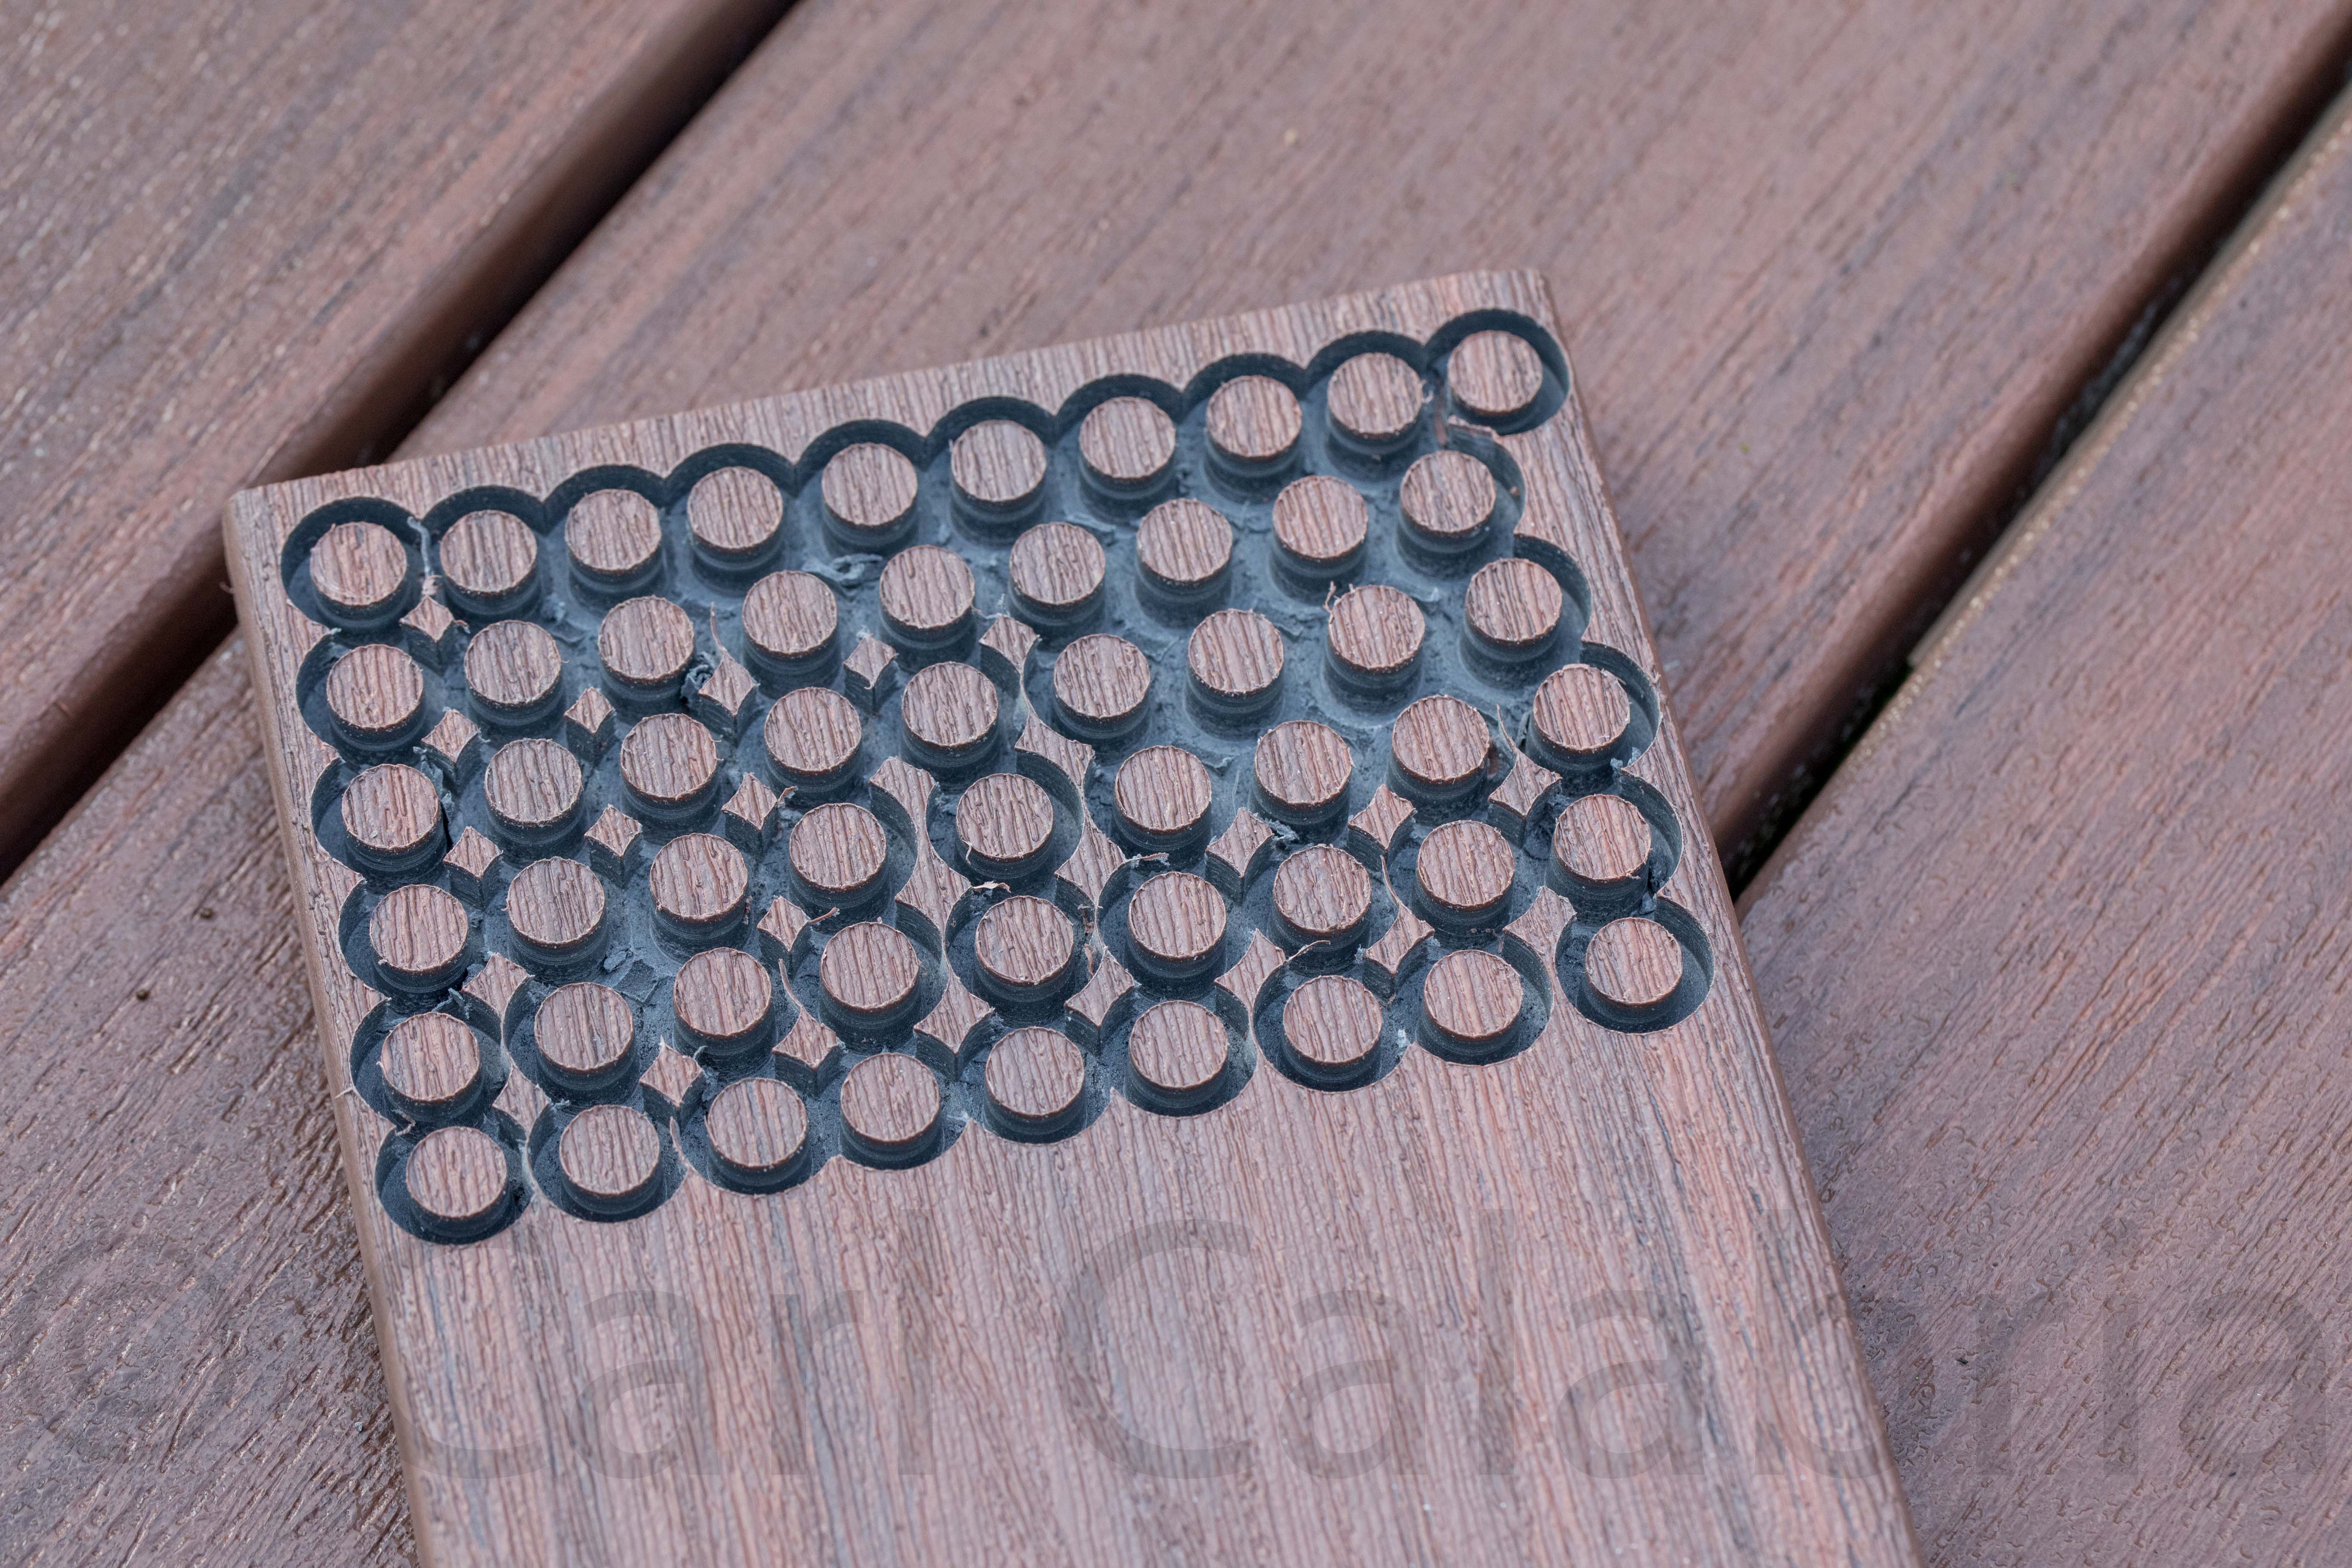
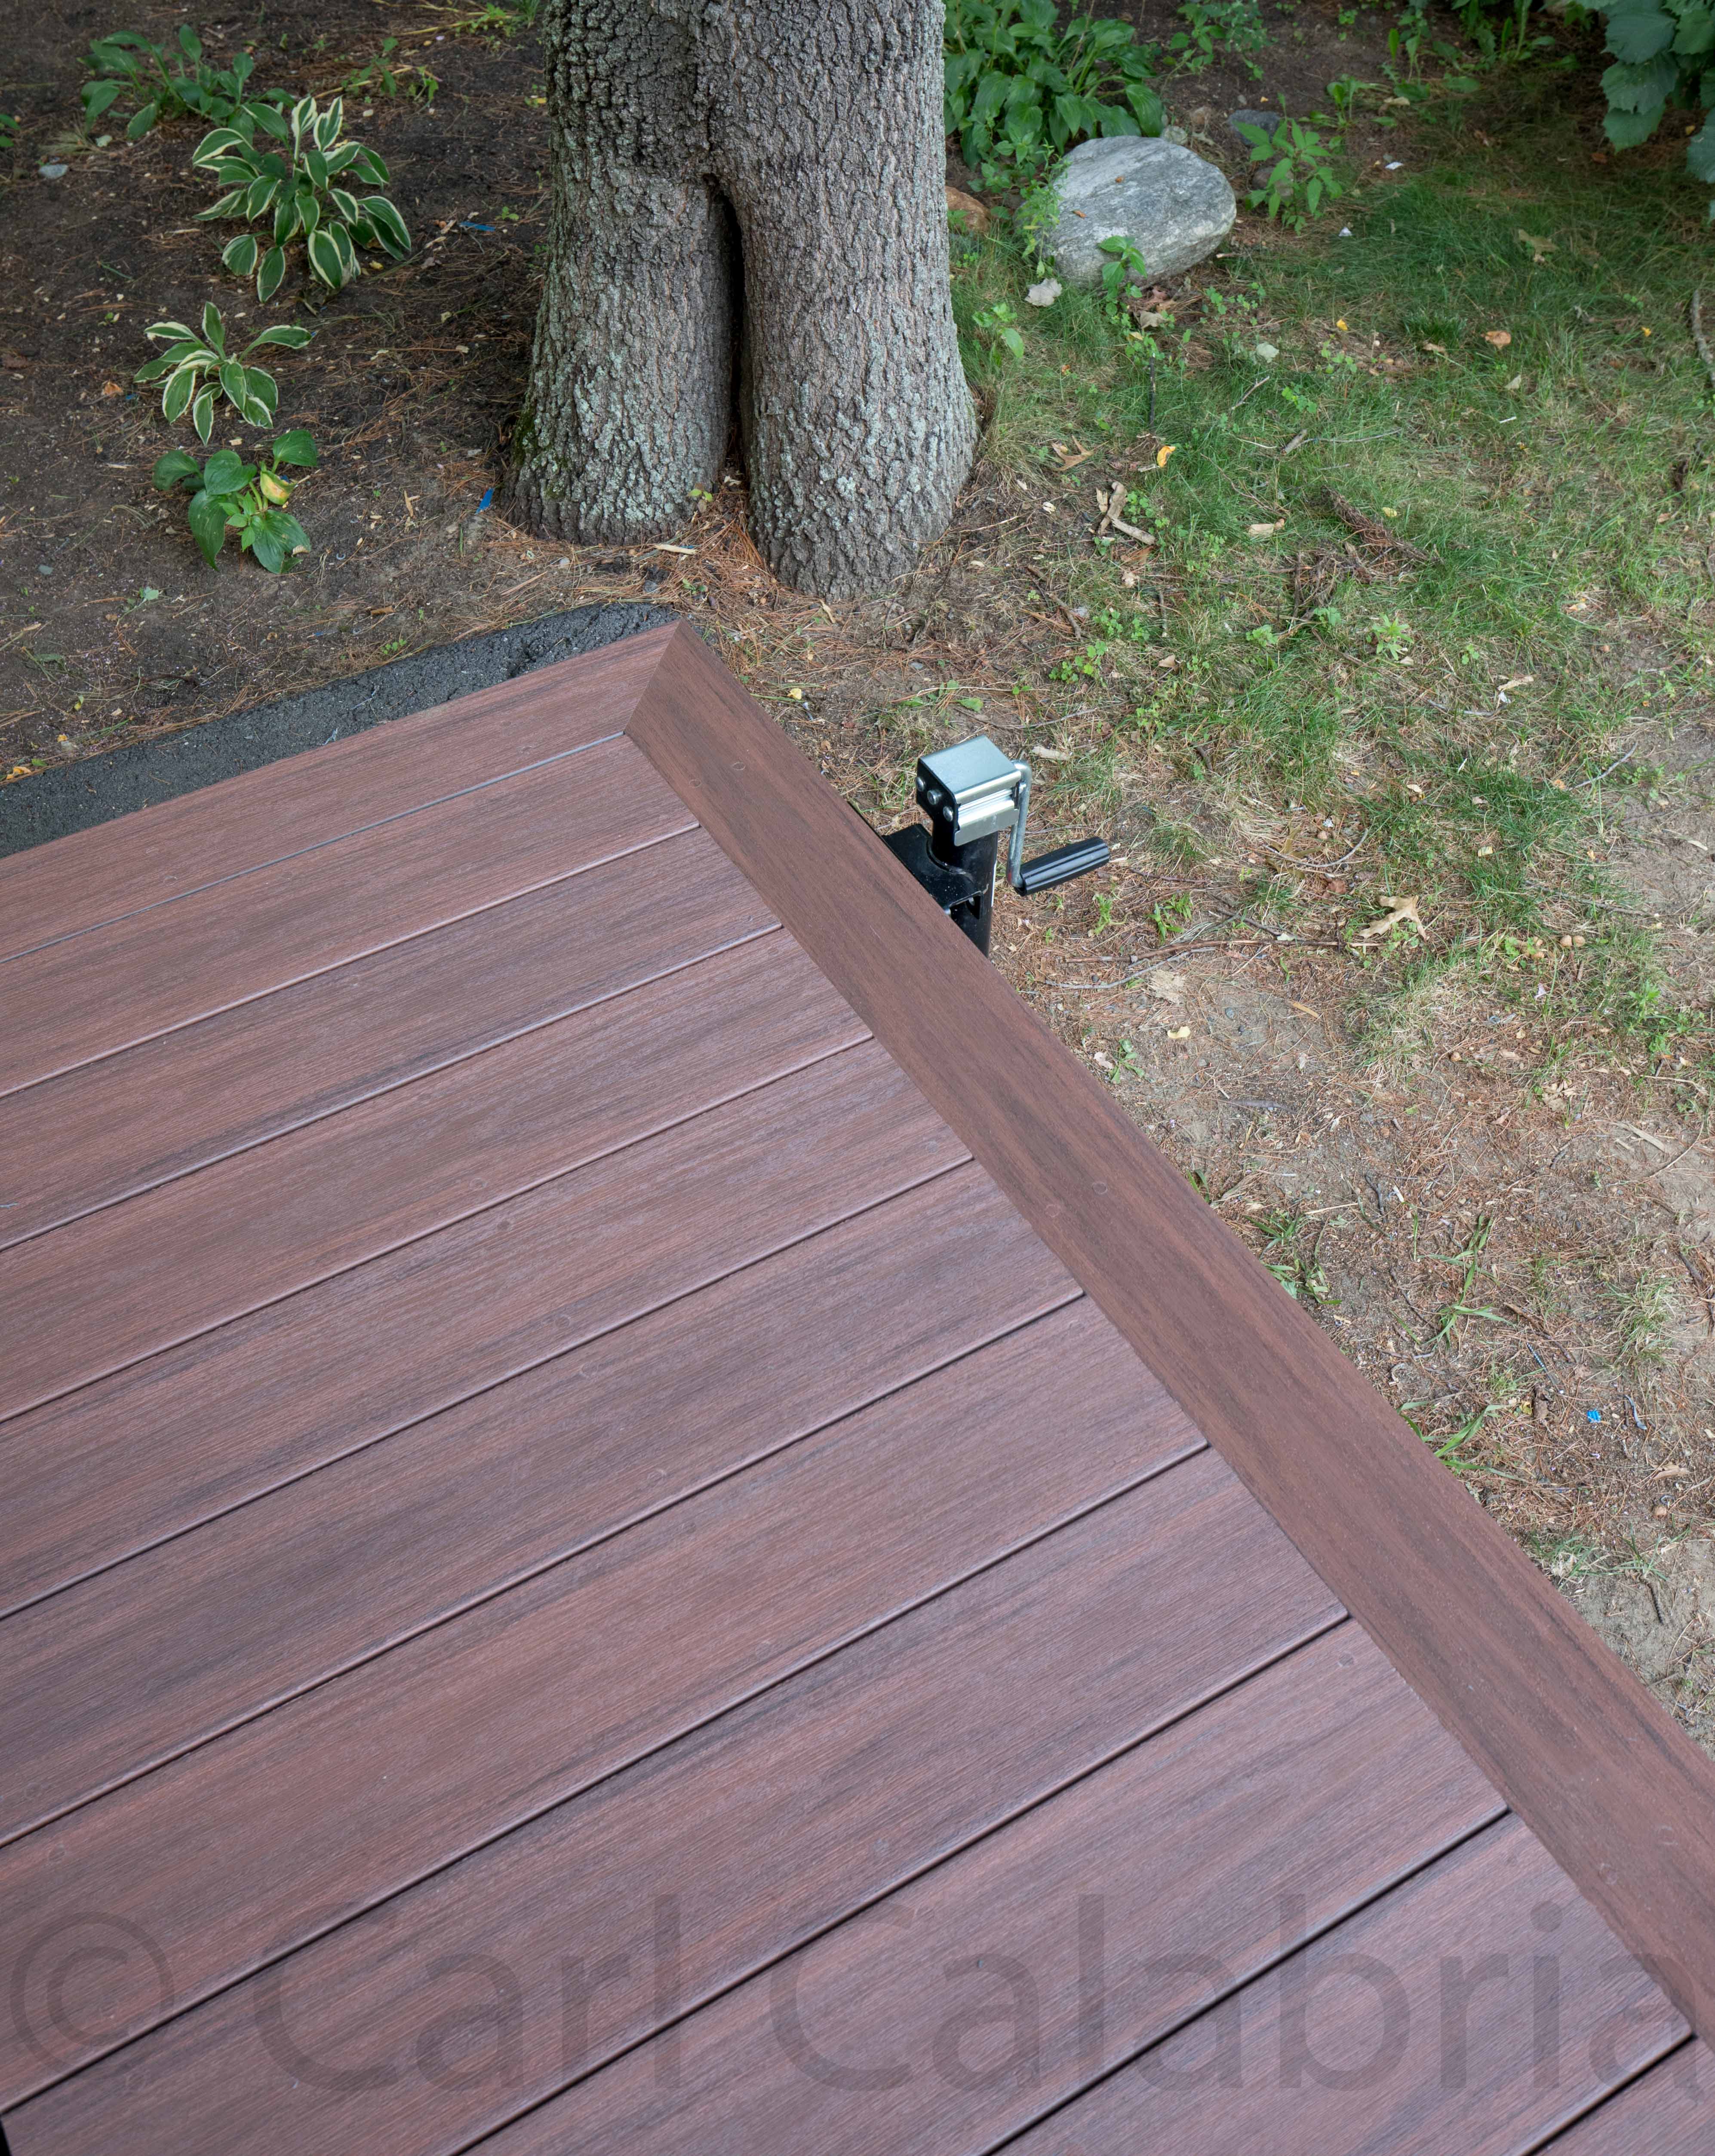
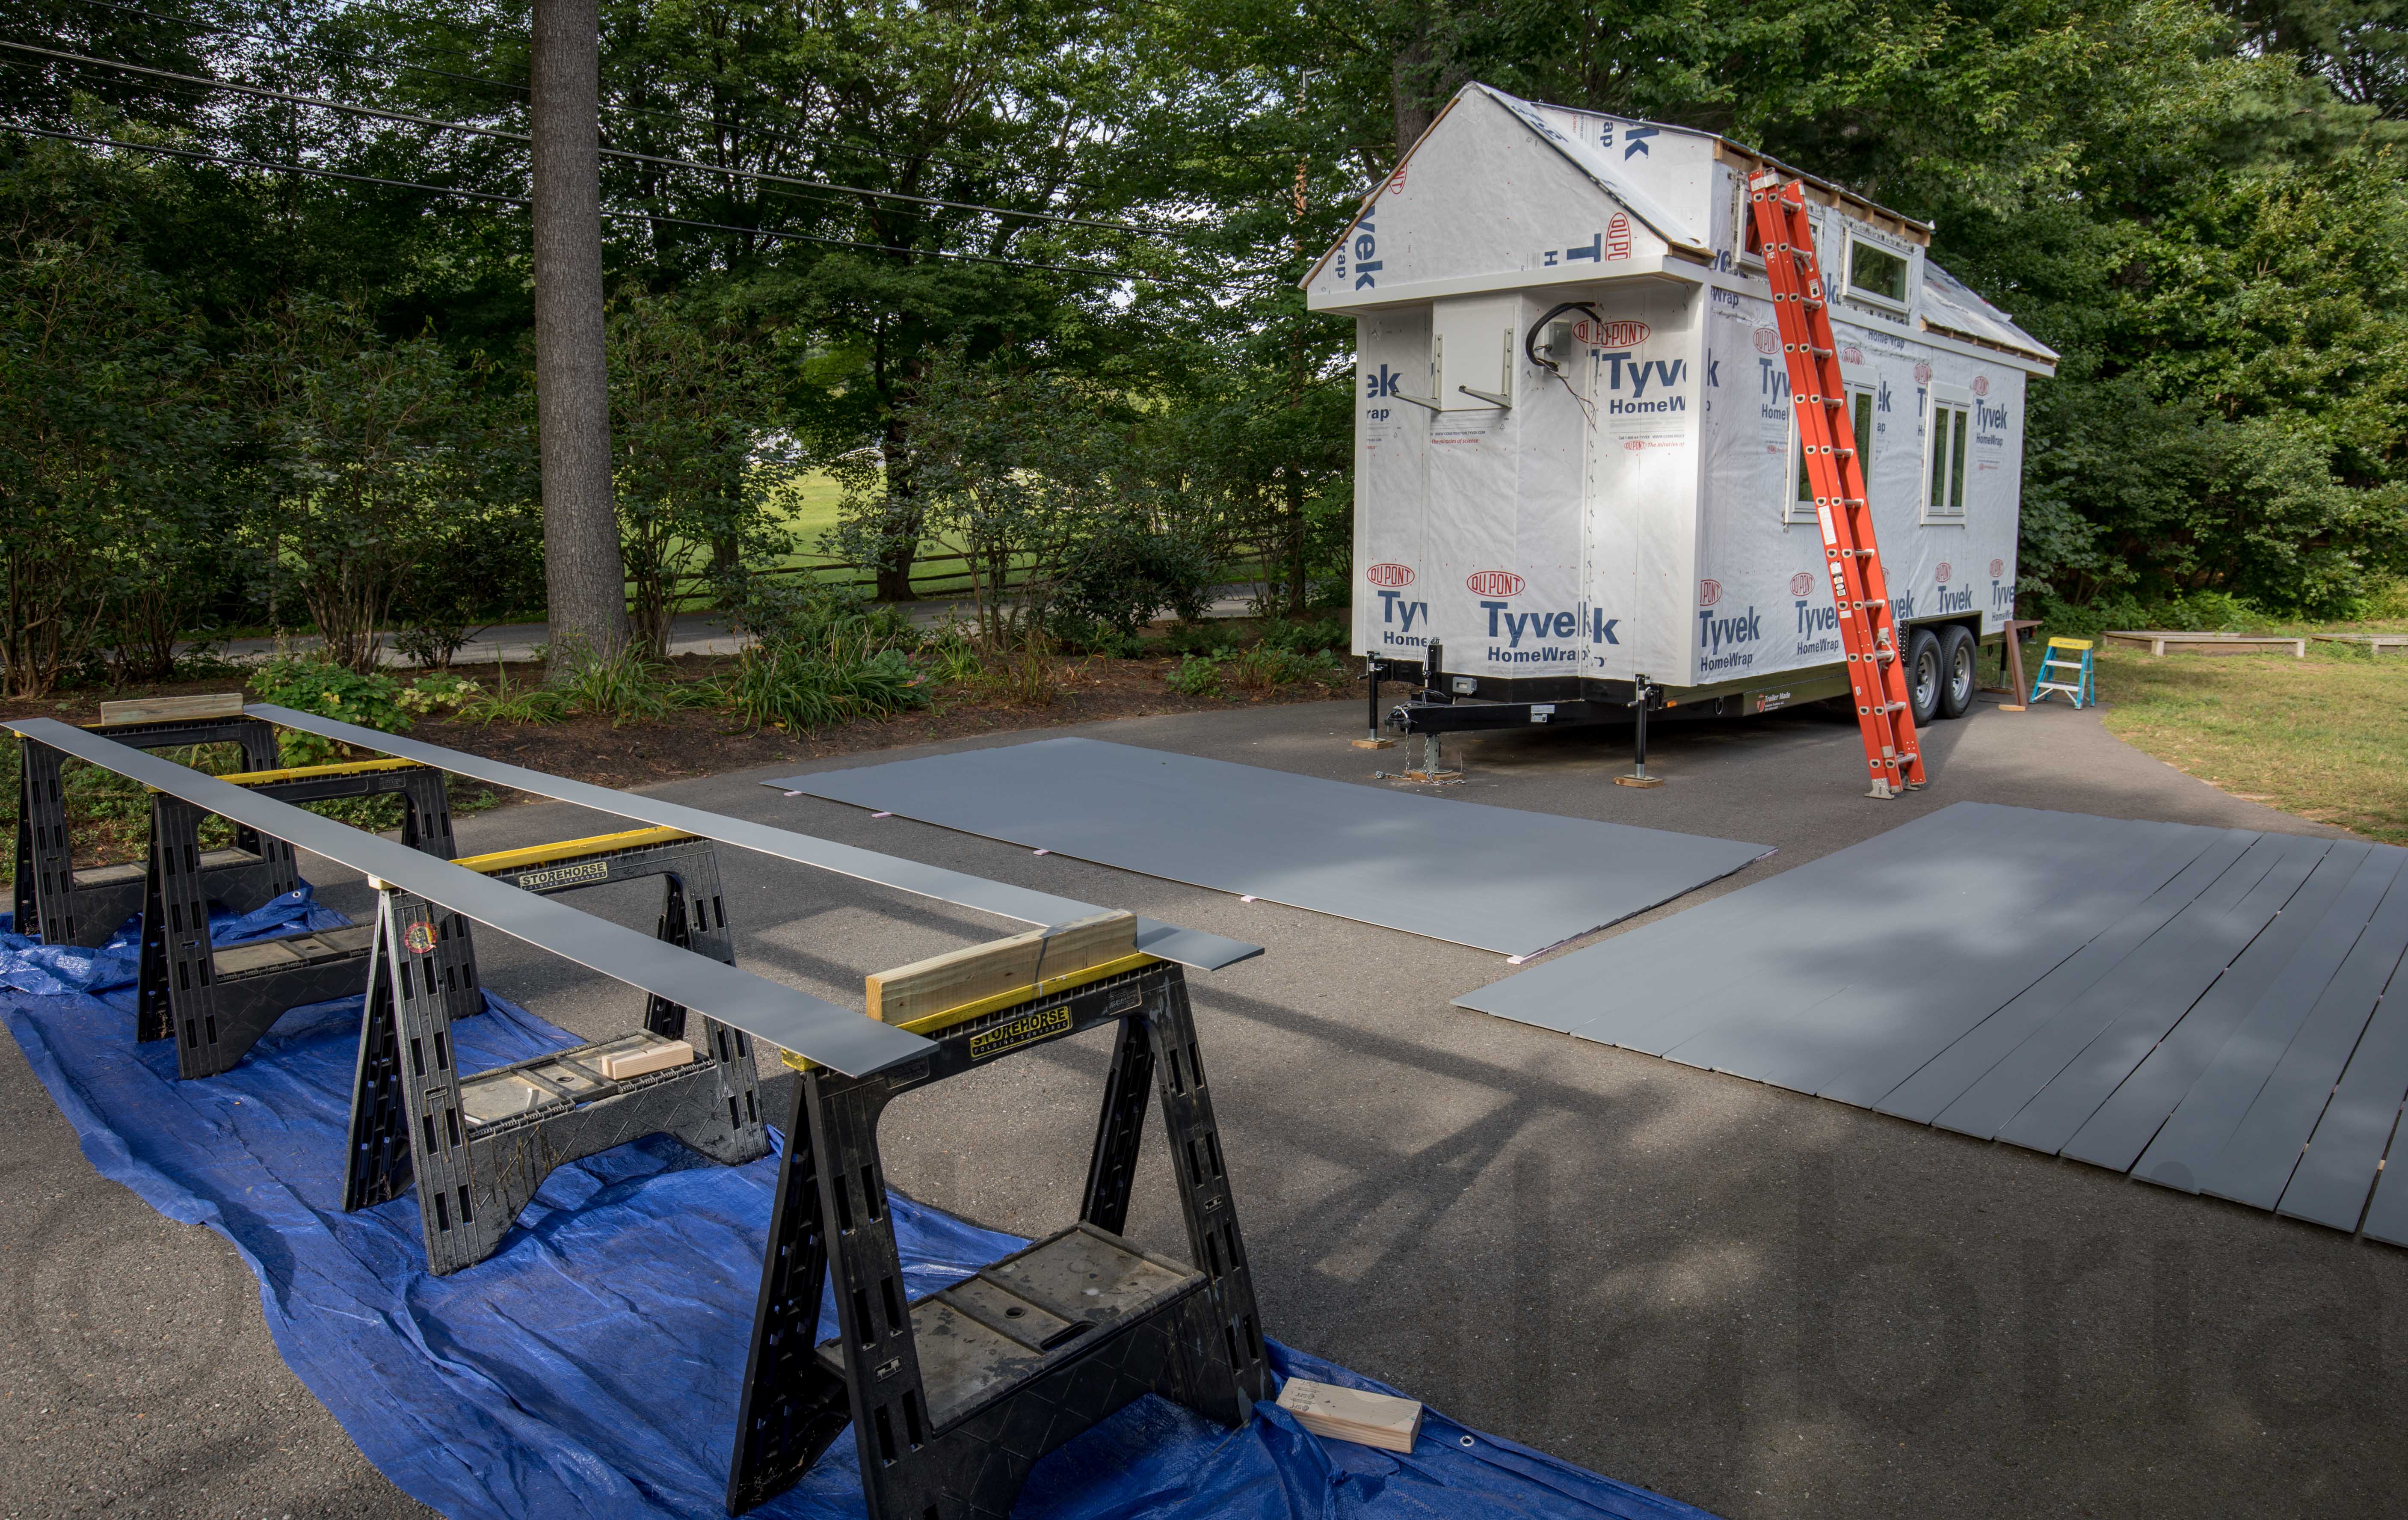
I completed the tiny house deck this morning by filling the screw hole openings with 3/8″ diameter plugs cut from a scrap deck board to ensure a perfect color and texture match. The process was very time consuming as I had to bevel the ends of each of the 120 plugs by hand. This took the better part of three hours but the results were worth the effort. Maya approved subcontracting of the clapboard painting to Kyle who completed the task in 6 hours with my assistance. Over the course of painting ~1100 feet of 6″ wide boards we refined our technique considerably. Our final solution involved the use of a dishwashing soap bottle to dispense paint and 4″ wide rollers. Jeanine captured a video of our unusual but highly efficient method which I hope to add shortly.
Warm temperatures and steady wind allowed us to stage the drying boards on the driveway in two groups of 16 before moving them into the garage to protect them from tomorrow’s forecasted rain. We painted a total of seventy 16-foot long boards.
Note to Maya: We ran out of paint with just 6 boards to go and made it to the paint store just ahead of closing for a final quart.
All Decked Out
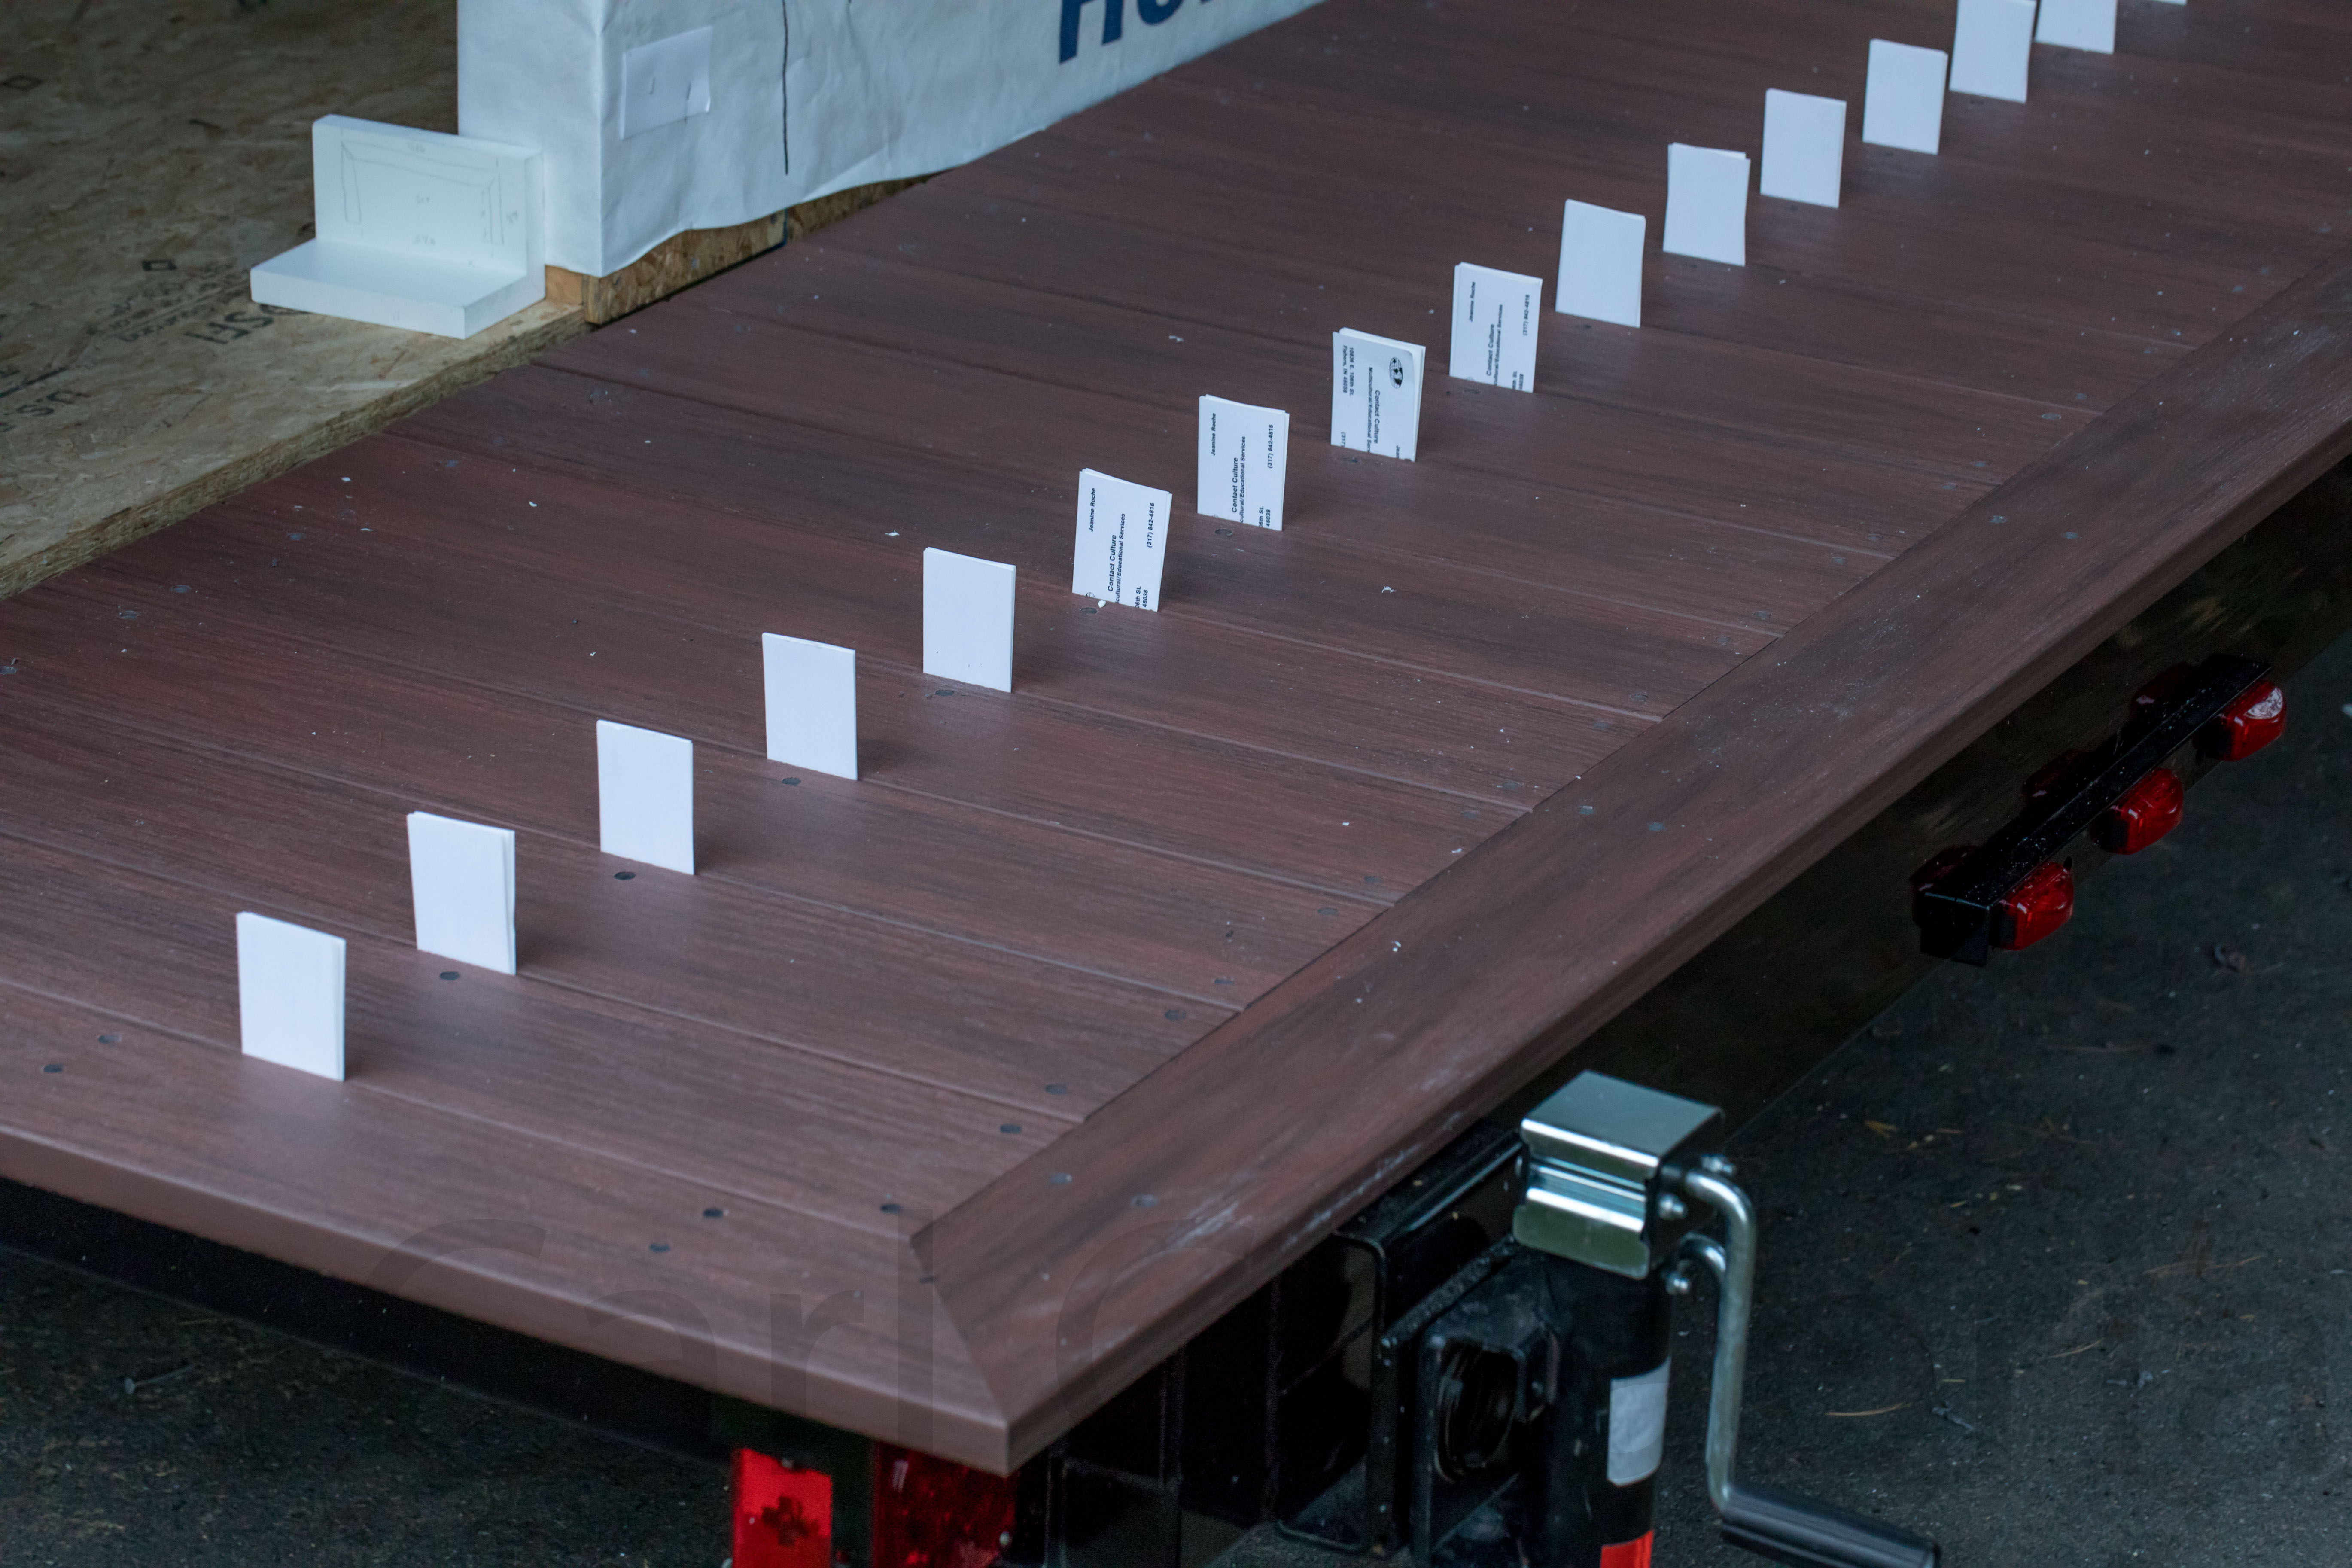
A neat trick for perfectly spacing deck boards makes use of old business cards (in this case, Jeanine’s Contact Culture business when we lived in Indianapolis). I slid all the deck boards to one side of the bounding mitered frame and filled the overall gap with close to 120 business cards. I then divided the number of cards by the number of boards plus one to determine that each board gap would be 7 cards wide. Each board is secured to the steel chassis with 6 self tapping metal screws. I predrilled the holes in my shop and will use matching plugs to fill them tomorrow. Maya had the pleasure of filling nail holes in the trim before leaving for Martha’s Vineyard this afternoon where she will be spending a long weekend with Caleb and his family. We spent a good part of the morning driving around Concord in search of a house to base our paint color on. Maya found two that she really liked and used a paint chip fan to match the color. Kyle has agreed to help with the tiny house build while Maya is away and will begin by painting the cedar clapboard siding that was delivered earlier in the day.
All The Trimmings
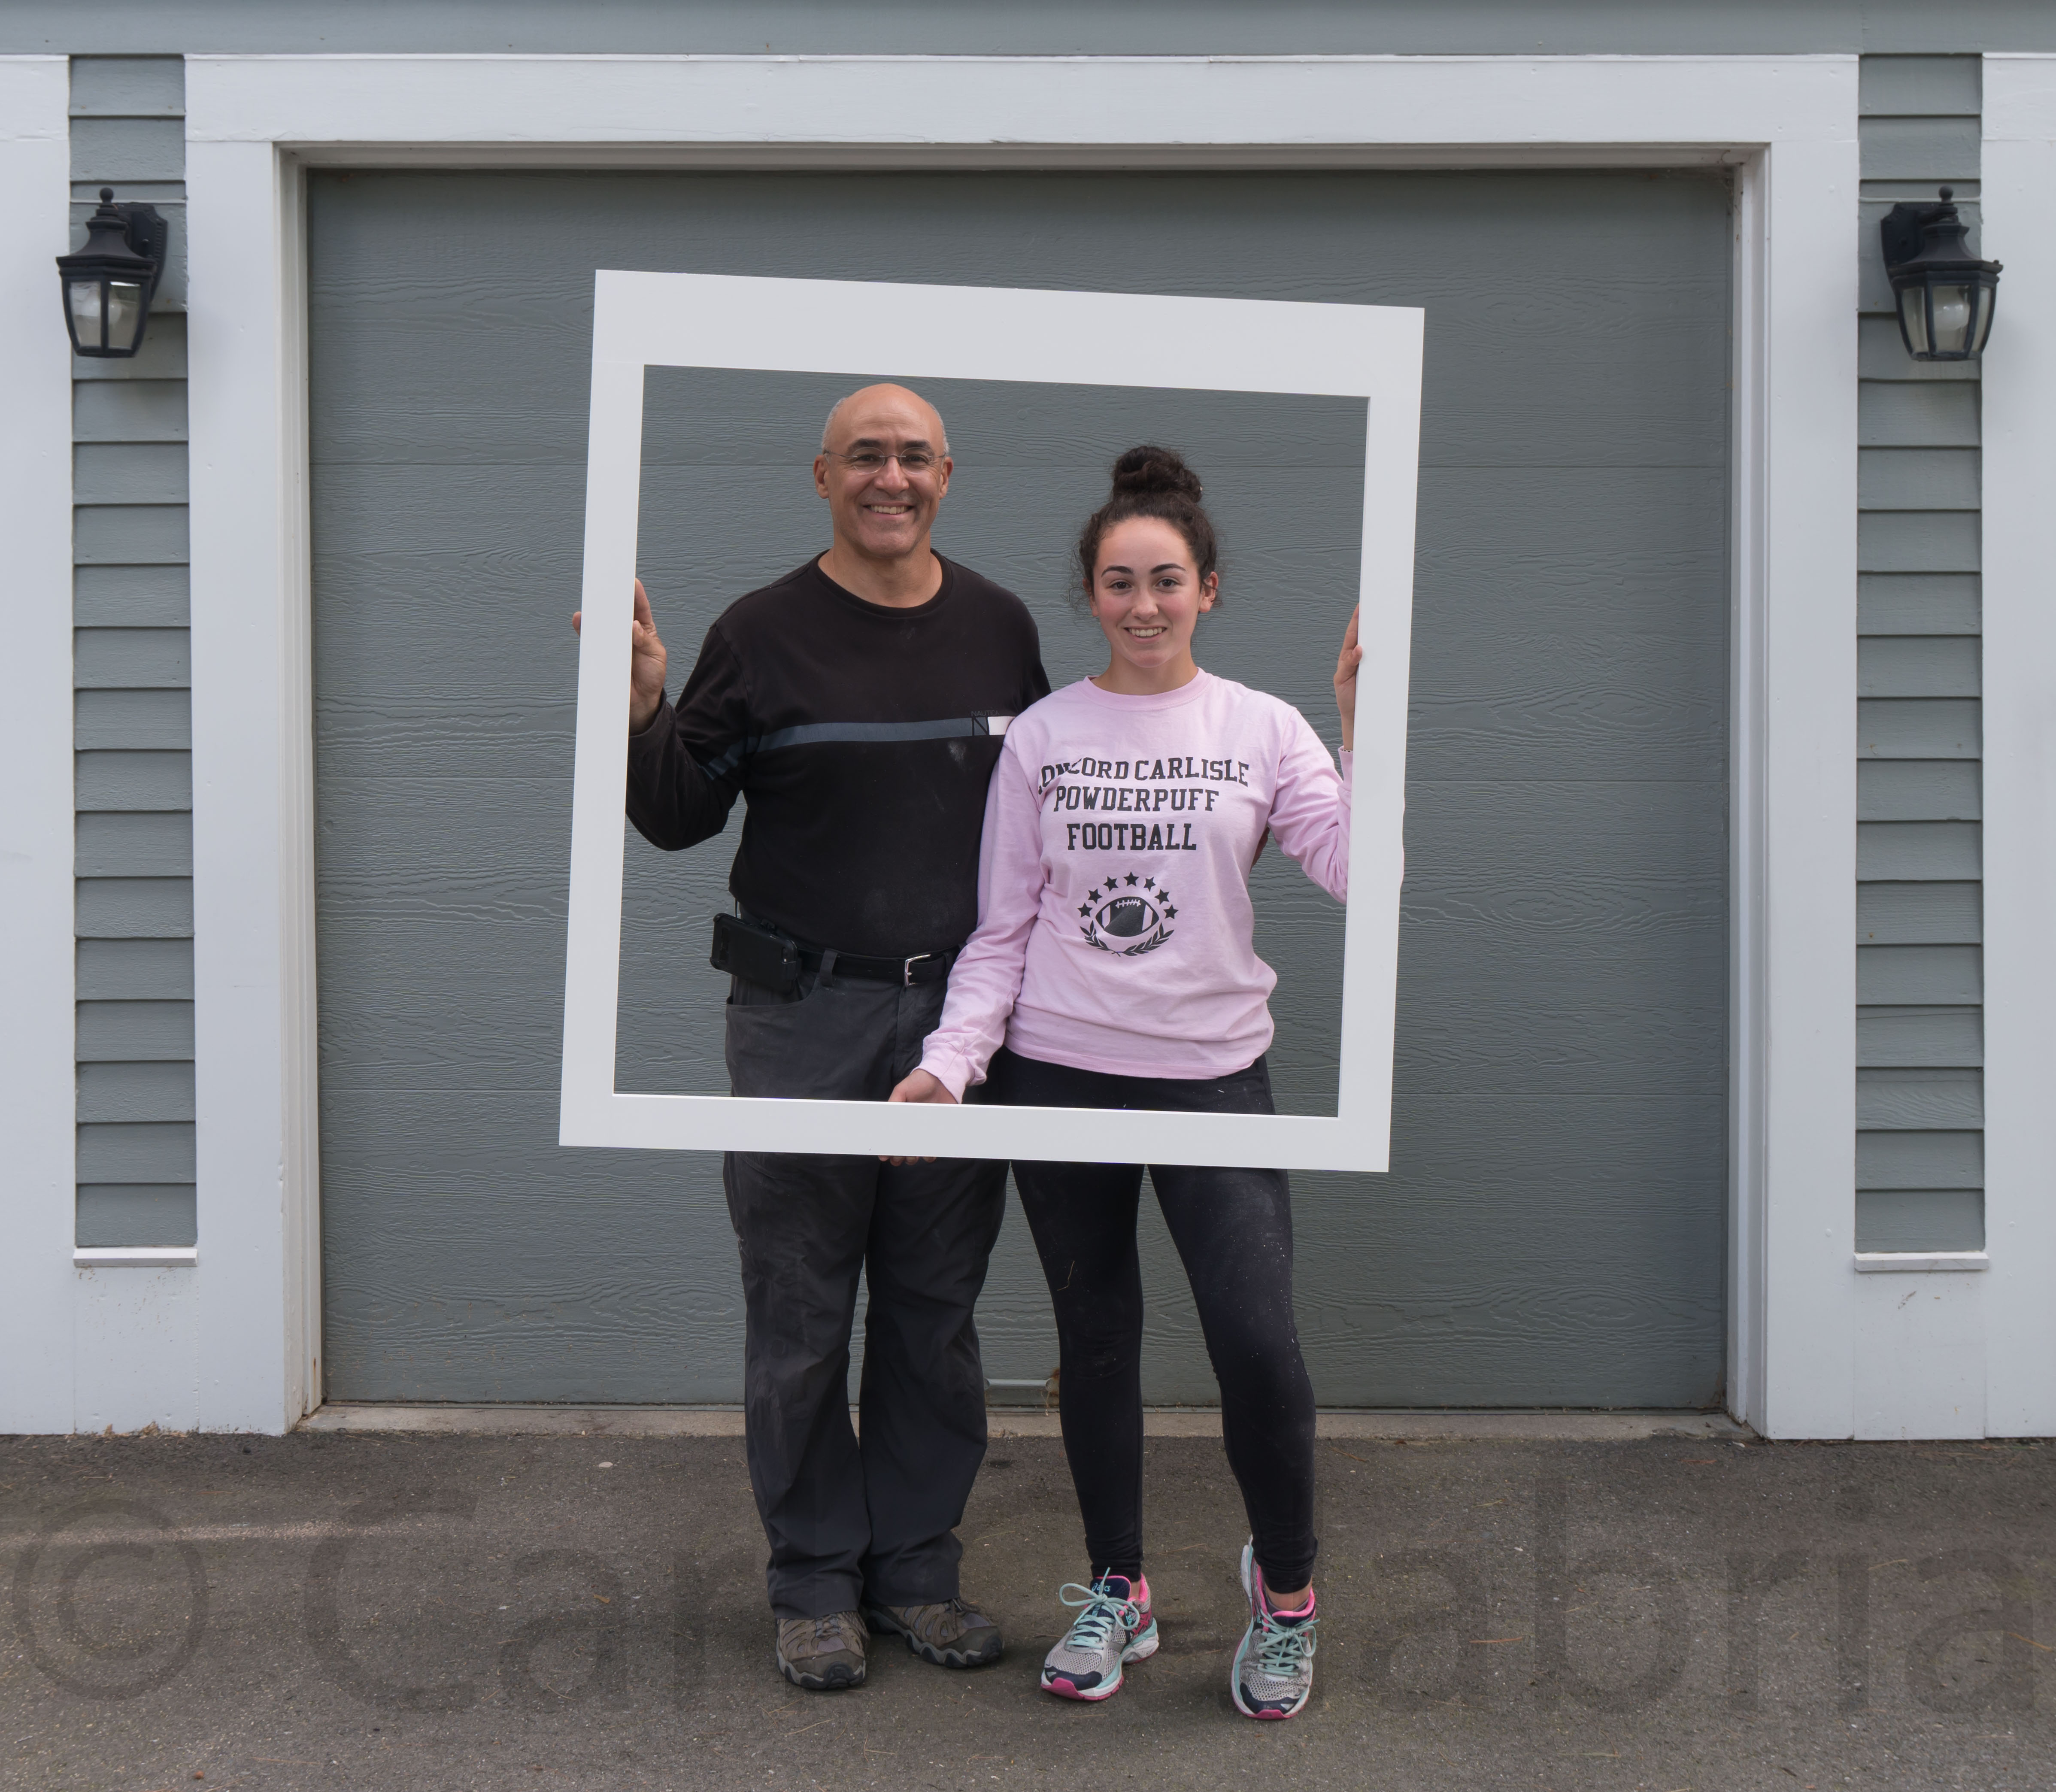
Maya’s tiny house has three different corner trim profiles; an outside 90 degree, an outside 115 degree, and an inside 115 degree. Fabricating these in advance of installation takes a little more time but produces a much higher quality result. Anyone who has ever made an 8 foot long corner joint will tell you that it is very easy to screw up if you do not have precisely cut miters. To ensure accurate cuts we used the setup shown below to hold our boards flush to our table saw fence and flush to the table (on both sides of the board). Glue up clamping was done using a butterfly method. Two boards are placed parallel to each other with their mitered outside edges just touching. A piece of duct tape is run down the entire length of the edge. After the adhesive is applied to the mating surfaces, the joint is “folded” along the tape line into the final position and held in this position with additional duct tape.
Framed
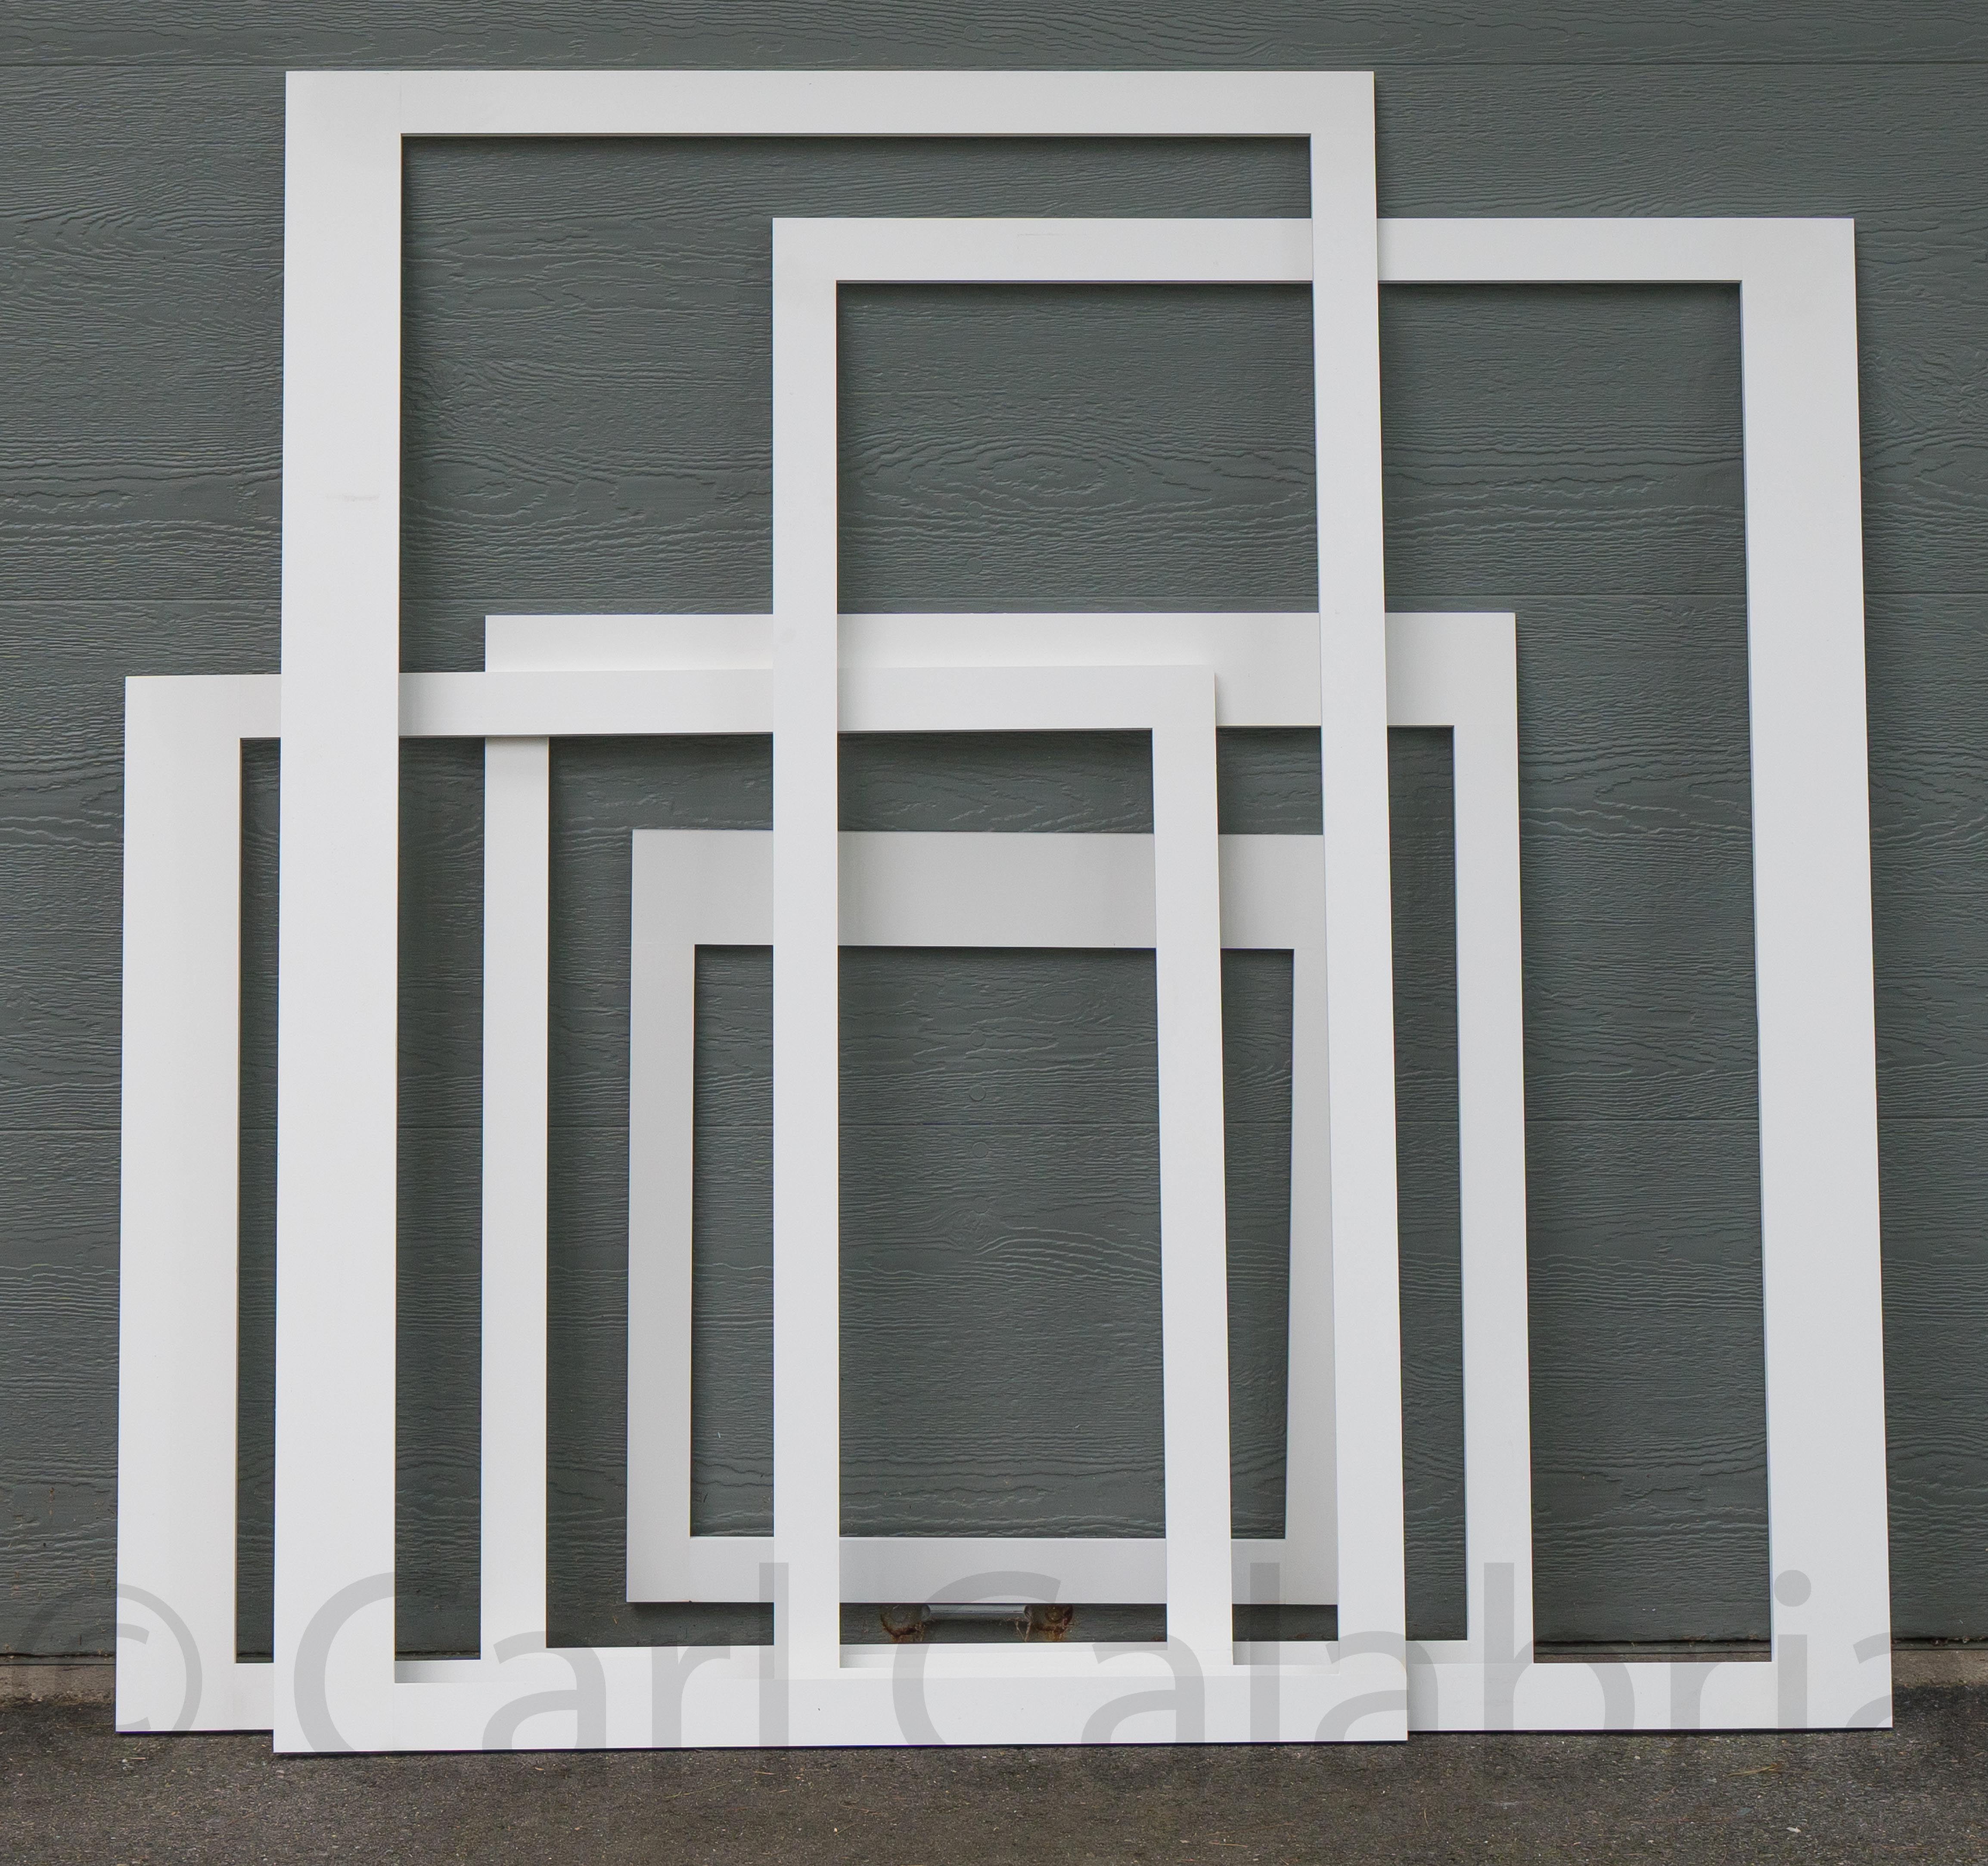
A very productive day on the tiny house build. We completed the insulation of the walls and moved on to external trim work. We constructed frames for all the first-floor windows (the loft windows will be unframed). We are using PVC trim for all areas that are exposed to the weather. It is crazy expensive but will never rot and is totally free of surface imperfections. We used glue and pocket holes for all joints. We also machined a rabbet along the inside back edge so that the frame would sit flat against the house rather than riding up on the window nailing fins.
Final Ceiling Insulation
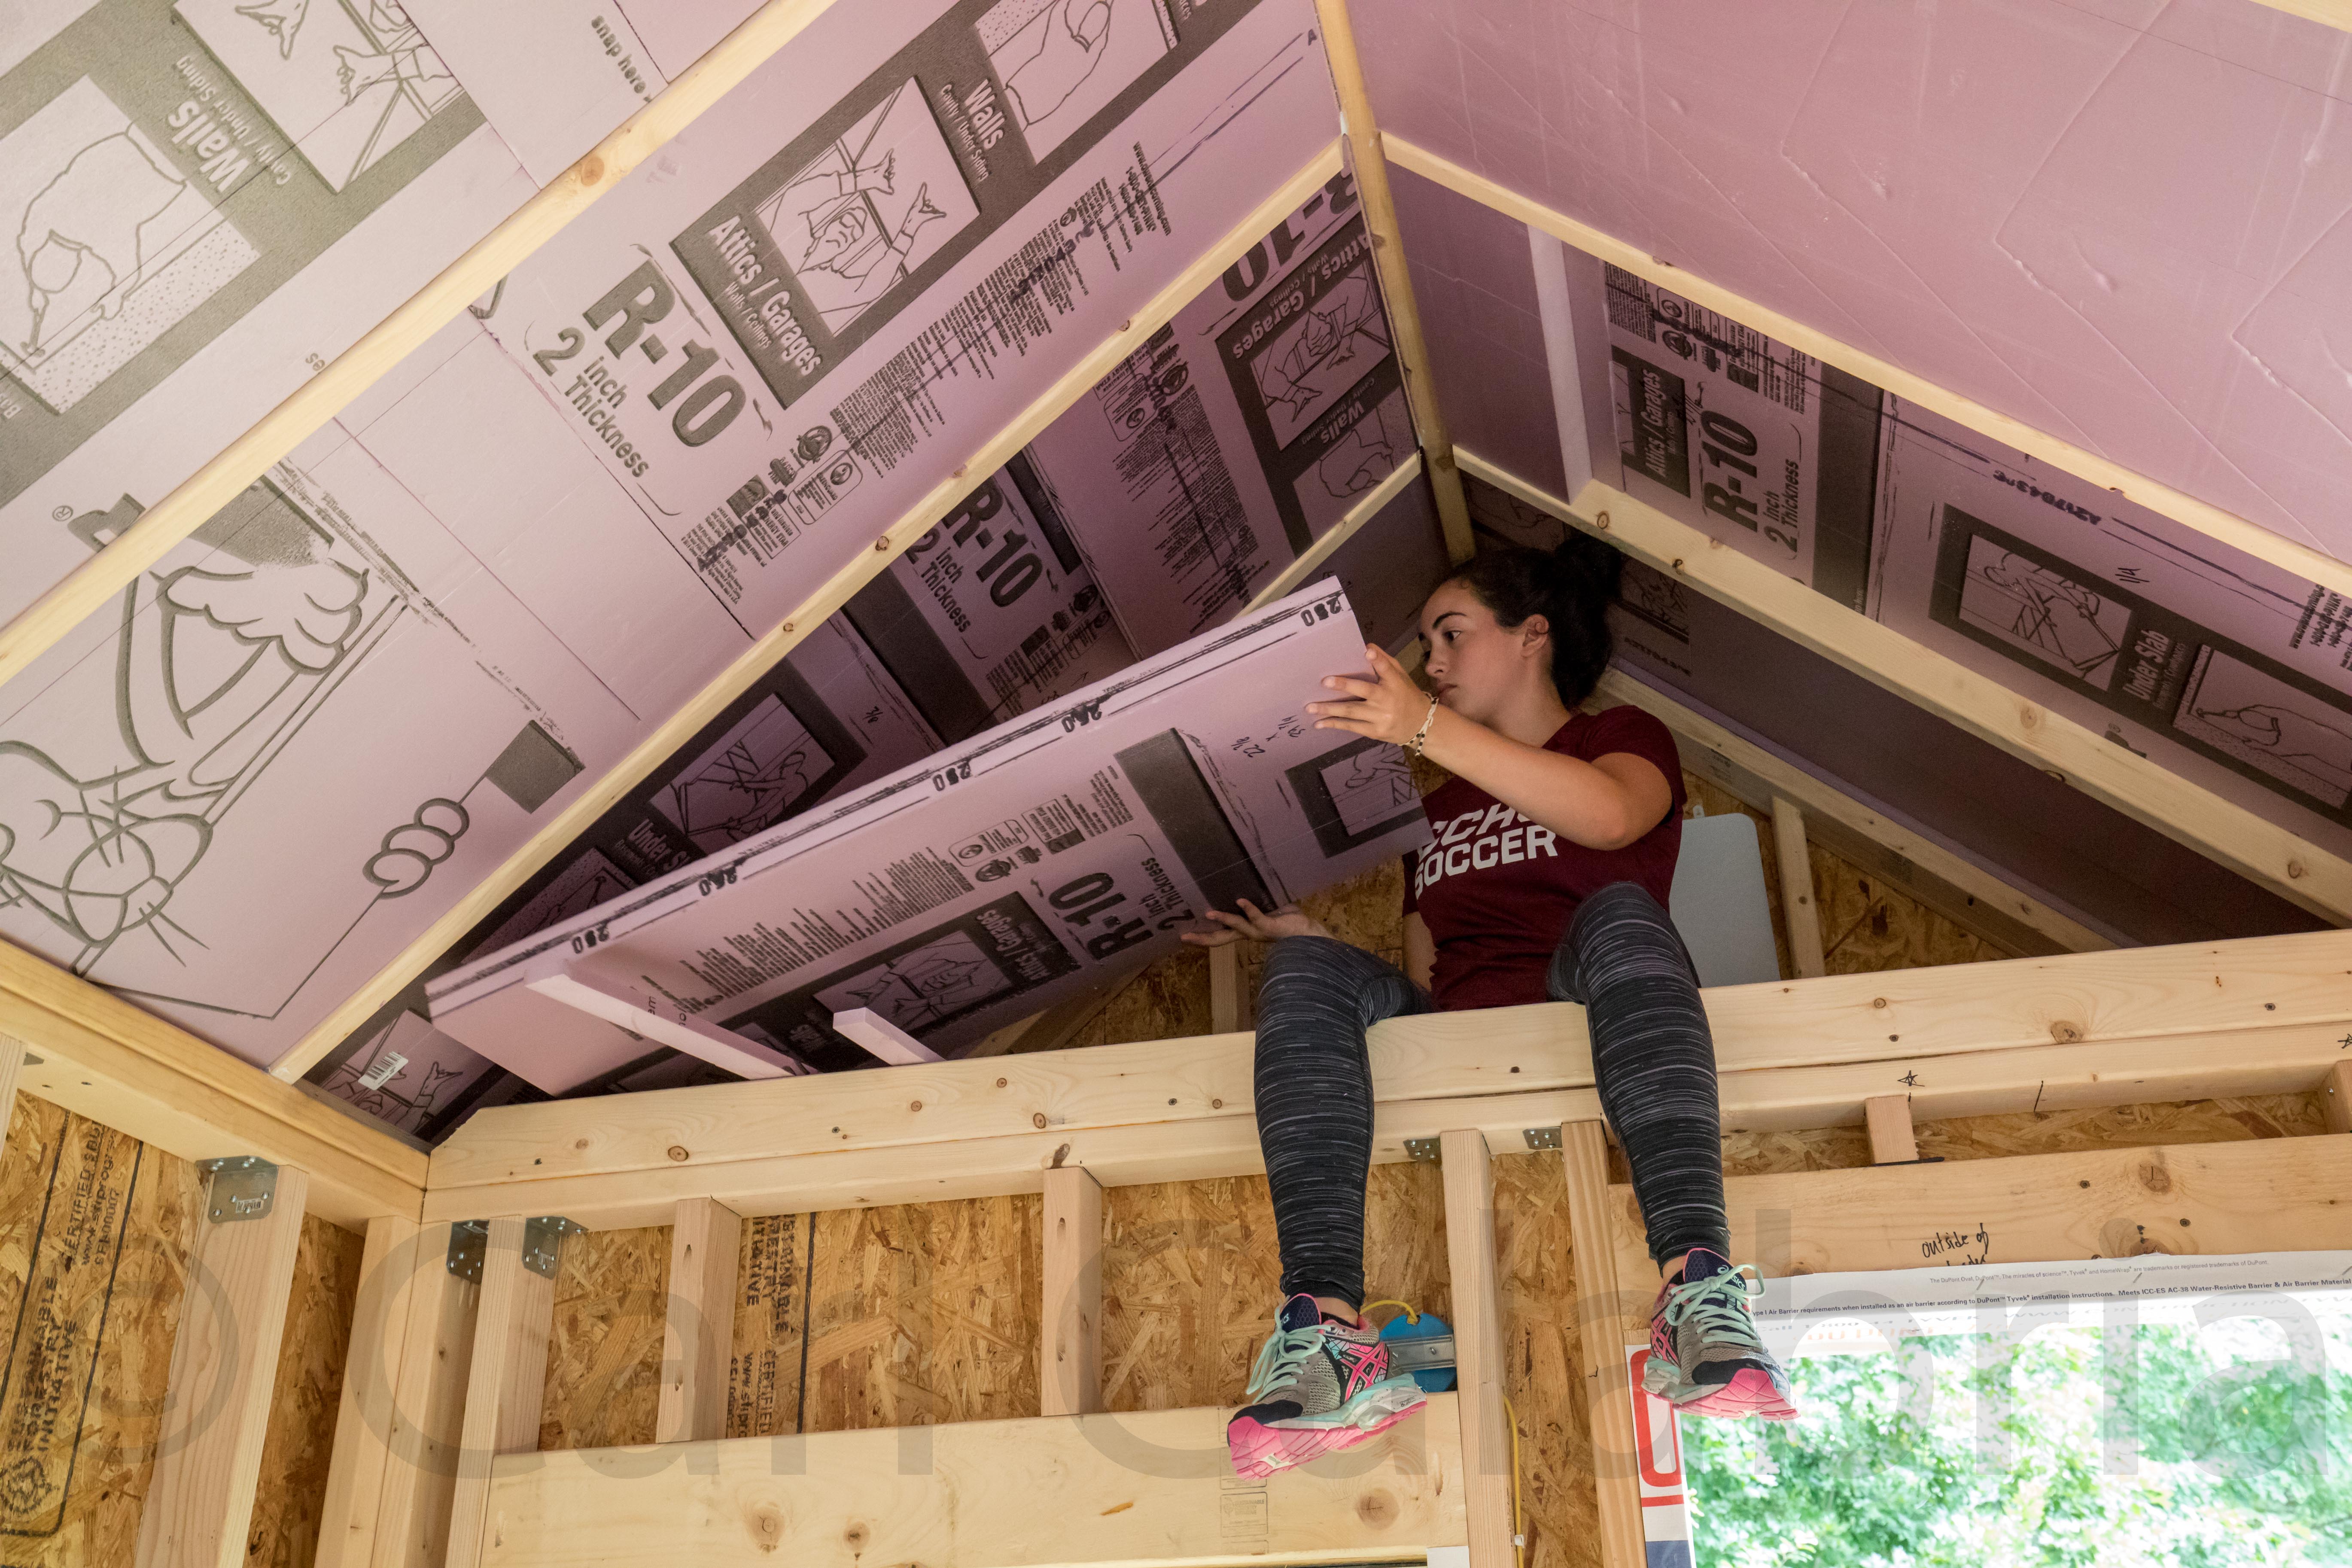
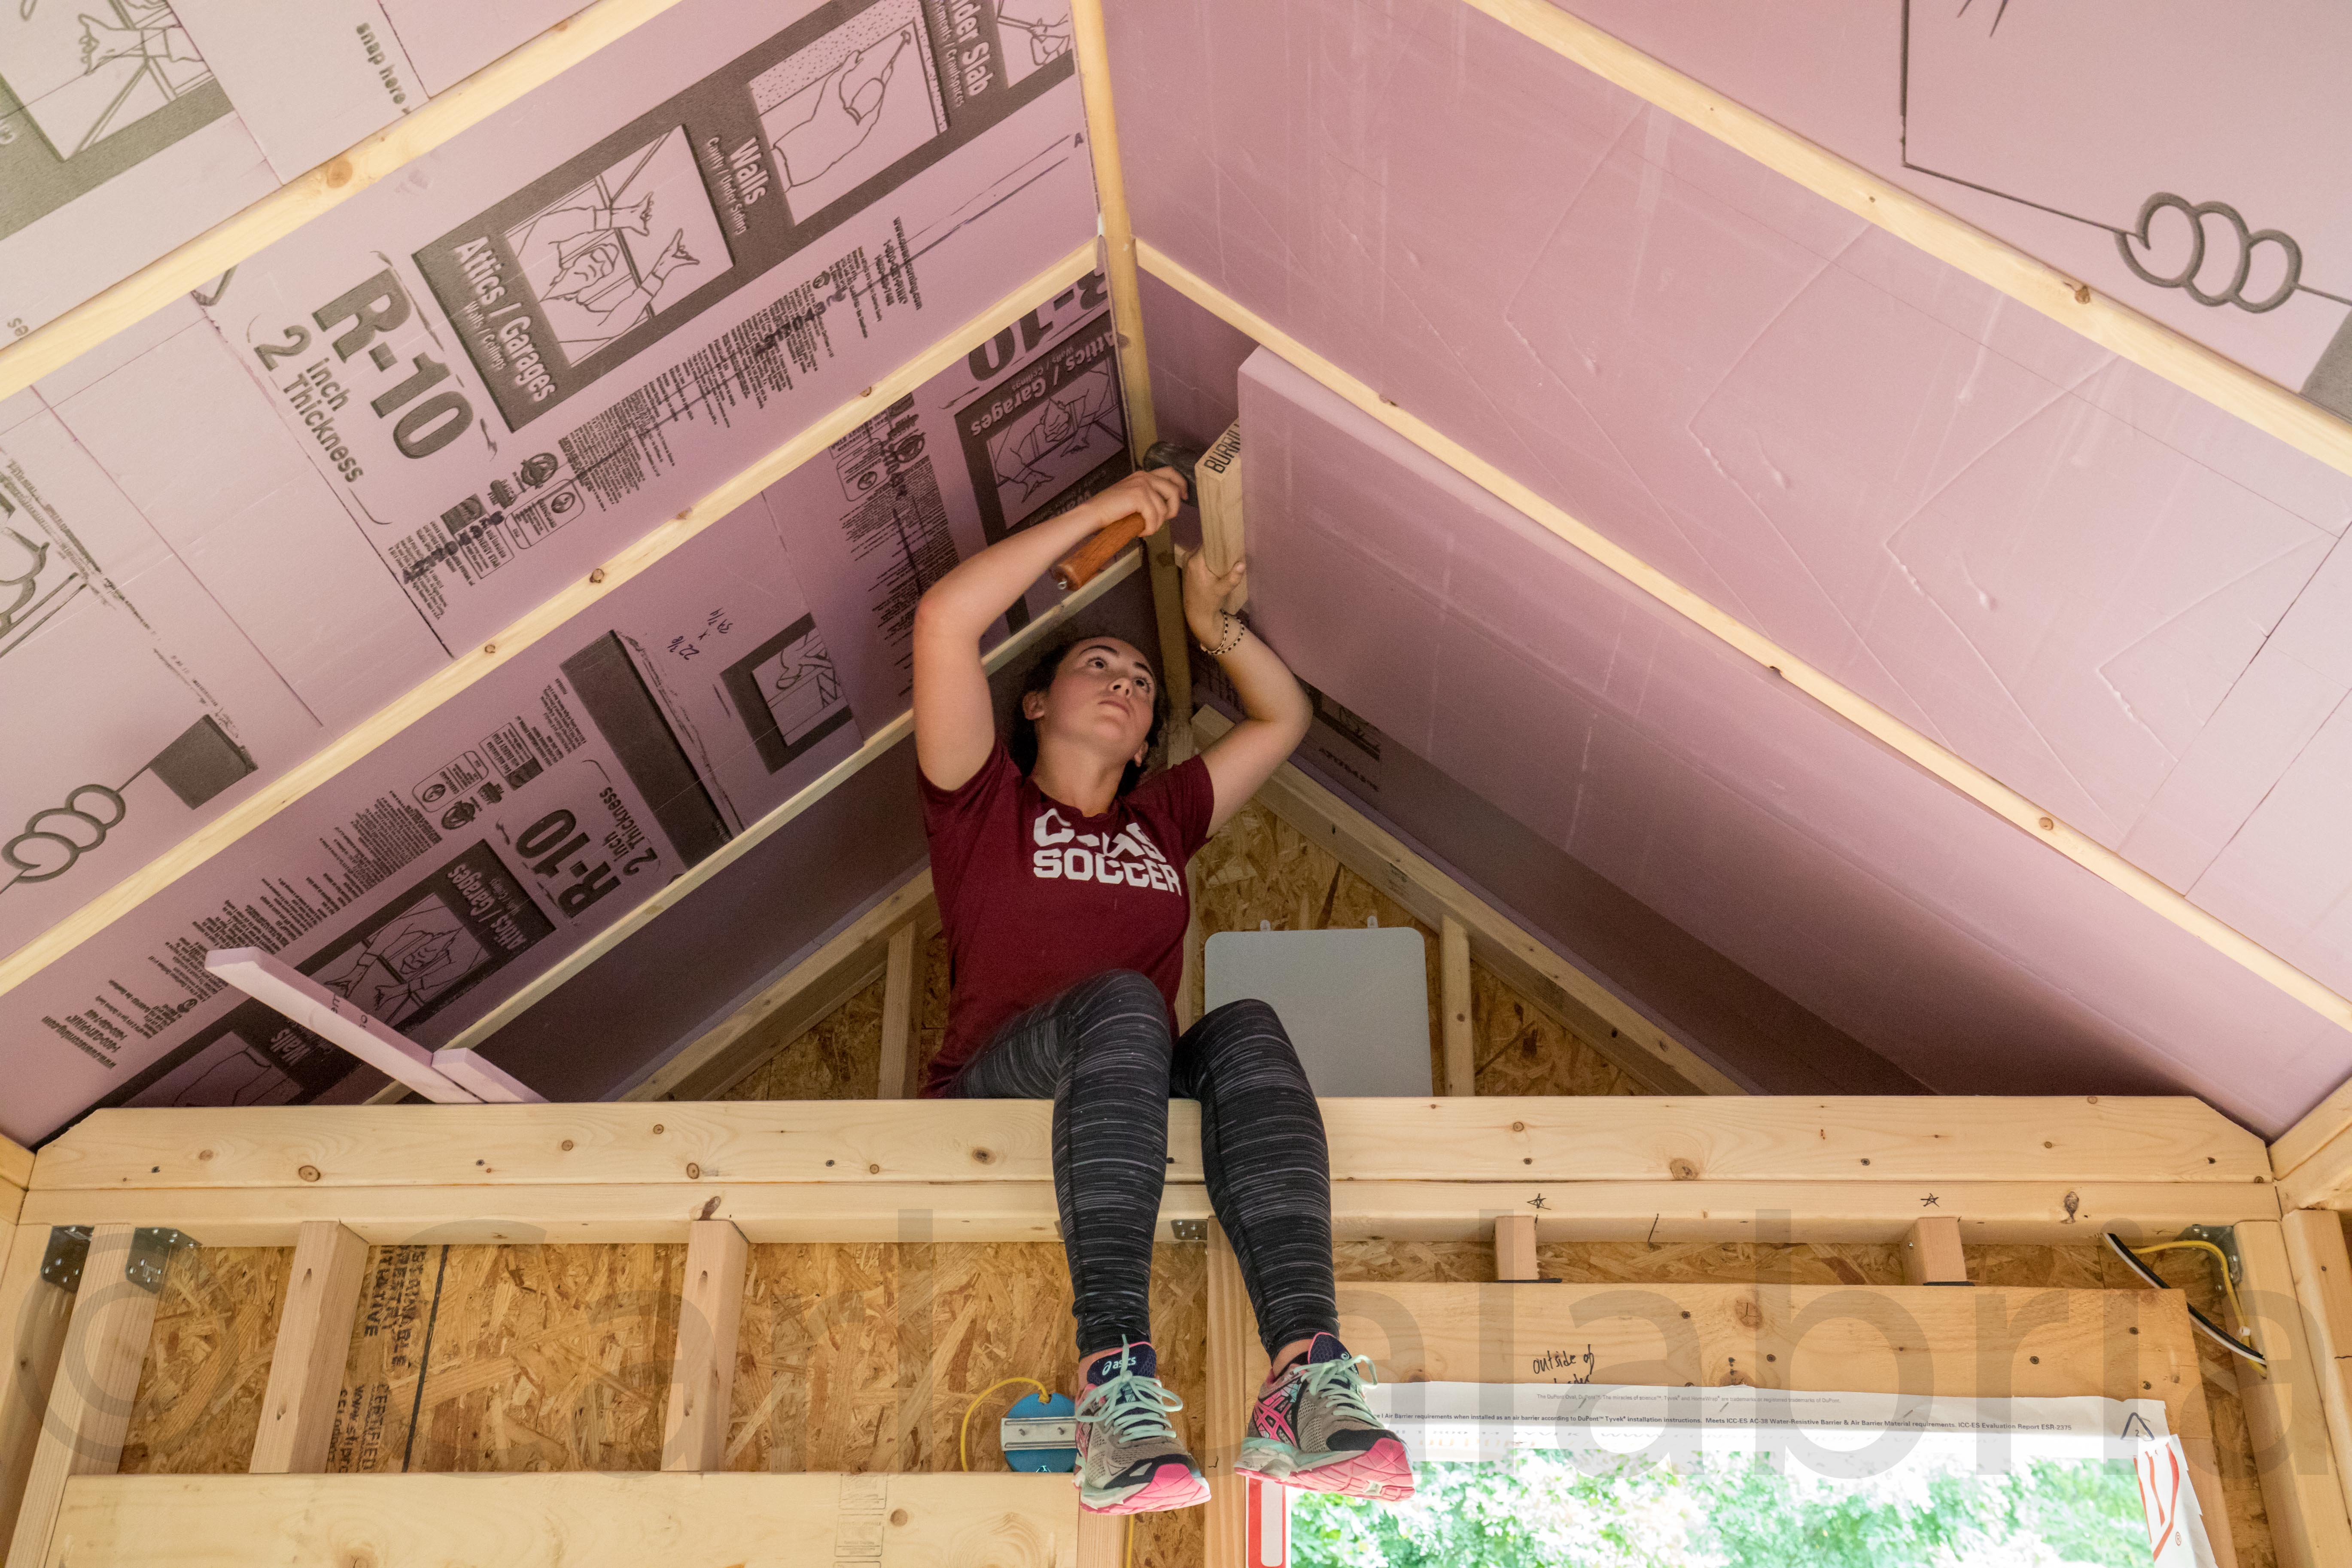
Maya’s tiny house includes a total of three loft areas. The main sleeping loft is 67 square feet. Two storage lofts totaling 33 square feet are located at the front and back of the house. Maya is pictured here finishing the ceiling insulation in the storage loft over the front porch. Two batten strips are tacked to each rafter where it meets the roof sheathing to create uniform spacing for the ventilation air gap. The panels are cut to exact size and must be pounded in with a mini sledge hammer for an air tight fit. All seams will eventually be taped or caulked to ensure zero air infiltration. The white square object behind Maya is a fixed HDTV antenna that is wired to the location where we will be installing a flat screen TV.
The Cost of Cozy
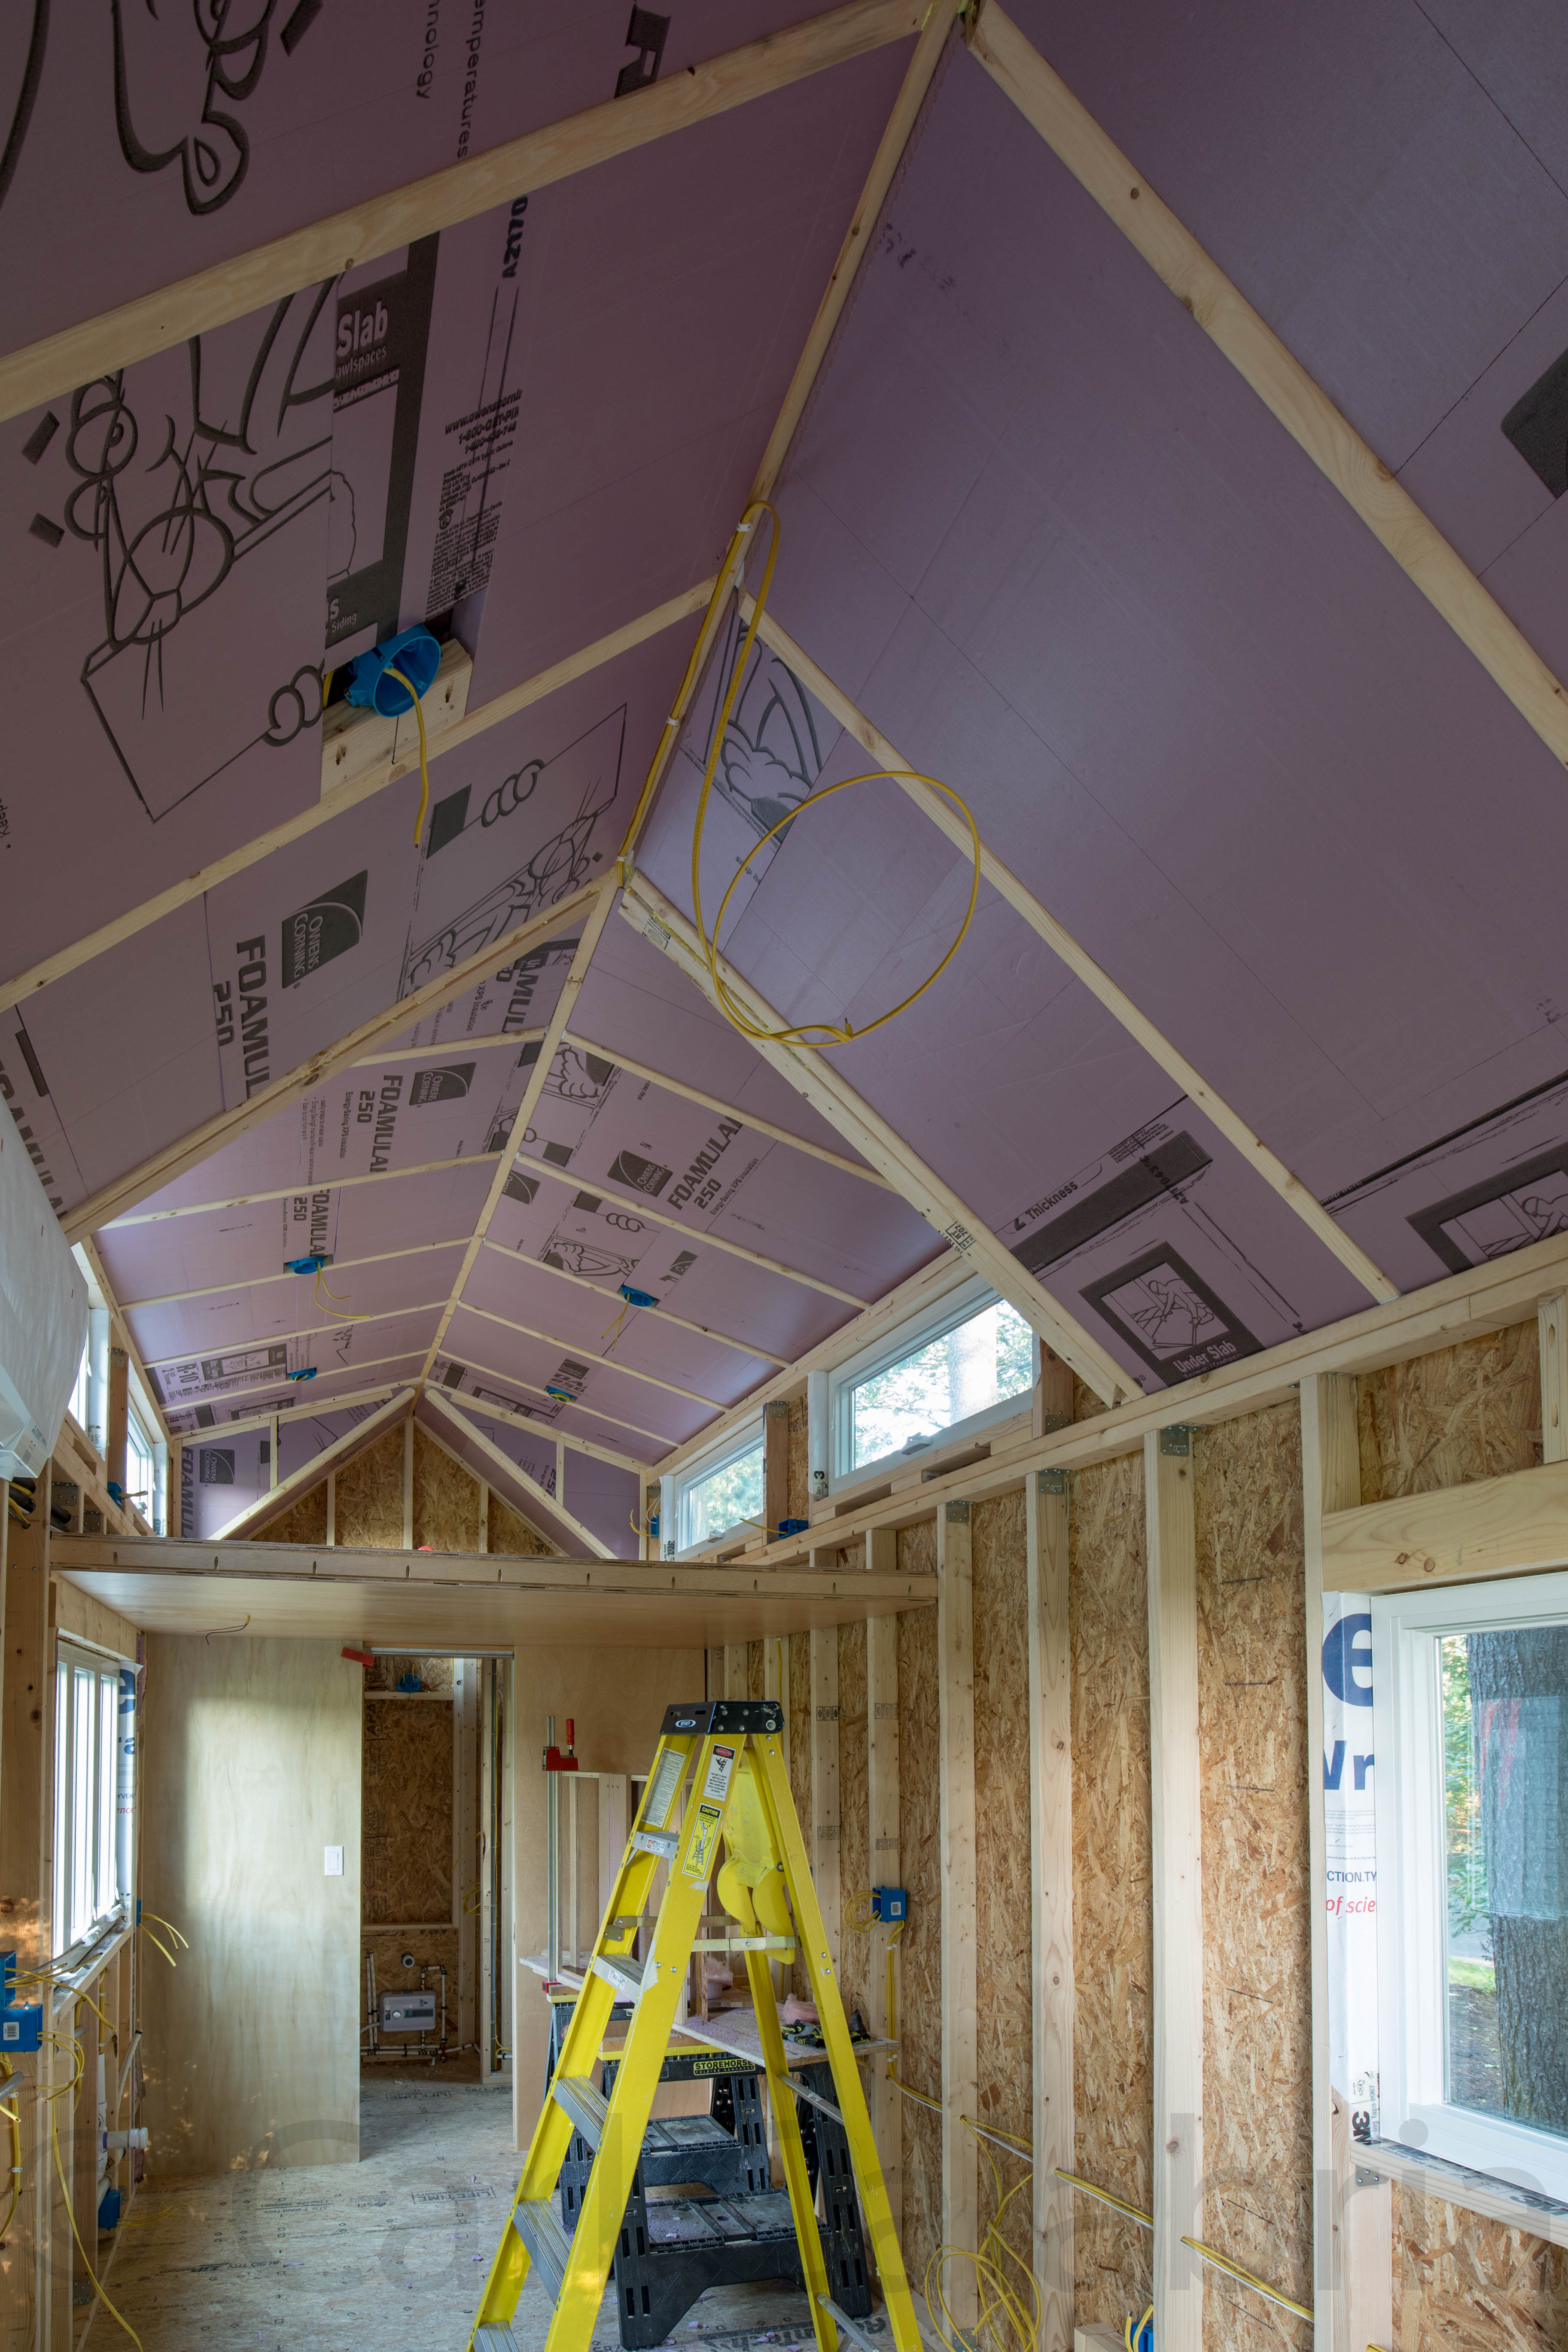
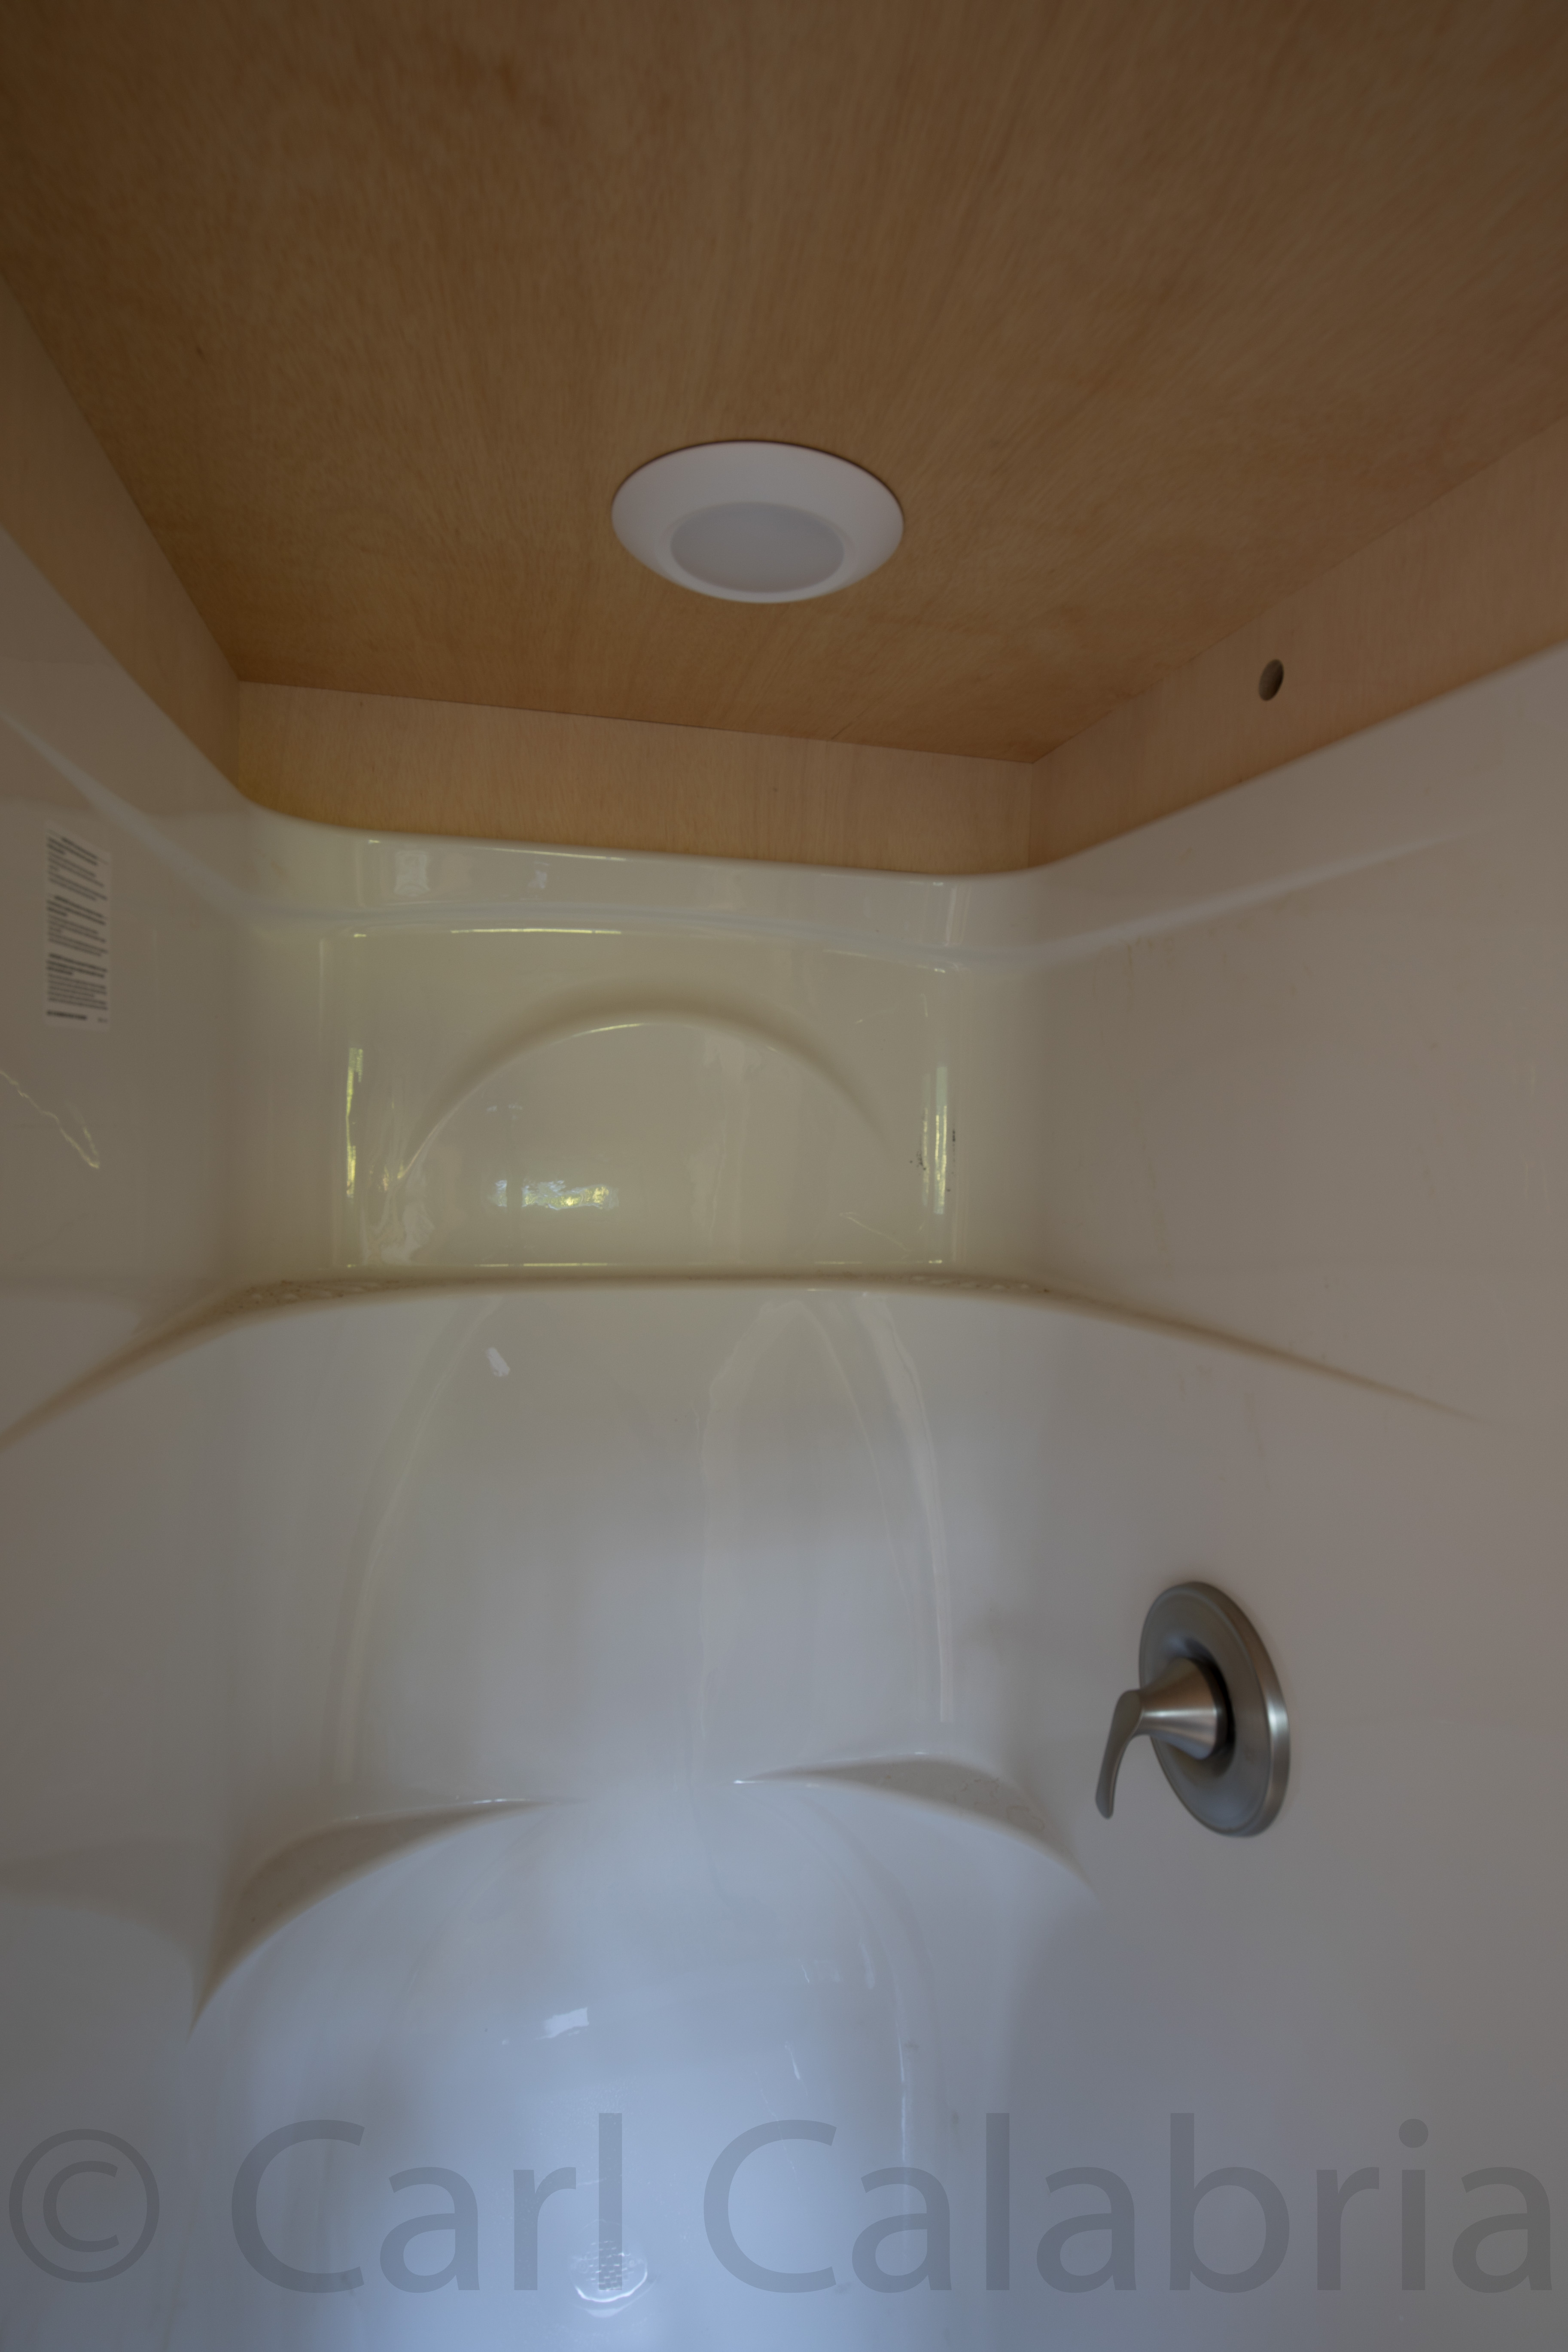
Maya and I spent most of the day working on ceiling insulation. We are installing two 2 inch foam core panels in between each pair of 2×6 ceiling rafters for an R value of 20. We are leaving a 1-1/4 inch air gap between the first panel and the roof sheathing to create an air channel that will provide ventilation for our roof. This is necessary to prevent condensation which is a common problem in tiny houses that do not include this feature. The work is slow and arduous. Each panel is beveled on one end to match the roof angle, must be cut to the exact size of the opening and installed in at least two and often as many as four sections. It is easily the least fun part of the project so far. Maya works on the ladder taking measurements and installing panels while I cut them in the basement on the table saw. For a little break from the monotony, I added the side walls around the top of the shower stall. The joints are so tight that no trim will be needed here. I will wait to install the shower head until the trim has been varnished to match the ceiling.
Quarter Century Mark
Moose
Nicolai and Karuna have adopted a dog. At the time this photo was taken it was named Moose. It is not clear if that name will be replaced but I rather like it. We would have preferred if he had waited to get a dog until completing college but for many years now this has been something Nico has wanted to do.
Roof Ready
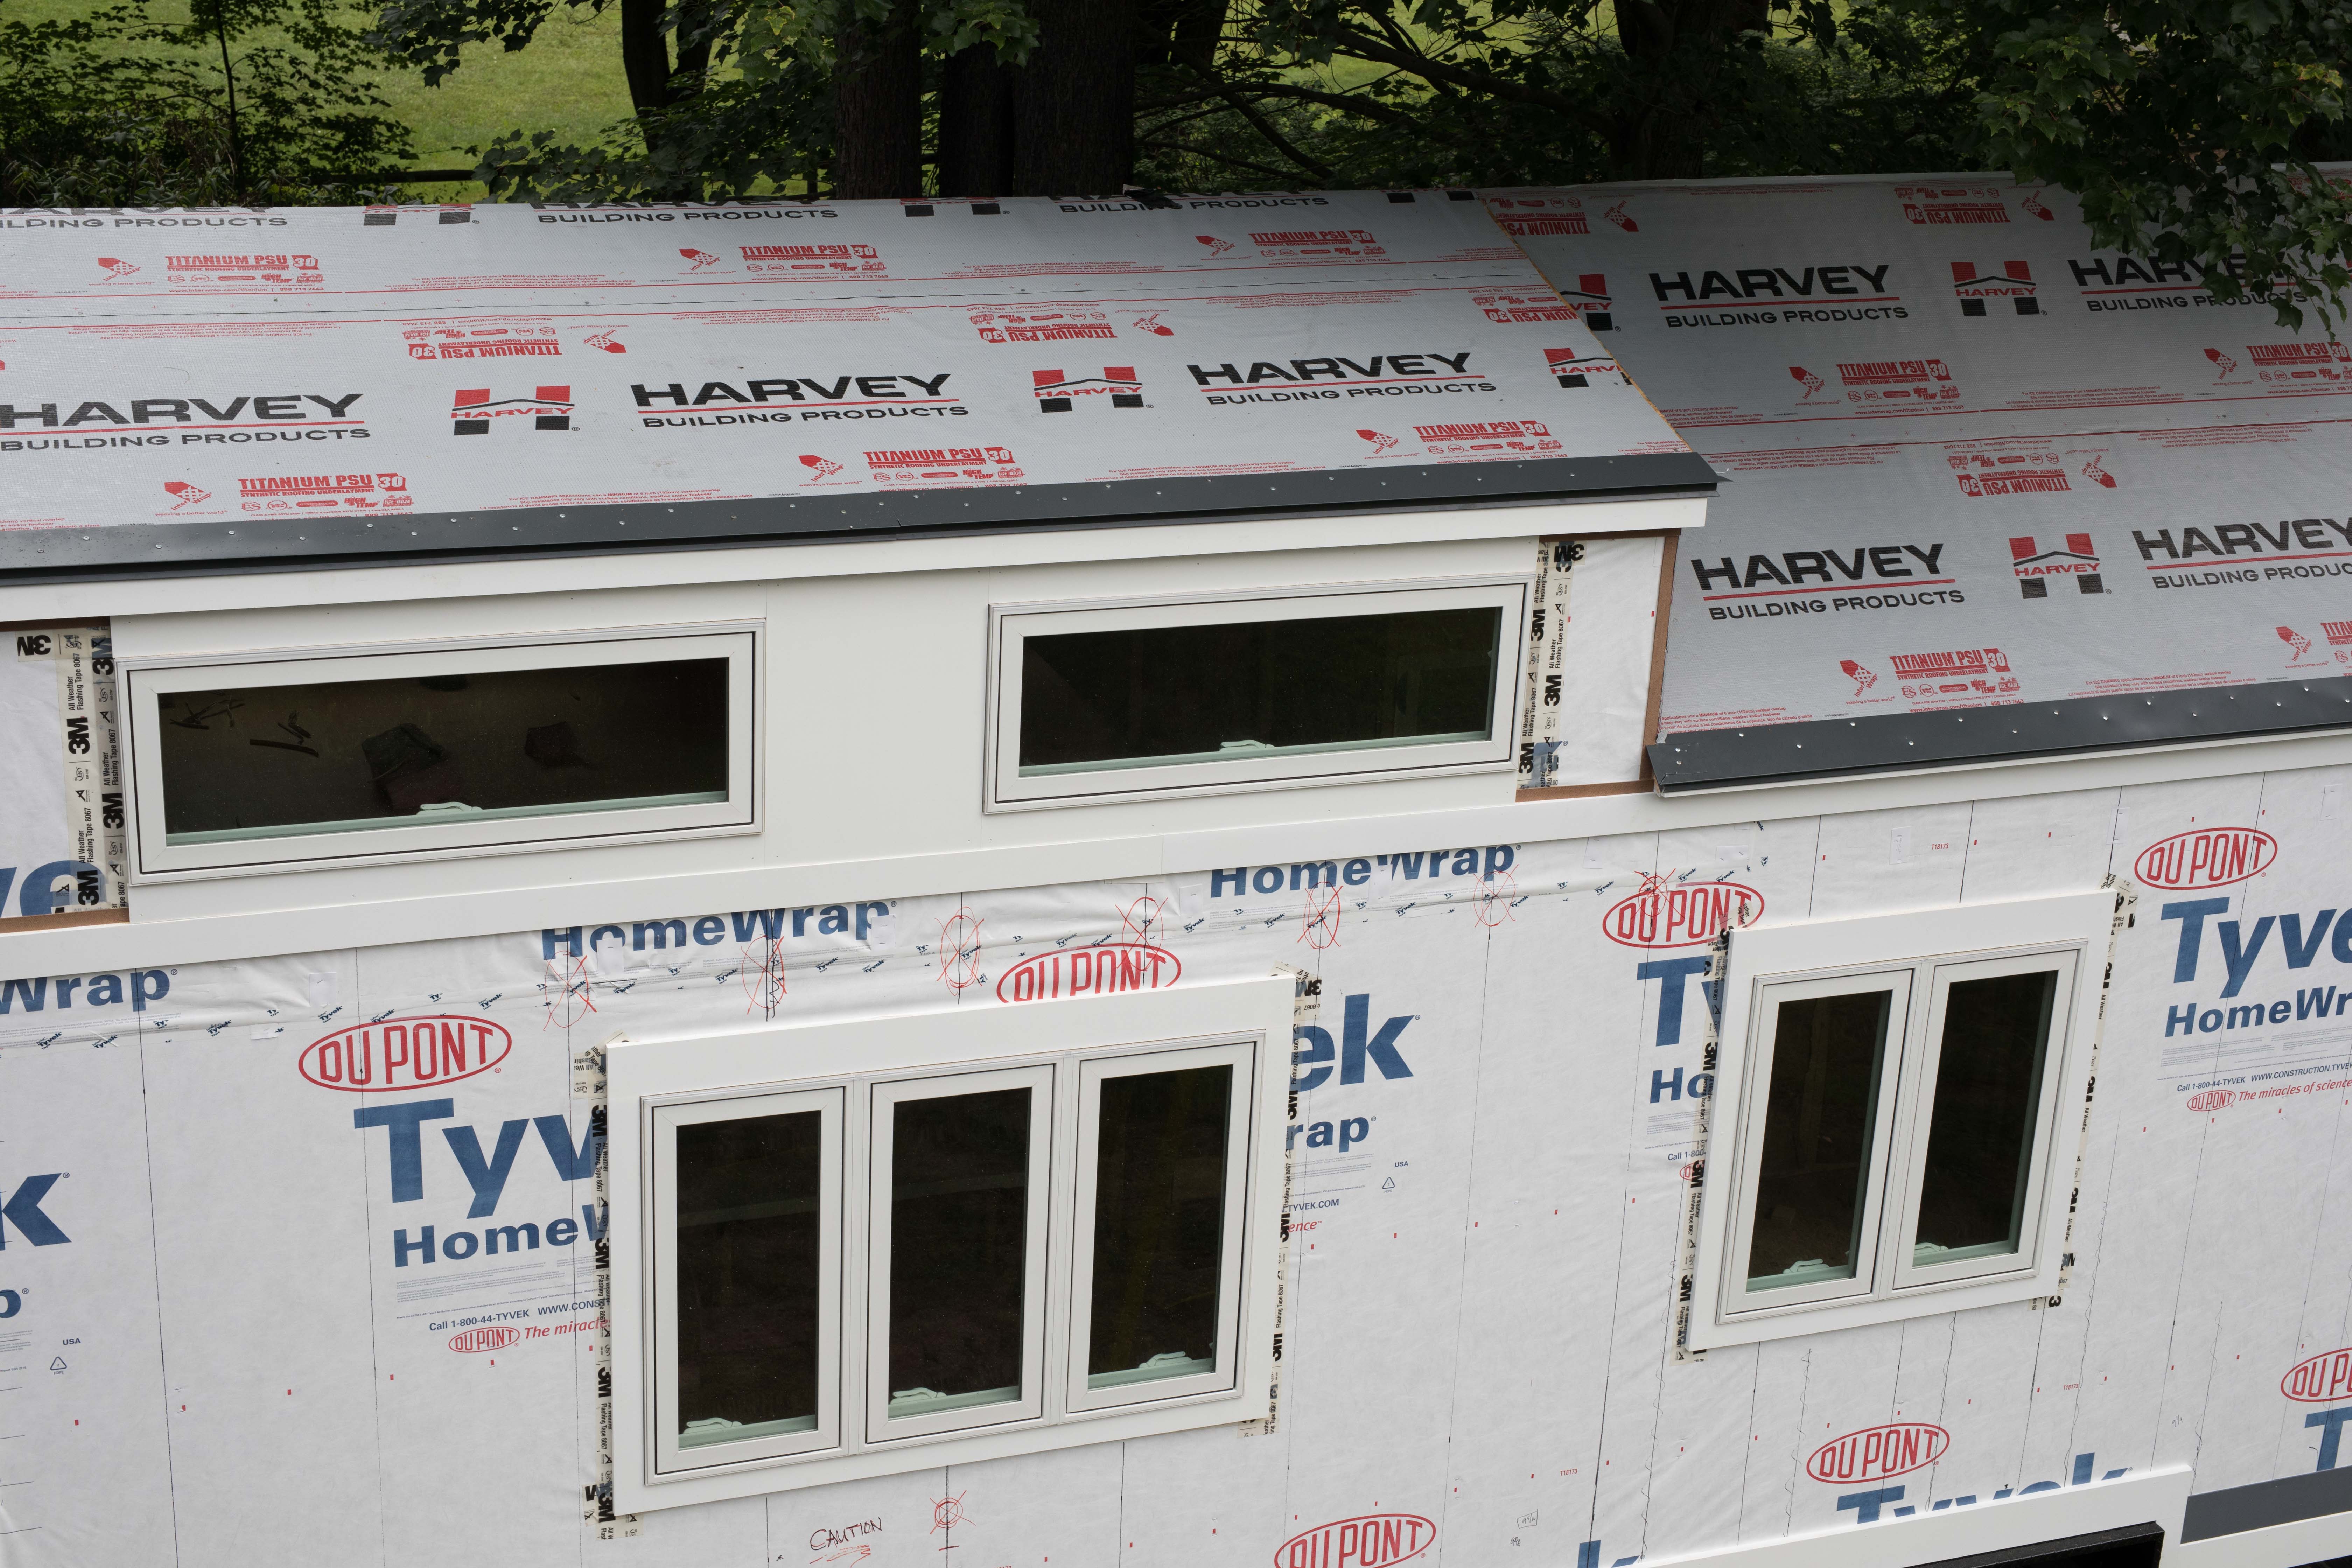
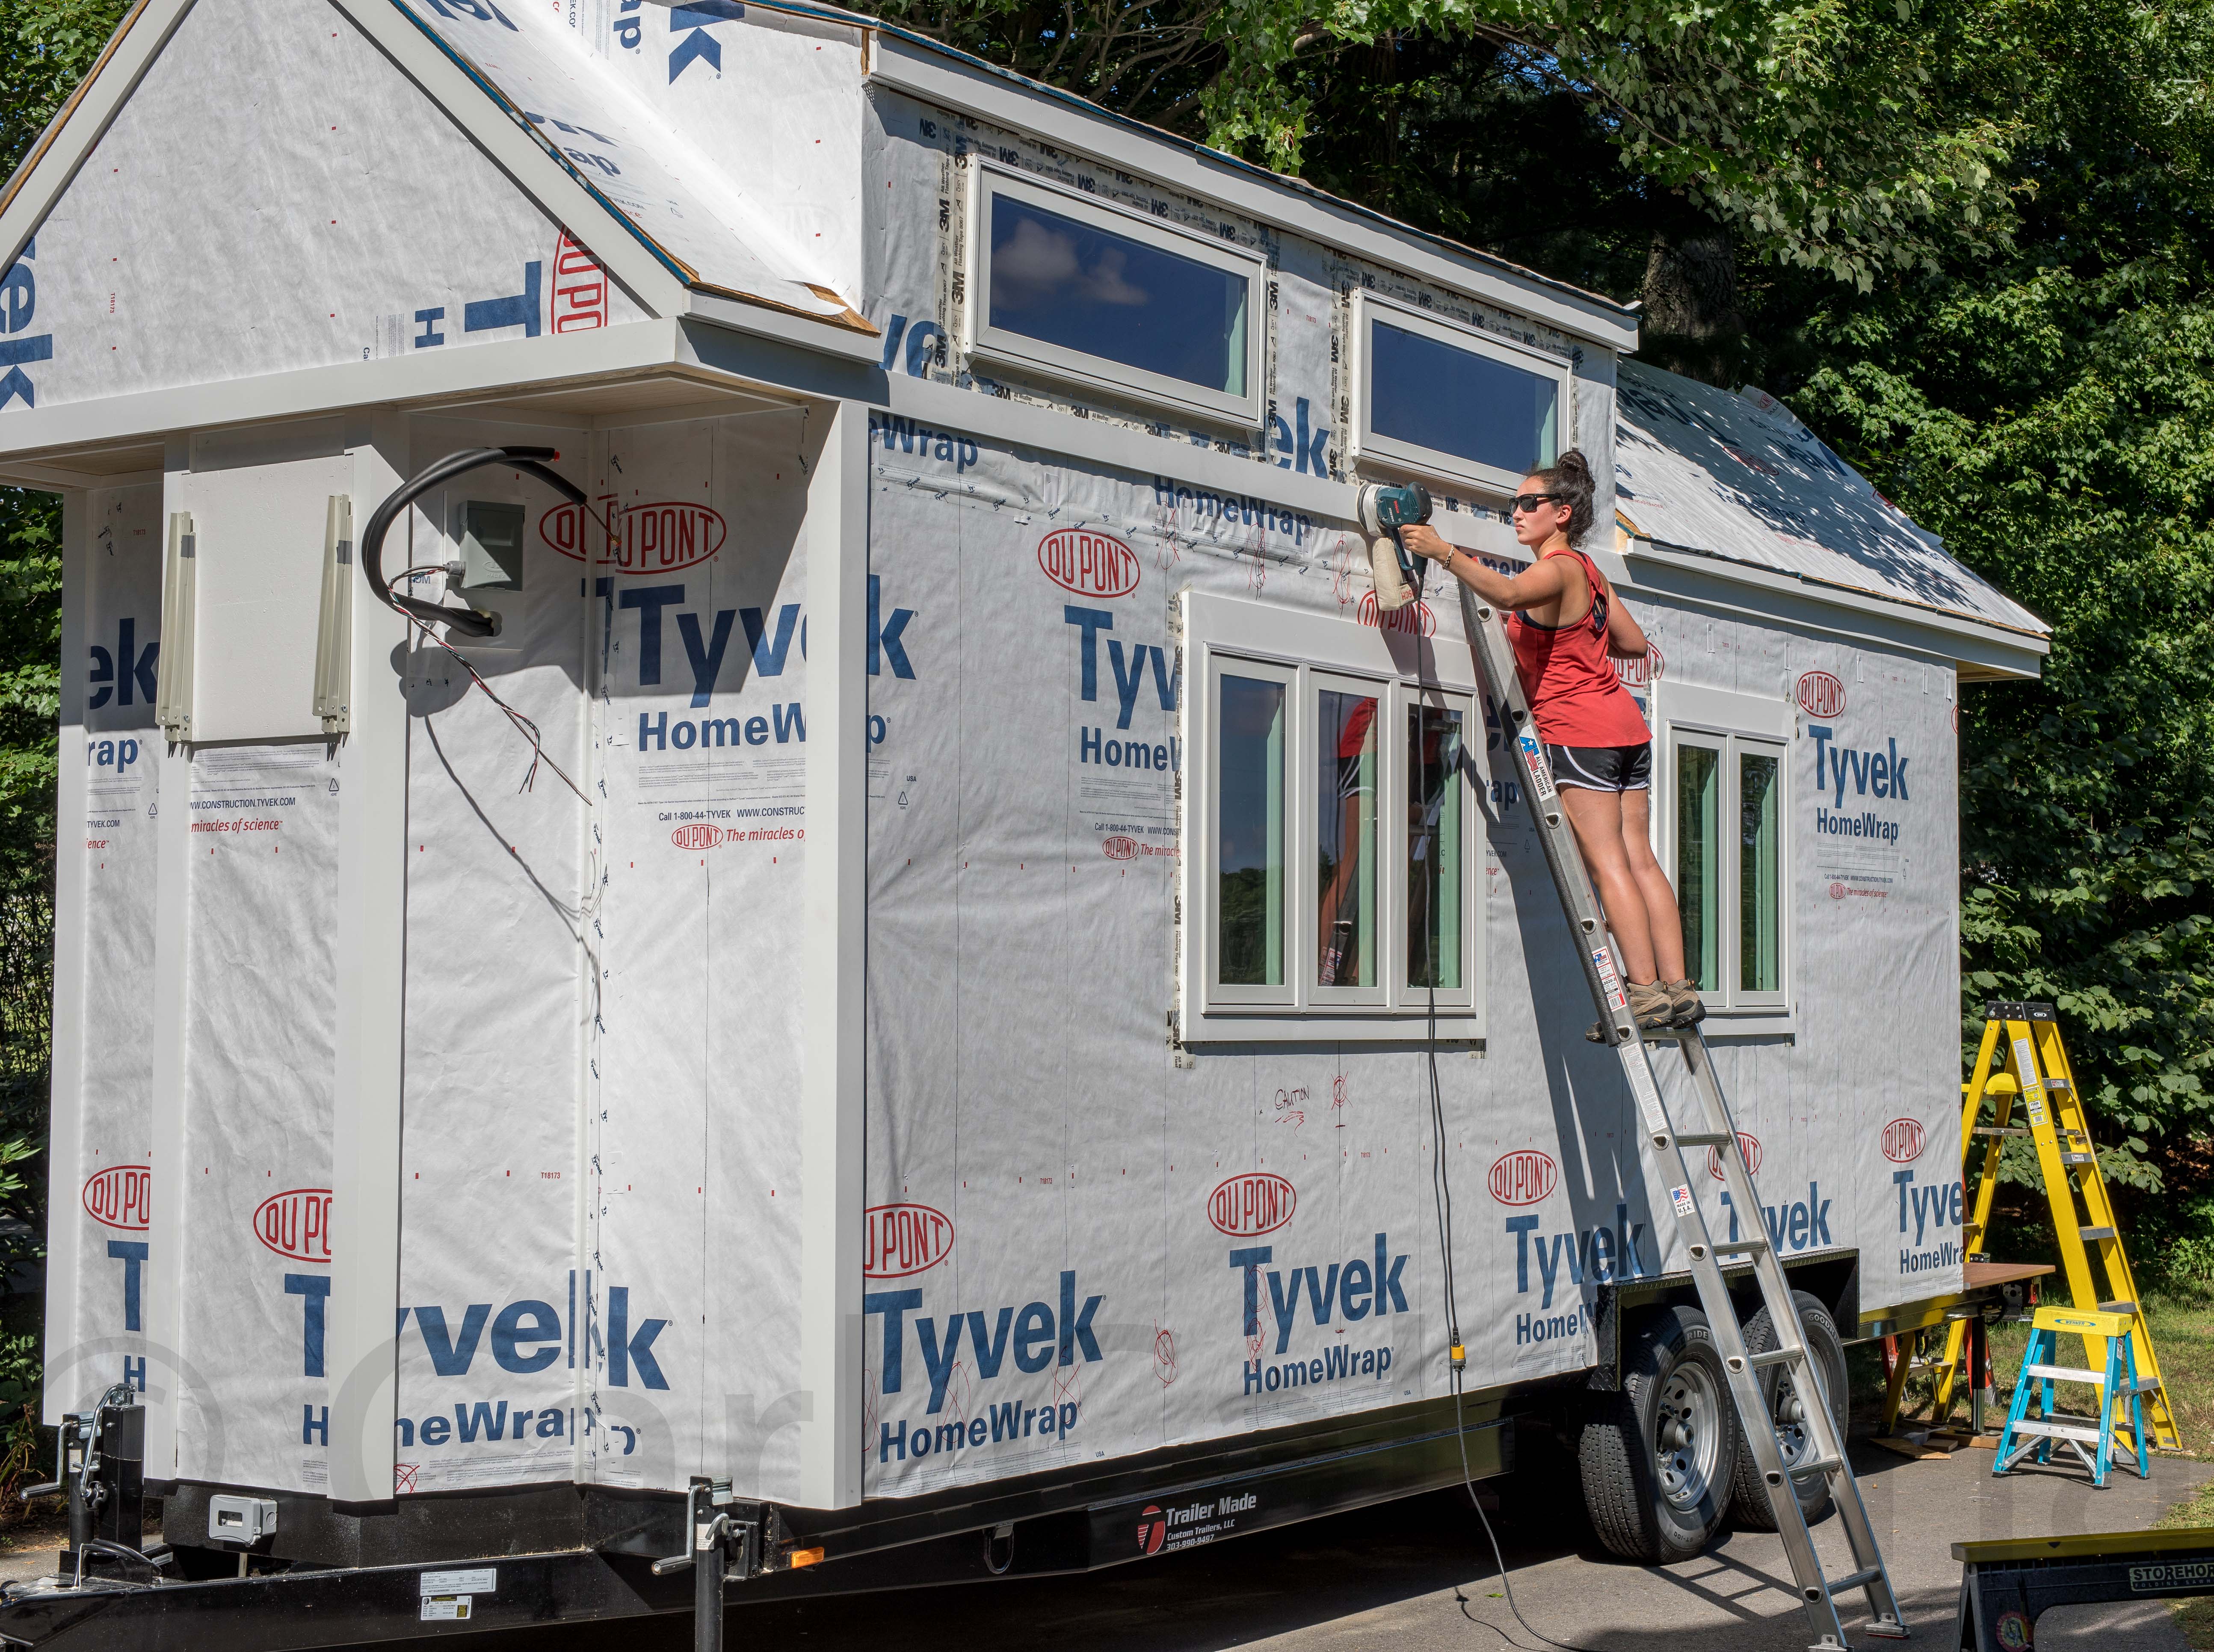
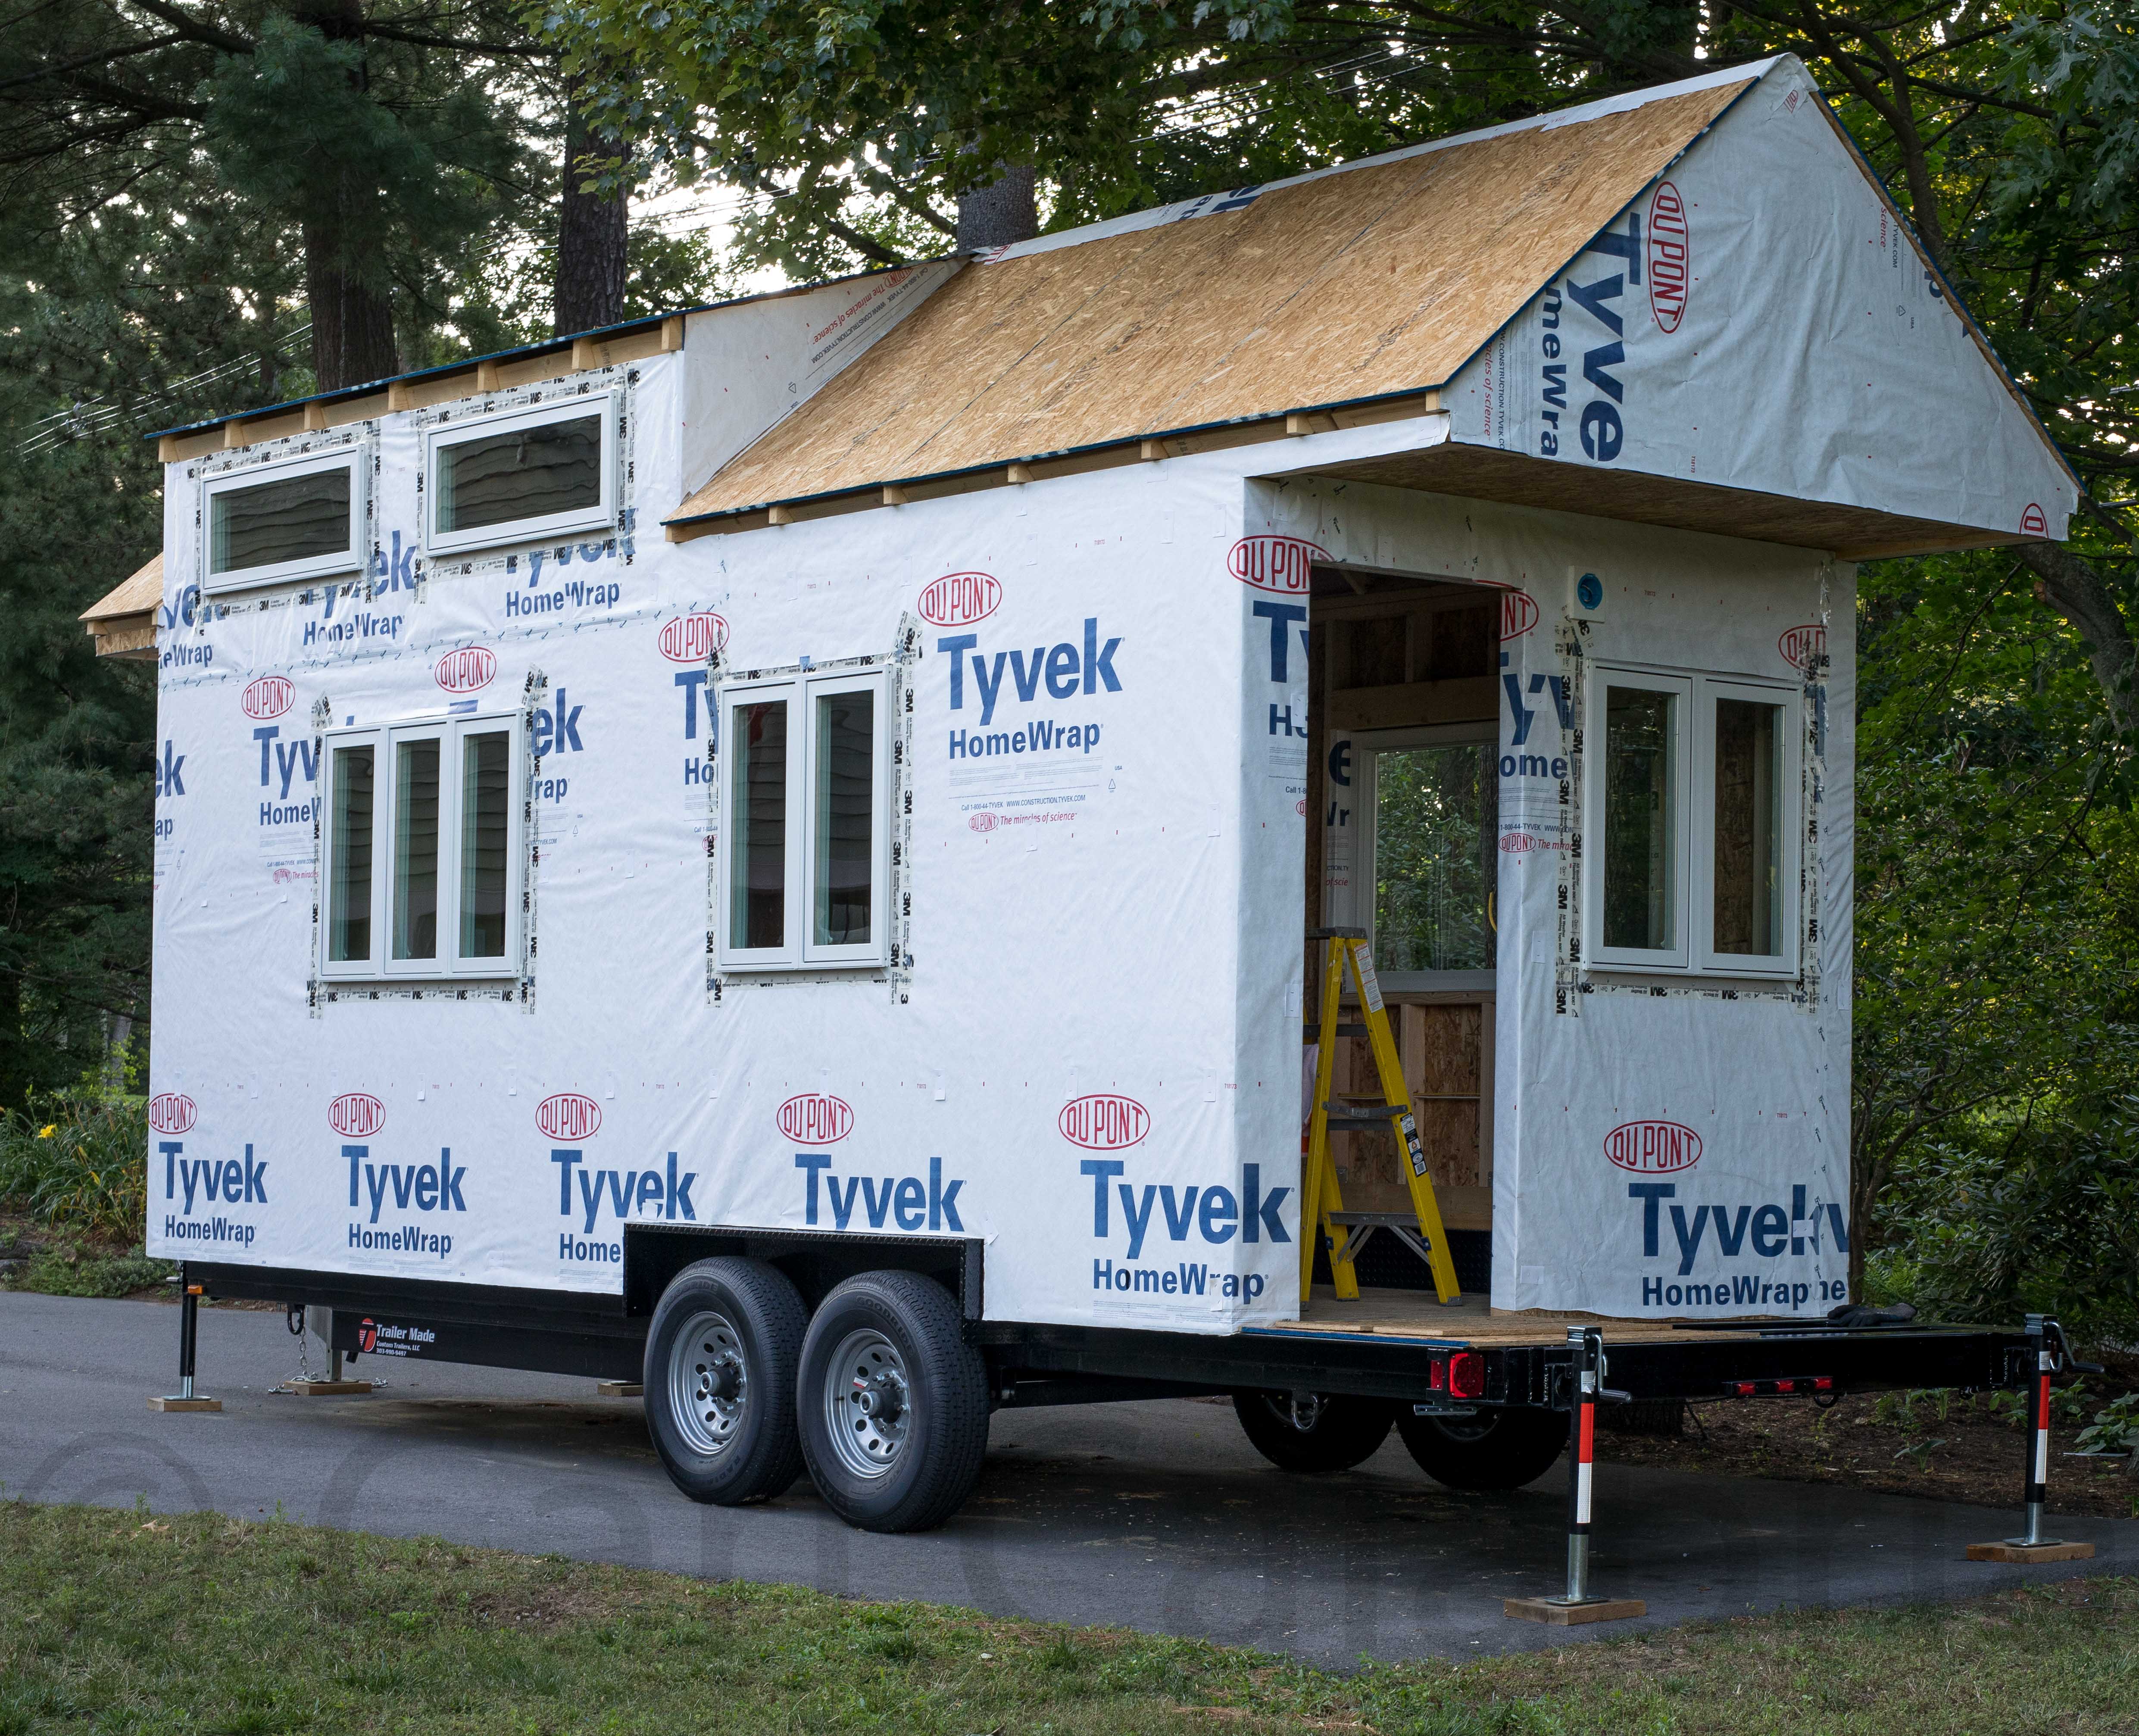
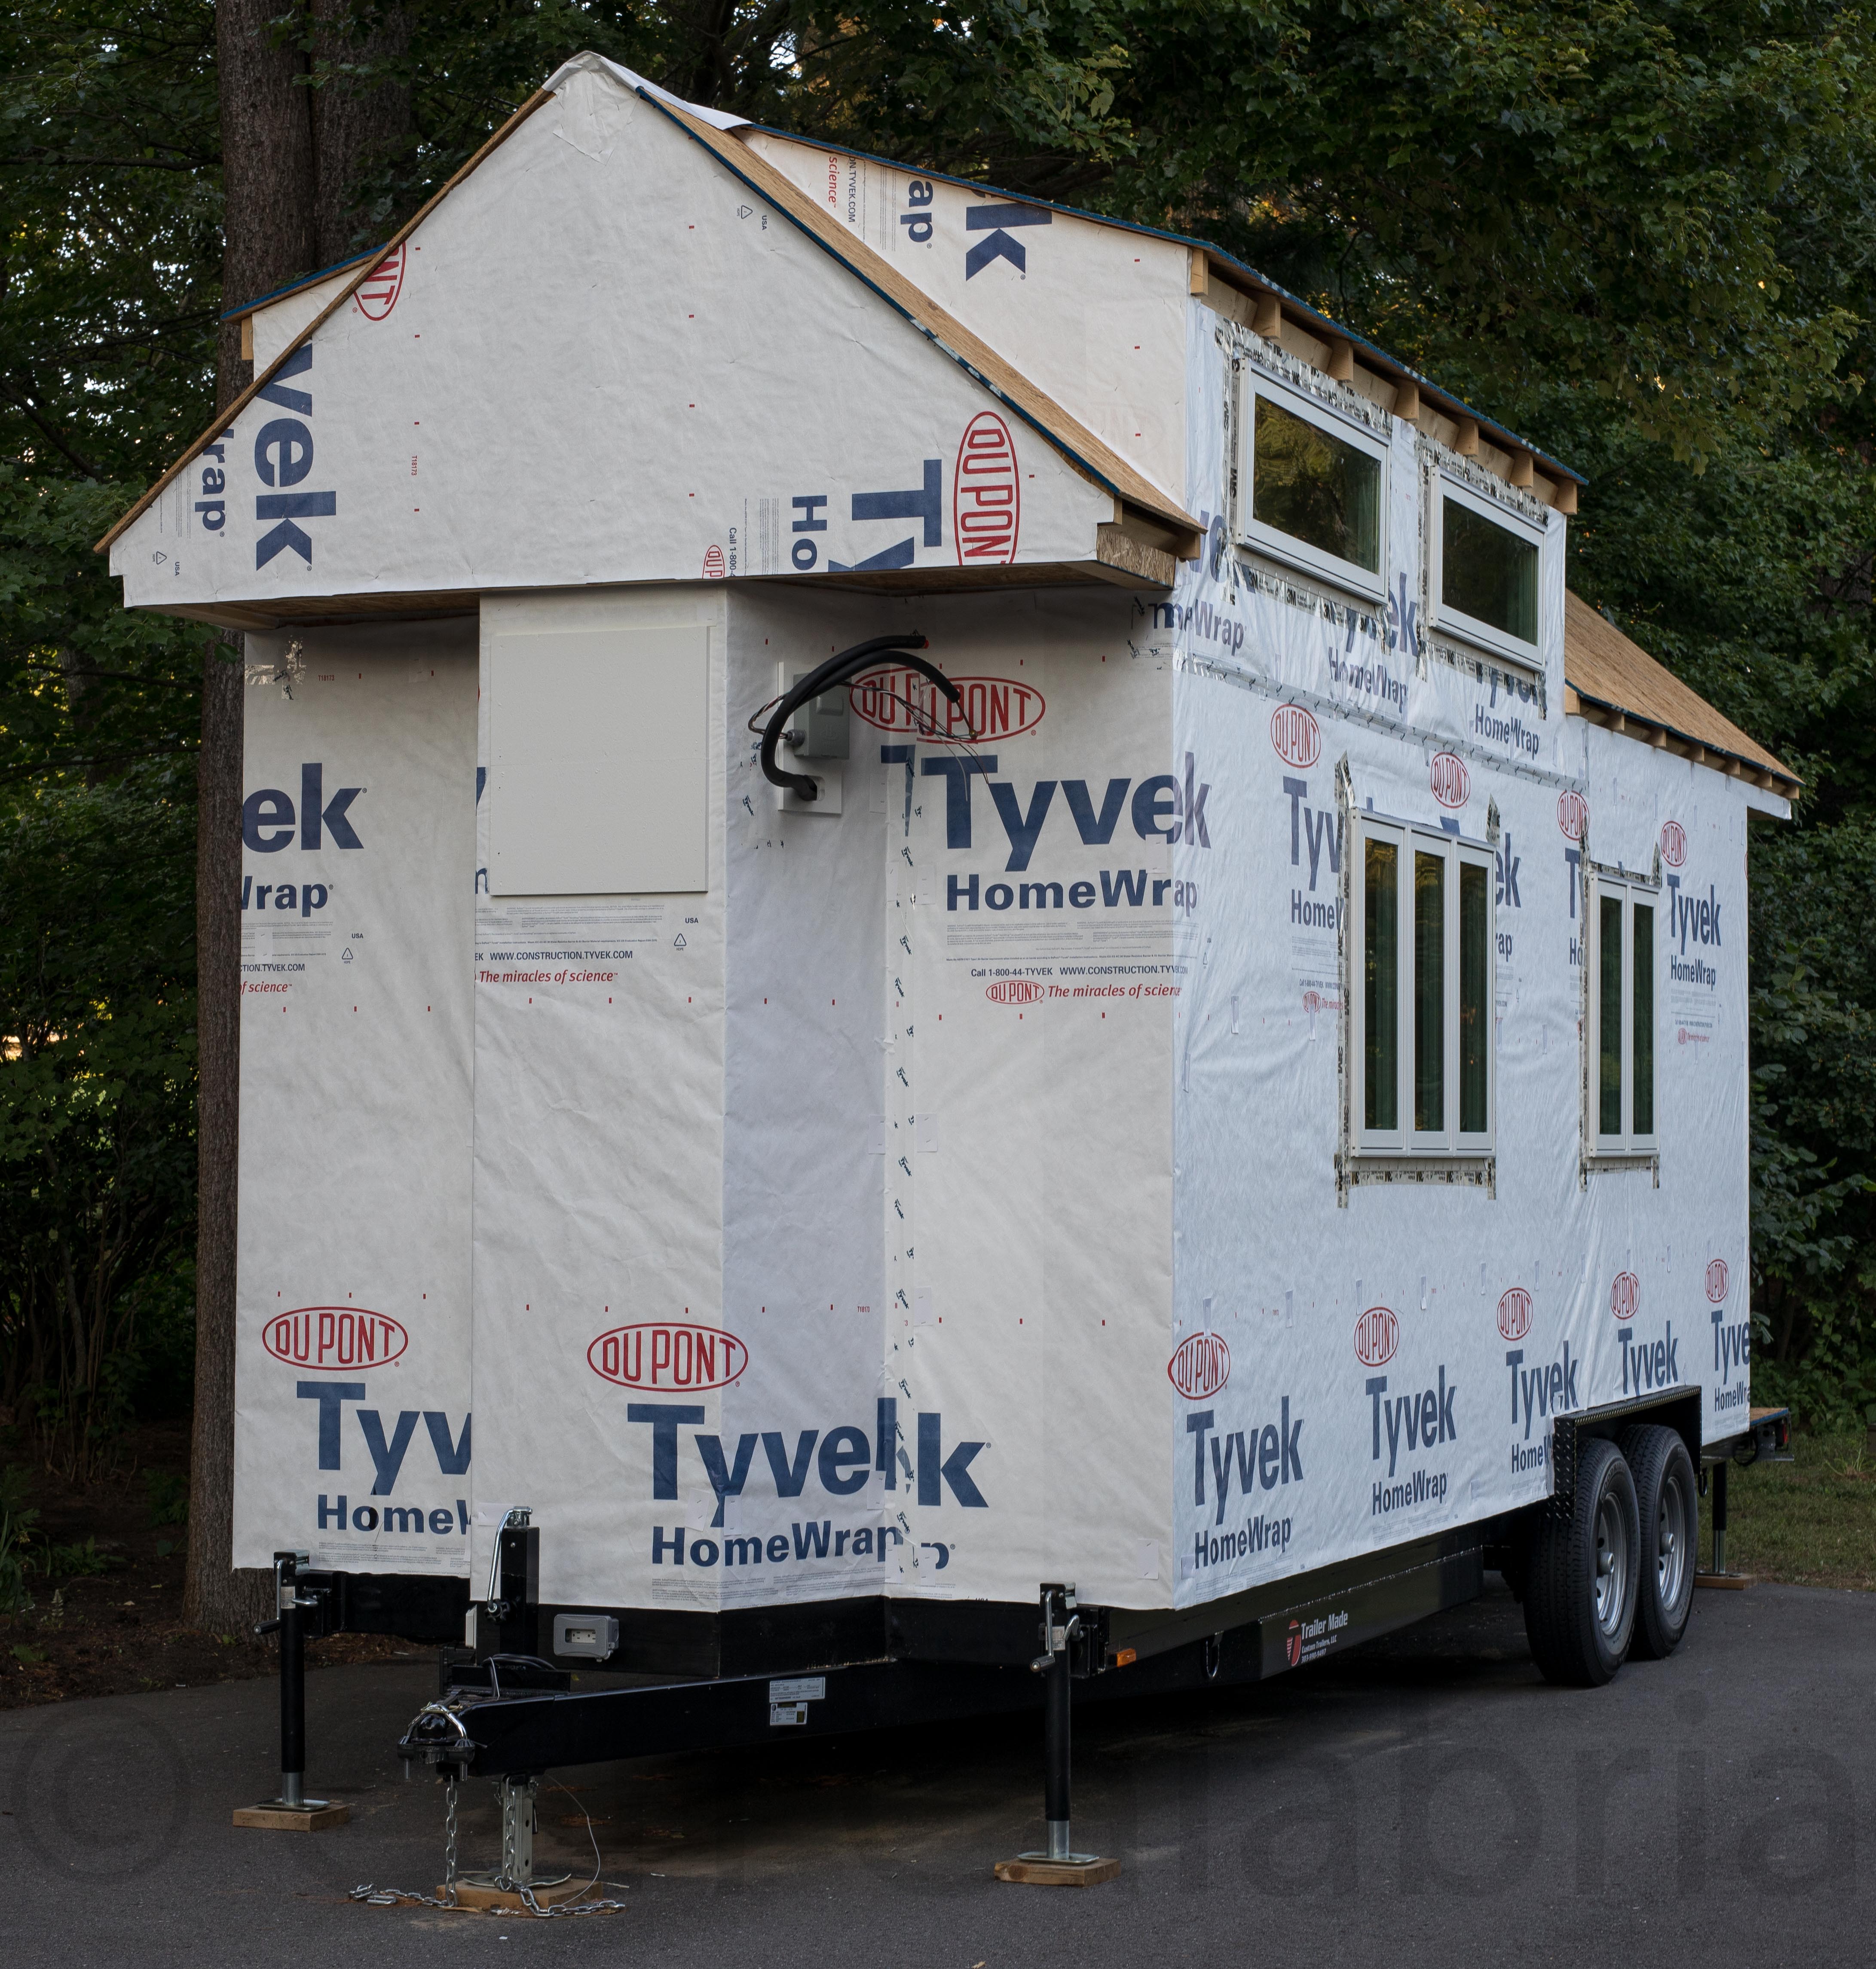
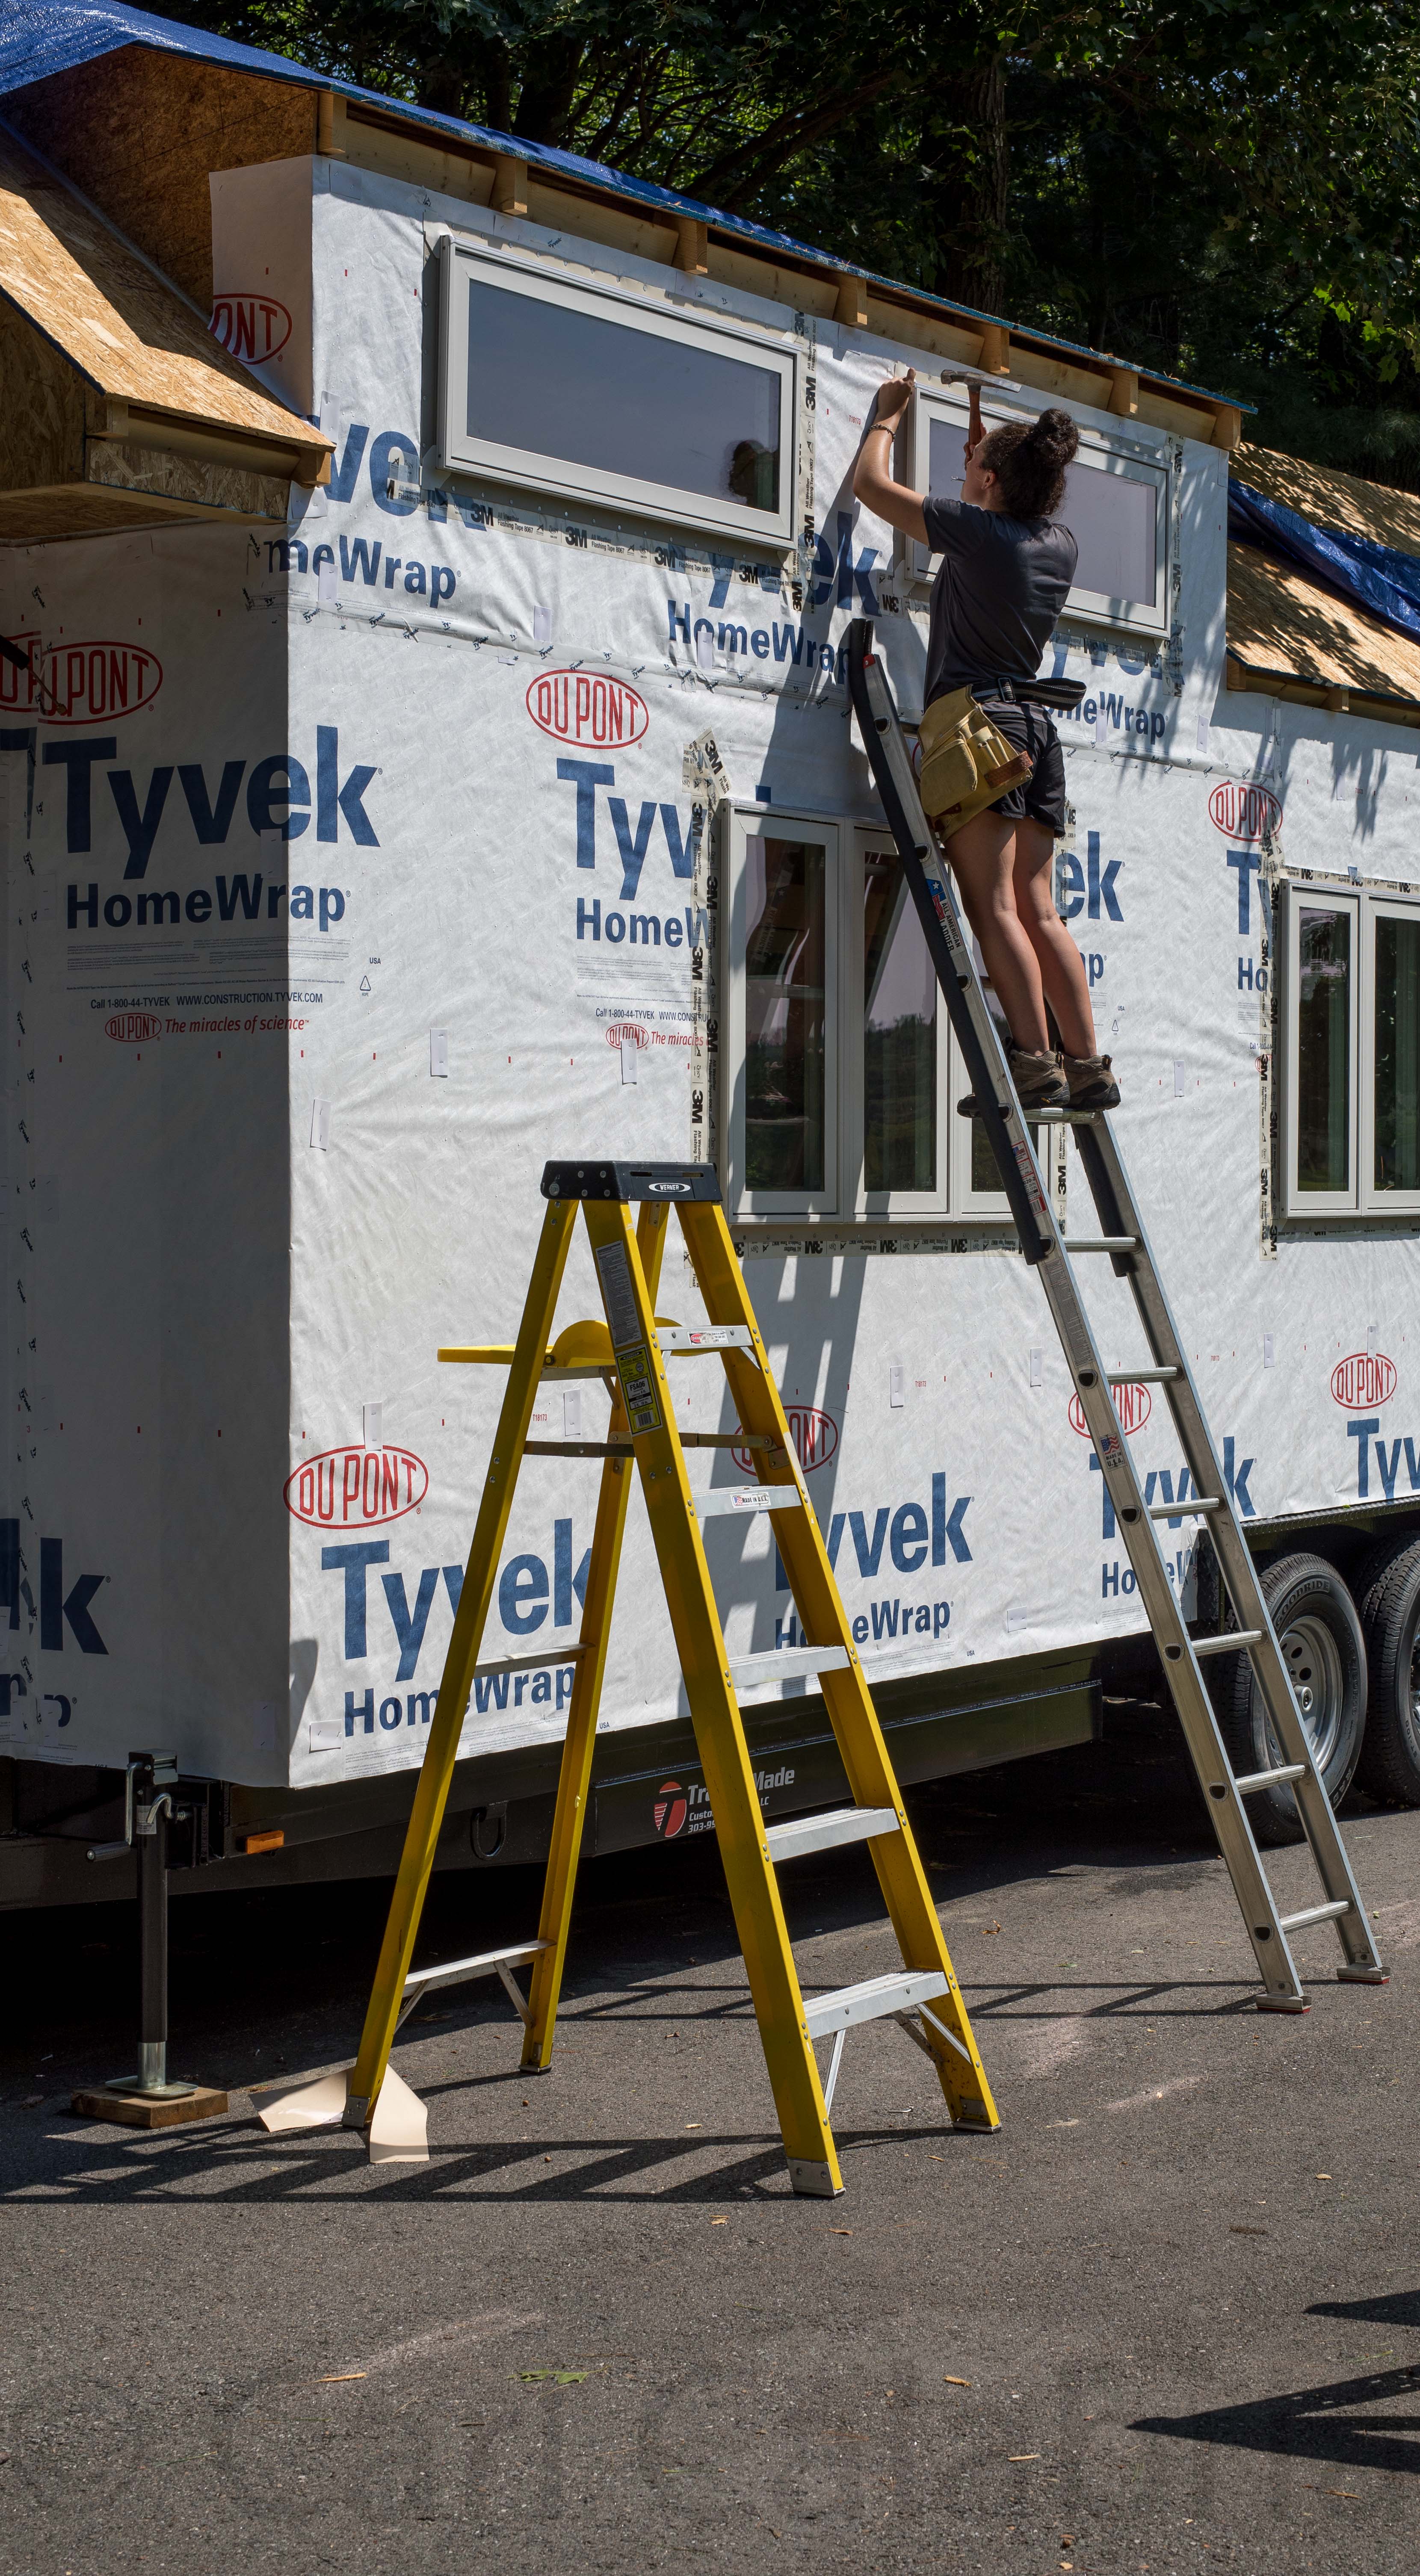
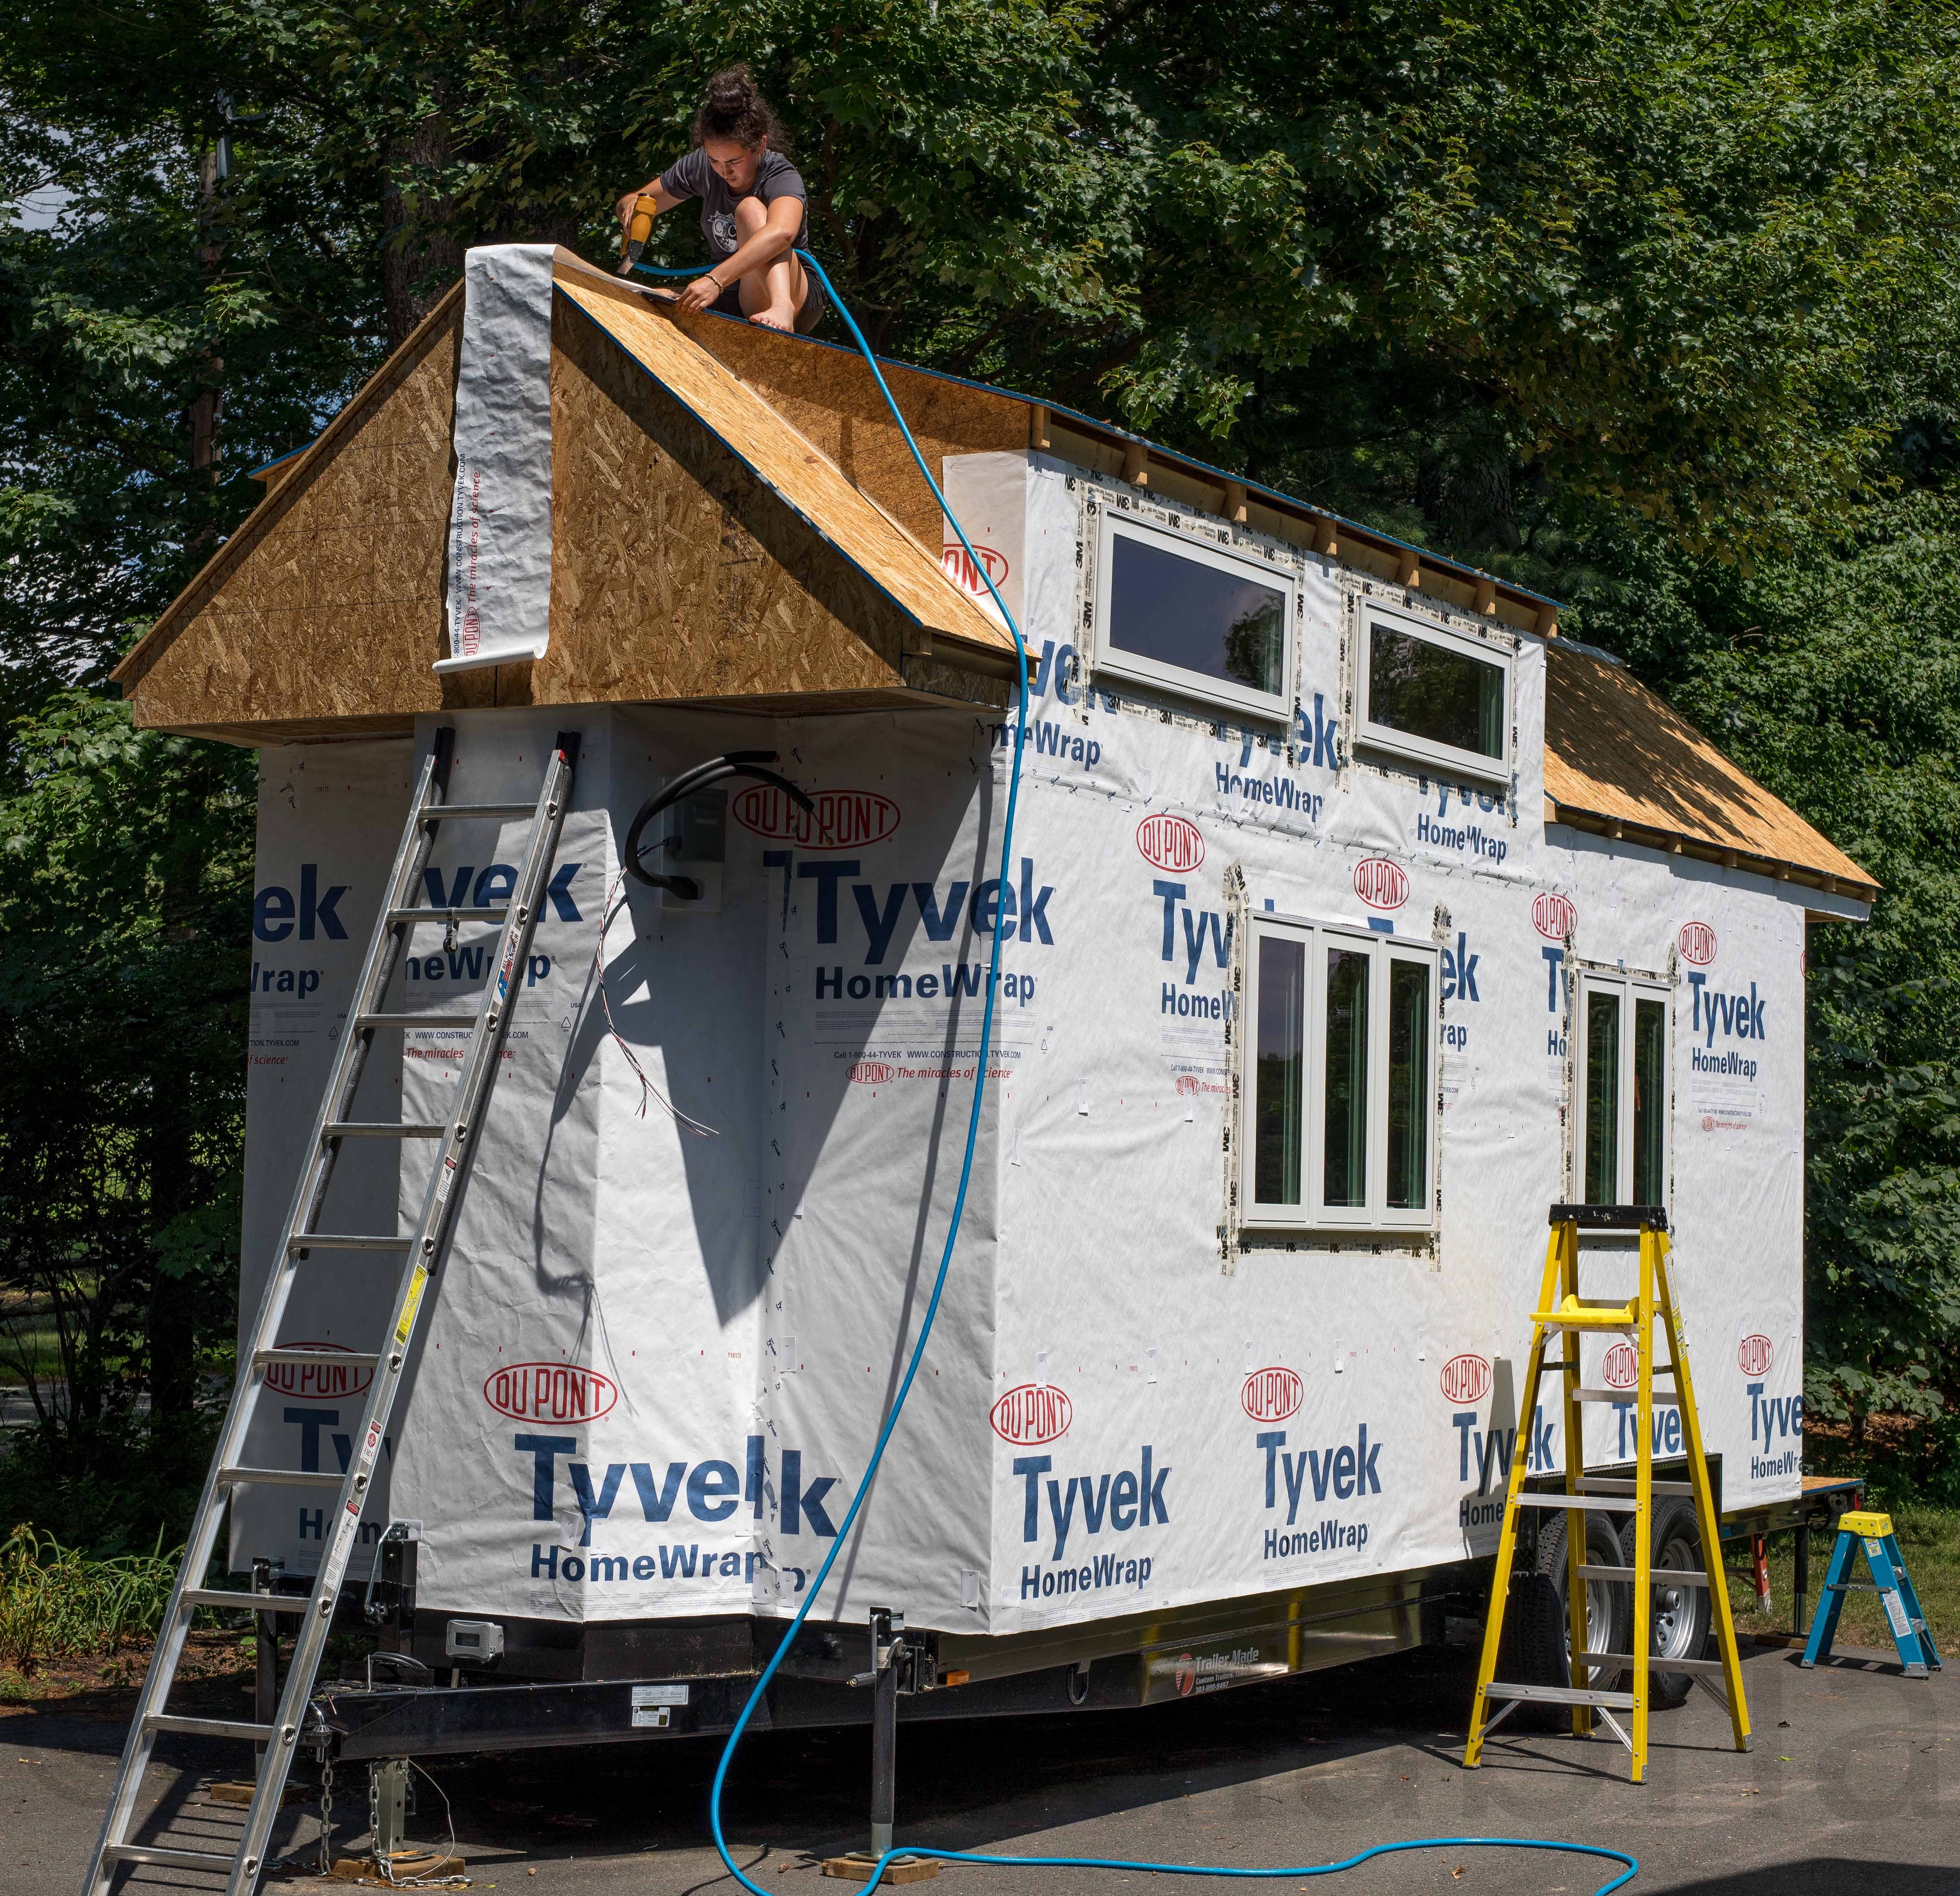
The tiny house is now ready for roofing and siding. Today we installed the loft windows and finished the Tyvek house wrap. Maya prefers to work barefooted while on the roof insisting that this maximizes traction. I prefer to wear shoes while standing on the ground watching Maya scampering about the roof.
Tired Tires
Jeanine has had to deal with two flat tires in as many days. The first was caused by sidewall damage (probably from grazing a curb while parking) to one of the front tires. Given their state of wear, we opted to replace both to the tune of ~$700 (my first car cost less than this). The second was due to a puncture by a piece of metal to the left rear tire. When it rains, it pours. Speaking of rain. It poured like cats and dogs all afternoon into the evening preventing any substantial progress on the tiny house.
Window Dressing
We are using all fiberglass Integrity windows from Marvin. They are fitted with double-paned, argon-filled, tempered glass with a U-factor of 0.29 and a solar heat gain coefficient of 0.29. The first floor has one large picture window and two double casement windows in the living room. The kitchen has a triple casement window and the bathroom has a single awning-style window. We installed all of these today leaving just the four awning-style windows in the loft to finish.

